Paw Patrol Construction Cake - Easy Birthday Cake Tutorial
Paw Patrol has been a hit in our house. I thought at 3 4 and 6 years we might have outgrown it, particularly the 6-year-old. But with the new Paw Patrol movie out the kids are back into it.
This Paw patrol cake is one I made a year or so ago, but I thought it could have its own recipe post!
How to make a Paw Patrol Birthday Cake
The first place to start is with the cake itself. For this cake, I used a store-bought chocolate cake mix.
You do not have to do this, you could make your own chocolate cake from scratch to form the base of the Paw Patrol Construction Birthday Cake featuring Rubble or you could purchase 2 store-bought chocolate cakes to form the base.
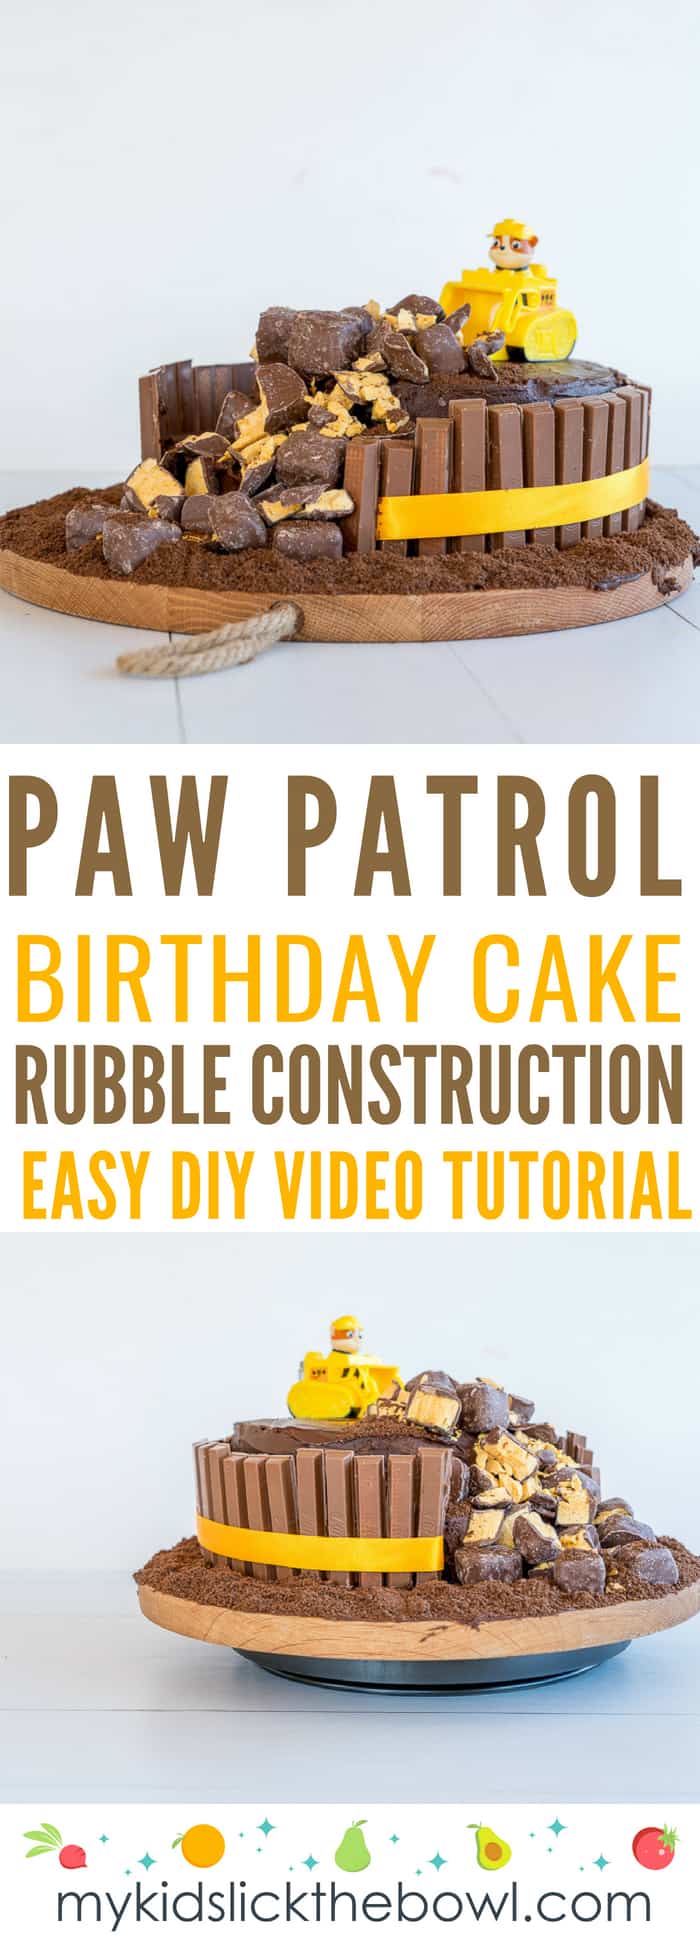
I used 2 cakes to create the base. 2 of which had quite a large diameter of 24-25cm and 1 smaller cake with a diameter of 20cm. I stacked the 2 large cakes on top of each other then placed the smaller cake off centre at the top.
This created the construction site shape for my Paw Patrol Rubble Cake.
If you would prefer not to use a packet mix cake, my plain cake recipe is also a perfect base for this rubble cake.
How to make a Paw Patrol Birthday Cake Topper
I'm not quite sure if what I did could be called 'making' a cake topper. All I did was pop along to my nearest toy store and purchased a Rubble toy. Job done!
It was then added to my little paw patrol fan's toy collection after the party was over

Save This Recipe!
How to decorate a Paw Patrol Rubble Construction Site Cake
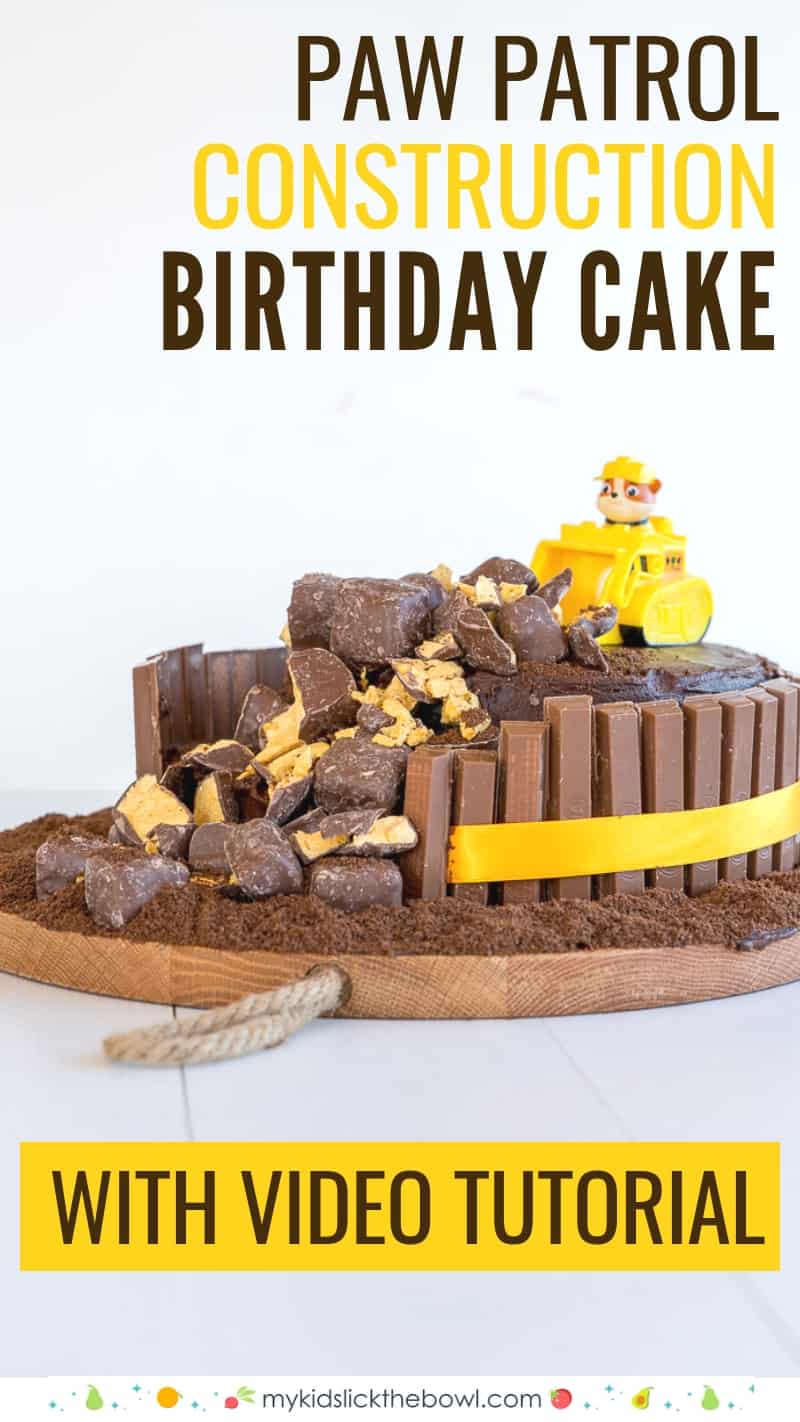
Well, I started with chocolate buttercream. You don't need any brown food colouring, cocoa will make the buttercream the perfect colour.
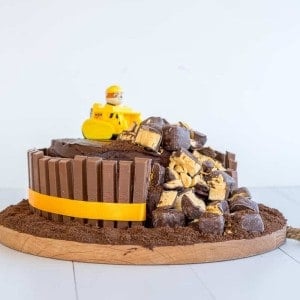
I popped the Rubble toy on top and used crushed chocolate cover honeycomb to create a rock slide.
I used Kit Kats to build a fence the added a ribbon to just add a little pop of colour. I added chocolate biscuit crumbs for edible dirt and job done!
DIY Birthday Cake Ideas
I am a huge fan of homemade birthday cakes, I try to make one for each of my kids each year, so I am building up quite a collection.
The plan is to get all of them up on the blog over the next little while. At the moment I have two others already done.
If you have a PJ Masks fan then be sure to check out my PJ Masks Rainbow Layered Cake, or If you have a Frozen Fan then my Elsa Frozen Icecream Cake could be perfect, my mermaid cake, rainbow cake and 1st birthday cake are all great too.
There are times when birthday parties aren't doable, times when large social gatherings are too tricky, if you find yourself in this situation I've got a few ideas for making a birthday special when you can't have a party.
Paw Patrol Birthday Cake Video Tutorial
Paw Patrol Construction Cake - Easy Birthday Cake Tutorial
RATE THIS RECIPE
Save This Recipe!
Ingredients
- 3 x 370g packs Chocolate Cake Mix
- 250 g Butter
- 3 Cups Icing Sugar
- ⅓ Cup cocoa
- 4-6 tablespoon milk
- 1 bag chocolate covered honeycomb or approx 3 crunchie bars
- 6 packs Kit Kats
- 1 pack dark chocolate Tim Tam biscuits
- Rubble toy
Instructions
- For this cake you will need to bake 1 x 20 cm cake and 1 x 24cm cake using the Chocolate Cake Mixes. I prepared all the mixture together and divided it between the 2 cake tins, Please follow the packet instructions for baking times and then allow to cool thoroughly
- Prepare the chocolate buttercream Start with softened butter (not melted, but soft). Use an electric beater or cake mixer to beat the butter until it is as white as possible. Then add the cocoa and ⅓ of the icing sugar and beat, add ⅓ of the milk, alternate adding the icing sugar and milk until it has all been added
- Take a cake board or large plate, place a blob of buttercream in the centre. Place the larger cake on top.
- Ice the top of this cake with chocolate buttercream
- Place the second smaller cake on top, you want it to not be in the centre but up against one edge of the larger cake
- Ice the entire cake with chocolate buttercream, this does not need to be perfect, it is a construction site remember
- Take the honeycomb and roughly crush it with a rolling pin
- Place the Rubble toy or construction vehicle on the very top of the cake, add the crushed honeycomb so that it looks like rocks tumbling down the side of the cakes
- Use the Kit Kats to create a fence around the bottom of the large cake
- I added a ribbon around the fence, this is not necessary
- Use a food processor to crumb the TimTam chocolate biscuits
- Apply a rough layer of buttercream to the cake board, sprinkle the cookie crumb on top.. Voila- edible dirt!
Quick Start Guide To BLW
Baby led weaning doesn’t need to be complicated, grab my quick start guide to begin your little ones food journey.