Coloured Eggs
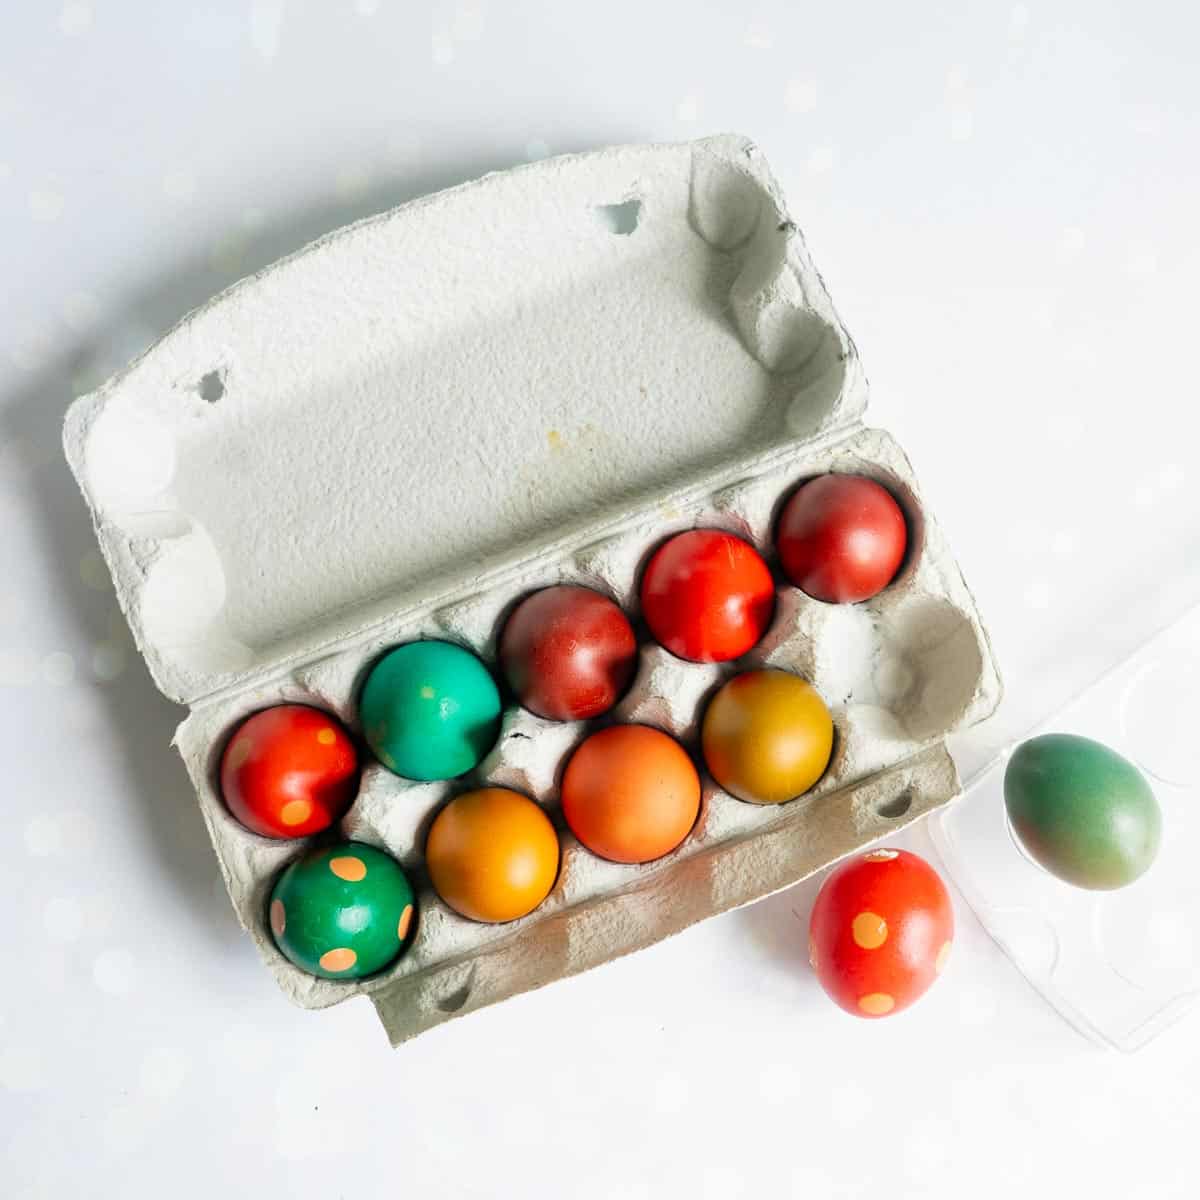
Coloured Eggs are so fun for Easter, but if you are like me and live in an area where you can only access brown shelled eggs, then like me you might also want to know about dying brown eggs for Easter!
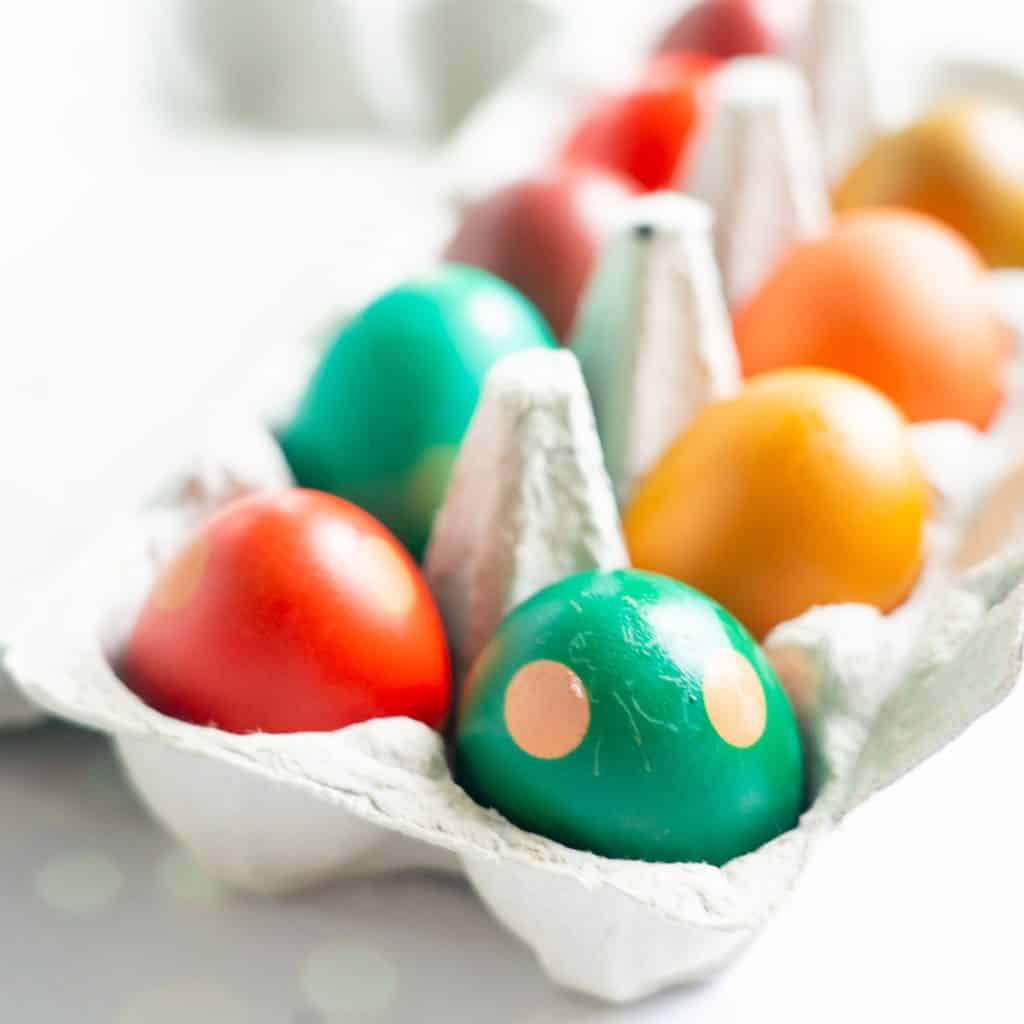
Why This Recipe Works
- Only 3 ingredients needed
- A 'snacktivity', a craft activity you can do with kids that they can also eat!
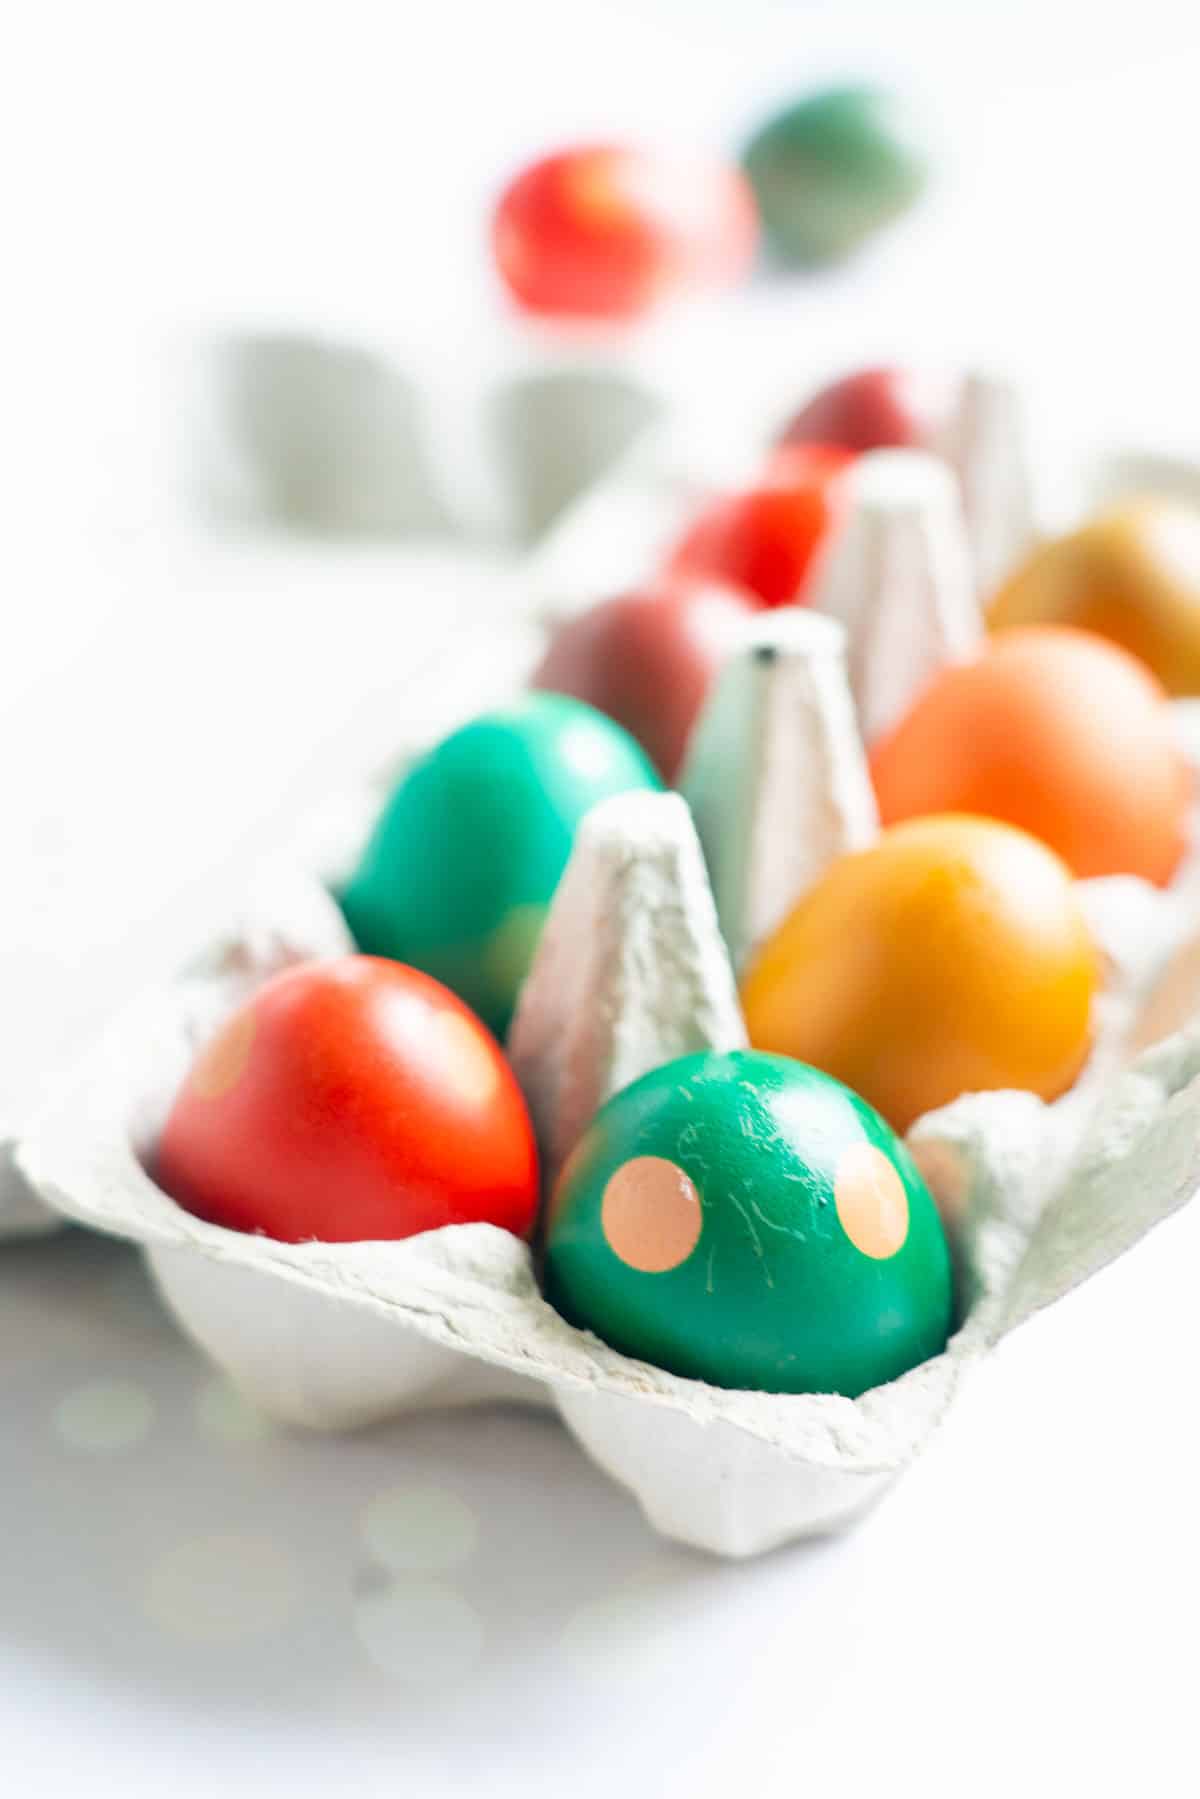
- Beautiful jewel-coloured eggs perfect for Easter
- A fun way to encourage children to try eggs
Ingredients you will need
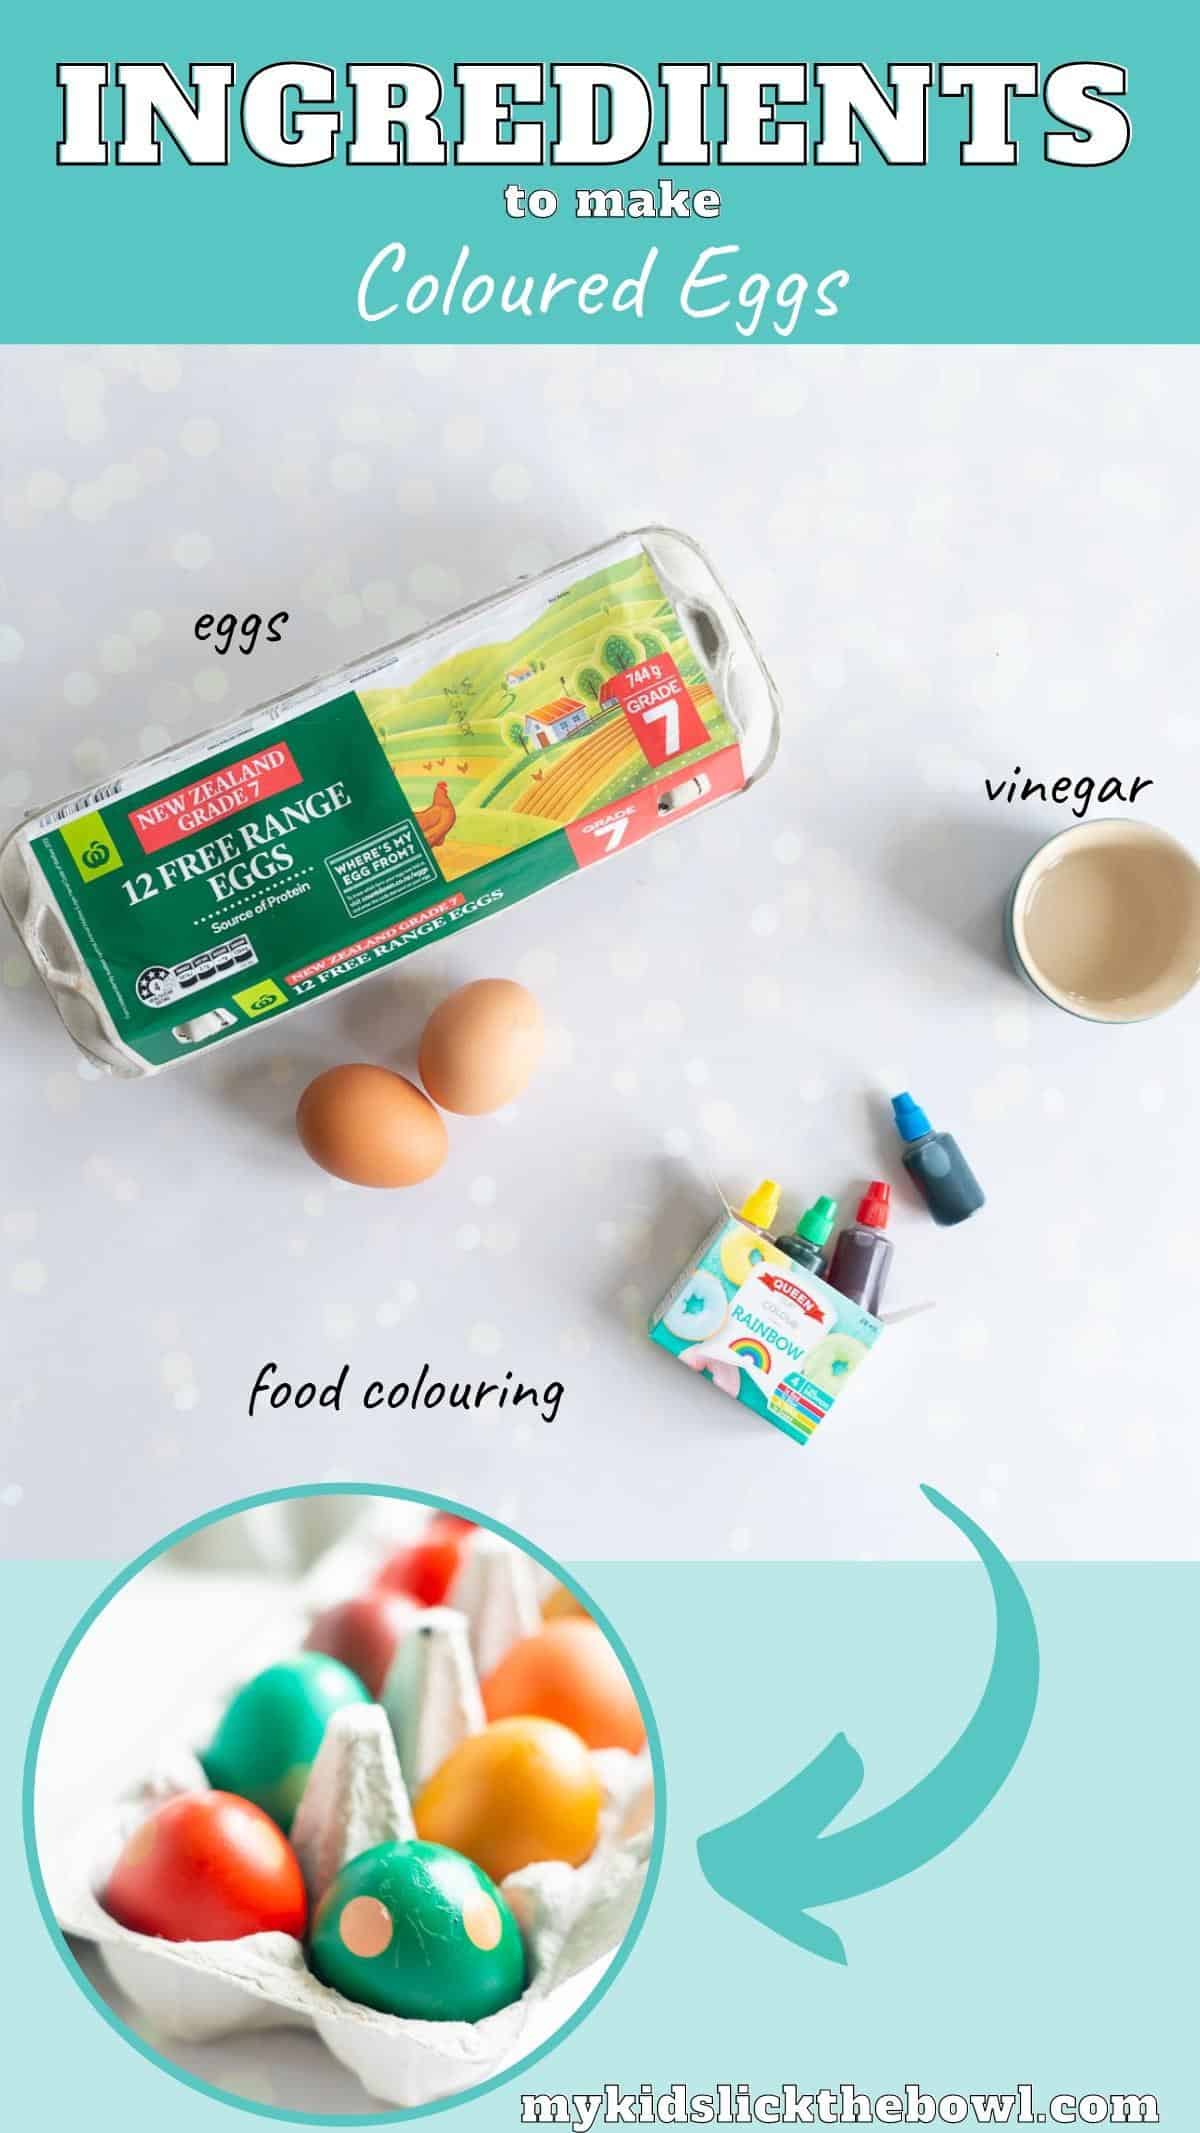
To make coloured eggs you will need:
- Eggs
- White vinegar
- Food colouring
- Optional: small round stickers to create polka dot dyed eggs
Step by step instructions
Below are illustrated step-by-step instructions for colouring hard eggs if you prefer just the written instructions then head straight to the printable recipe card below.
Prep: To dye brown eggs you first need to hard boil them.
How to hard boil eggs for colouring
I do this by placing 6 eggs in the bottom of a large saucepan. Cover the eggs with cold water so they are all covered by at least an inch of water.
Bring the eggs to a boil, once the eggs are rapidly boiling, cover with a lid and turn off the heat. Leave the eggs to stand for 12 minutes.
Drain the eggs and then run them under cold water, the hard-boiled eggs can be stored for 5 days in the fridge.
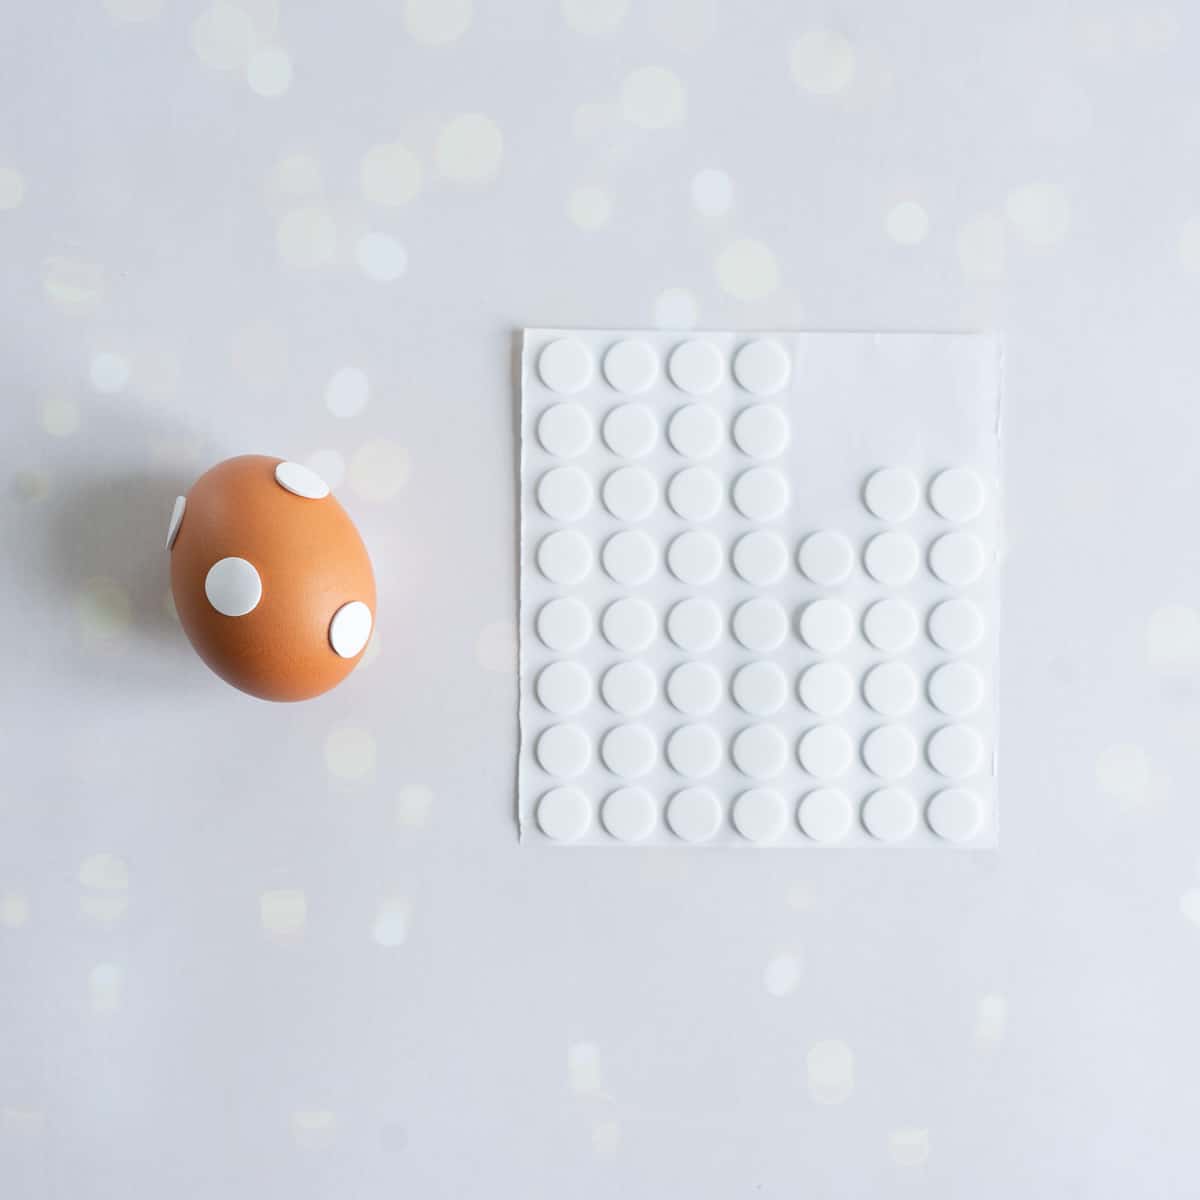
Step one (Optional): If you want to create polka dot dyed eggs, stick small round stickers on the cooled hardboiled eggs.
Step two - Mix up the dye: For each colour you decide to dye your eggs you will need a small bowl or cup. I find cups easier as you need less dye mixture to completely submerge the eggs.
Mix ½ cup of boiling water with 1 teaspoon of vinegar and 10-15 drops of food colouring.
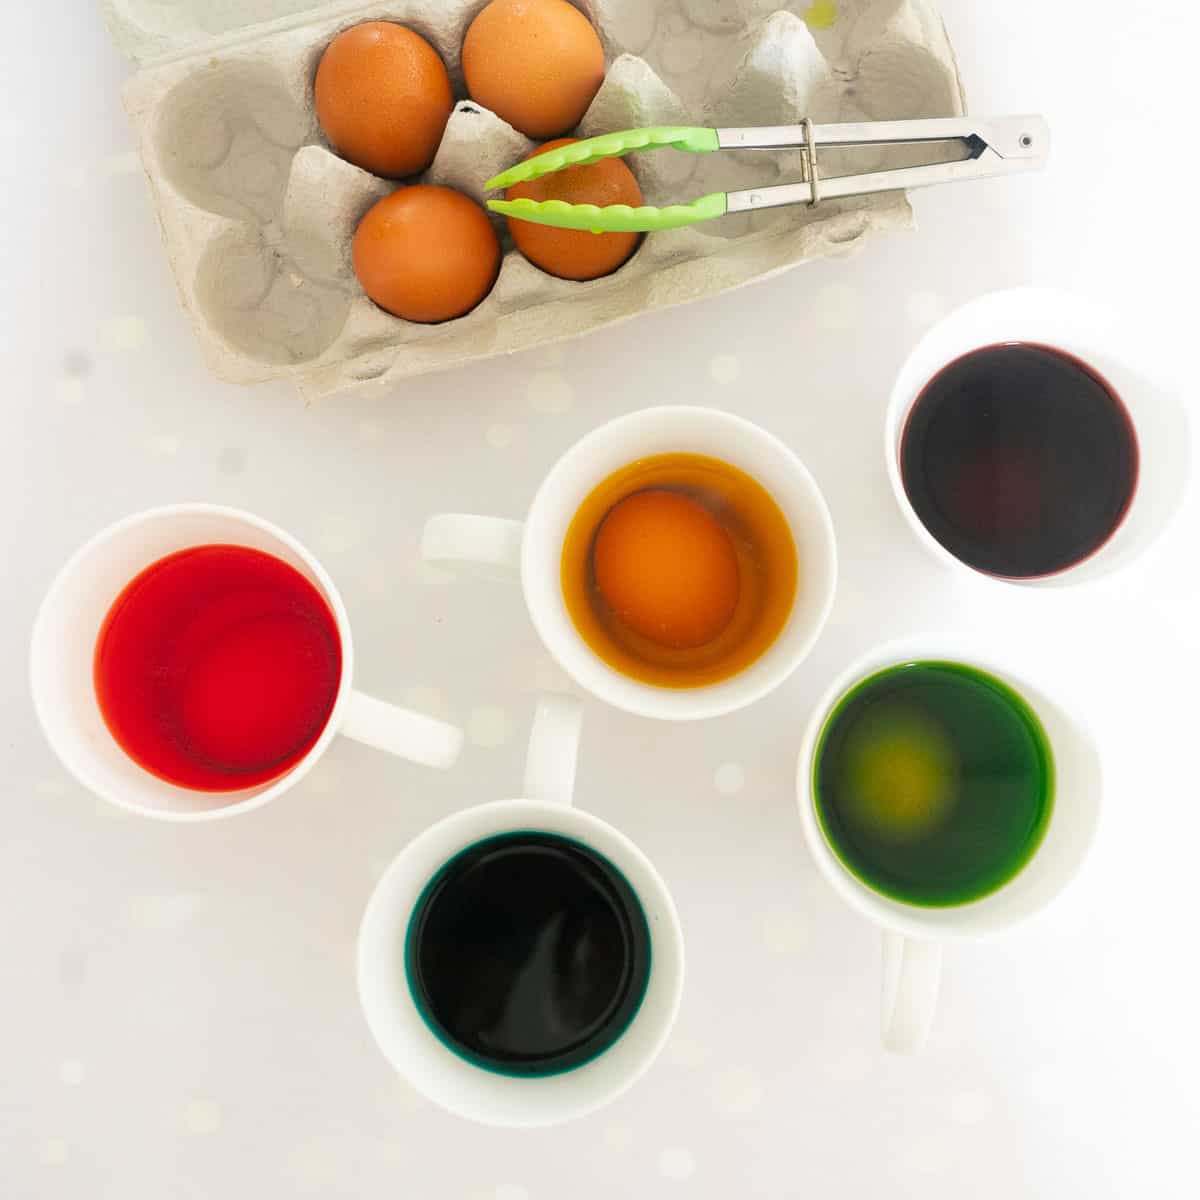
Step three - Soak the eggs: Soak the eggs for approximately 5 minutes in the dye baths
Step four - Dry the Eggs: Use tongs or a slotted spoon to remove the eggs from the dye. Place the eggs onto a piece of paper towel until dry.
Enjoy!
Save This Recipe!
Top Tips
When I was making coloured eggs with my brown eggs I found these things gave the best results
Hard-boiled eggs: I tested dying raw eggs, I found the shell seemed more porous which meant the colour was not as consistent.
Cold eggs: I found chilled hard-boiled eggs worked the best for me
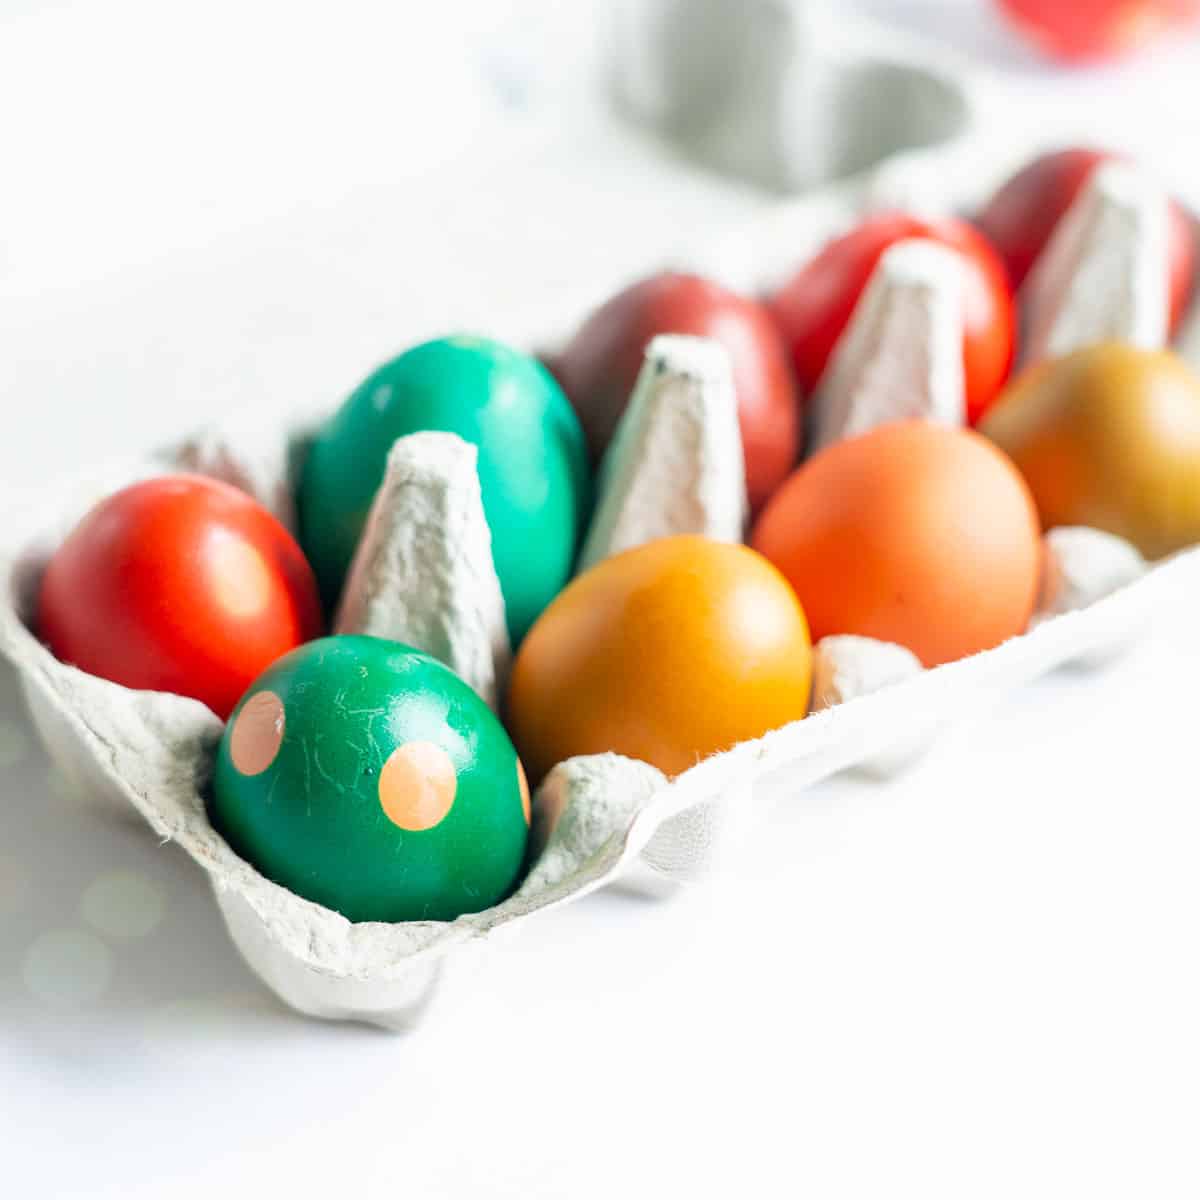
Colour choice: Different colours worked better than others
- Yellow: On a brown shelled egg the colour change was very subtle
- Blue: I found aqua ie a combination of blue and green gave a better end result than straight blue. 10 drops blue + 5 drops green
- Red: Worked well
- Purple: I found a more red-based purple worked better. 10 drops red 2 drops red
- Green: Straight green worked well
- Orange: Orange worked well 10 drops red + 5 drops yellow
FAQs
Yes, you get a more consistent and vibrant colour if you add vinegar to the water when dying eggs. The lower pH allows the food colouring to bind more tightly to the eggshell.
Absolutely, you won't achieve the same paster colours as you do with white shelled eggs, instead, you will get beautiful jewel-coloured eggs.
Yes, if food-safe colouring has been used and the hard-boiled eggs have been stored safely then yes they can be eaten.
Other Easter Themed Recipes You Might Like
- Mini egg cookies
- Bunny buns
- Easter bunny cookies
- Fresh Fruit Healthy Easter Eggs
- Easter bunny cupcakes
- Cloud eggs
- Easter popcorn
Coloured Eggs
RATE THIS RECIPE
Save This Recipe!
Ingredients
- 6 hard boiled eggs
- 3 cups boiling water
- 6 teaspoons vinegar
- food colouring
Instructions
Hard boil Eggs
- Place 6 eggs in the bottom of a large saucepan. Cover the eggs with cold water so they are all covered by at least an inch of water.
- Bring the eggs to a boil, once the eggs are rapidly boiling, cover with a lid and turn off the heat. Leave the eggs to stand for 12 minutes.
- Drain the eggs and then run them under cold water.
- Chill in the fridge before colouring them. The hard boiled eggs can be stored in the fridge for five days.
Colouring Eggs
- For each colour you decide to dye your eggs you will need a small bowl or cup. I find cups easier as you need less dye mixture to completely submerge the eggs.
- Mix ½ cup of boiling water with 1 teaspoon of vinegar and 10-15 drops of food colouring
- Soak the eggs for approximately 5 minutes in the dye baths
- Use tongs or a slotted spoon to remove the eggs from the dye. Place the eggs onto a piece of paper towel until dry.
- Once dry to the touch store the eggs in the fridge. Hardboiled eggs can be stored for up to 5 days in the fridge.
Notes
- Yellow: On a brown shelled egg the colour change was very subtle
- Blue: I found aqua ie a combination of blue and green gave a better end result than straight blue. 10 drops blue + 5 drops green
- Red: Worked well
- Purple: I found a more red-based purple worked better. 10 drops red 2 drops red
- Green: Straight green worked well
- Orange: Orange worked well 10 drops red + 5 drops yellow

Quick Start Guide To BLW
Baby led weaning doesn’t need to be complicated, grab my quick start guide to begin your little ones food journey.