Easter Bunny Tails - A Popcorn Balls Recipe
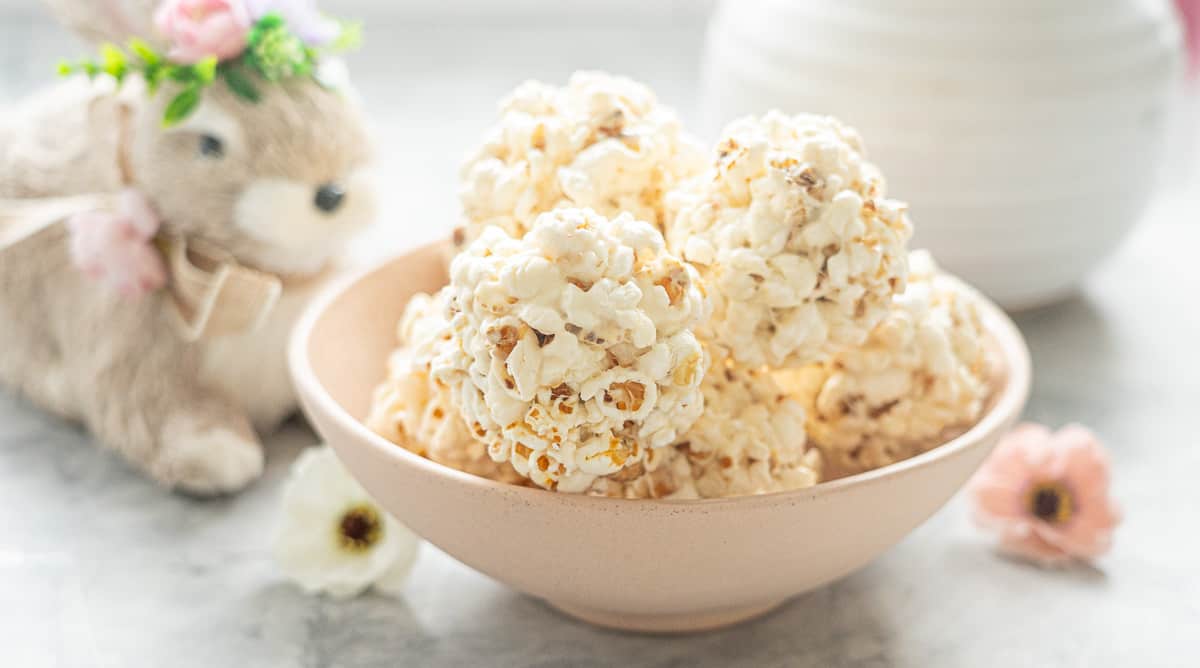
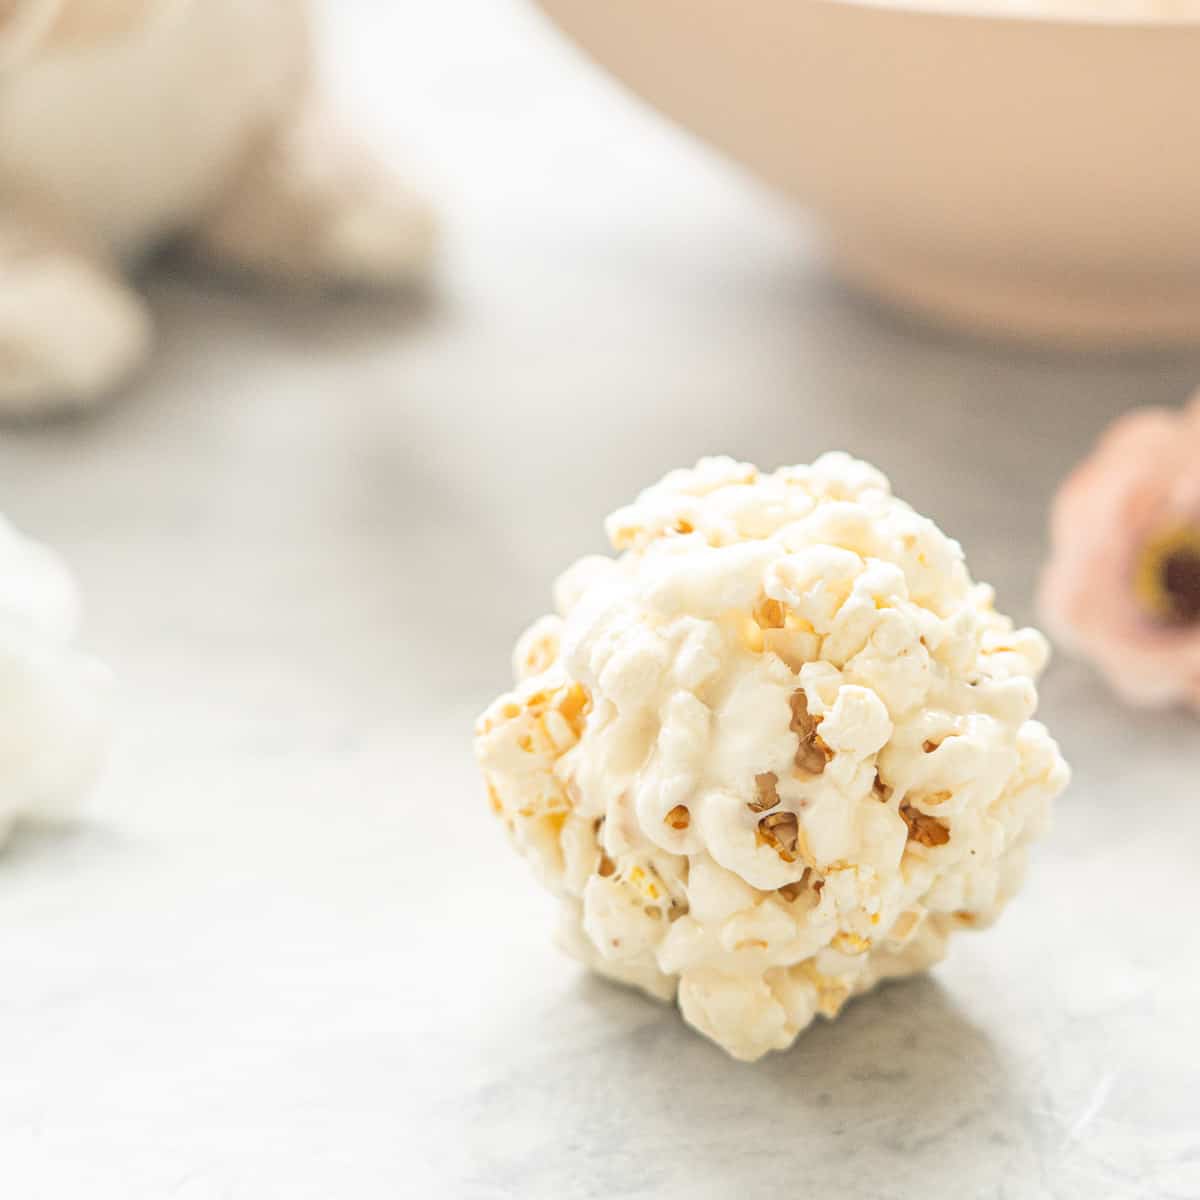
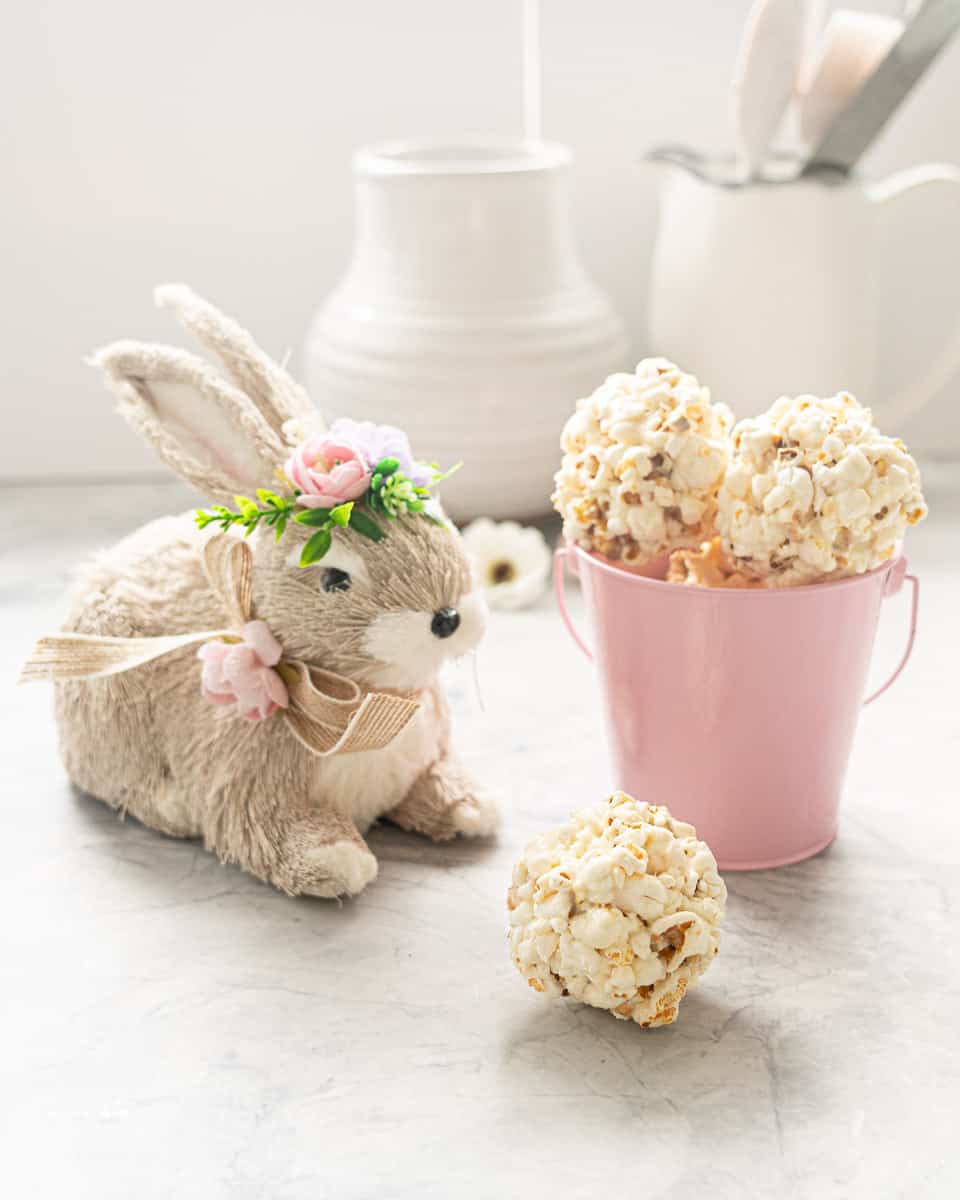
This Popcorn balls recipes is the perfect combination of sweet salty, crunchy and chewy and even better they look just like bunny tails making them the perfect Easter Treat.
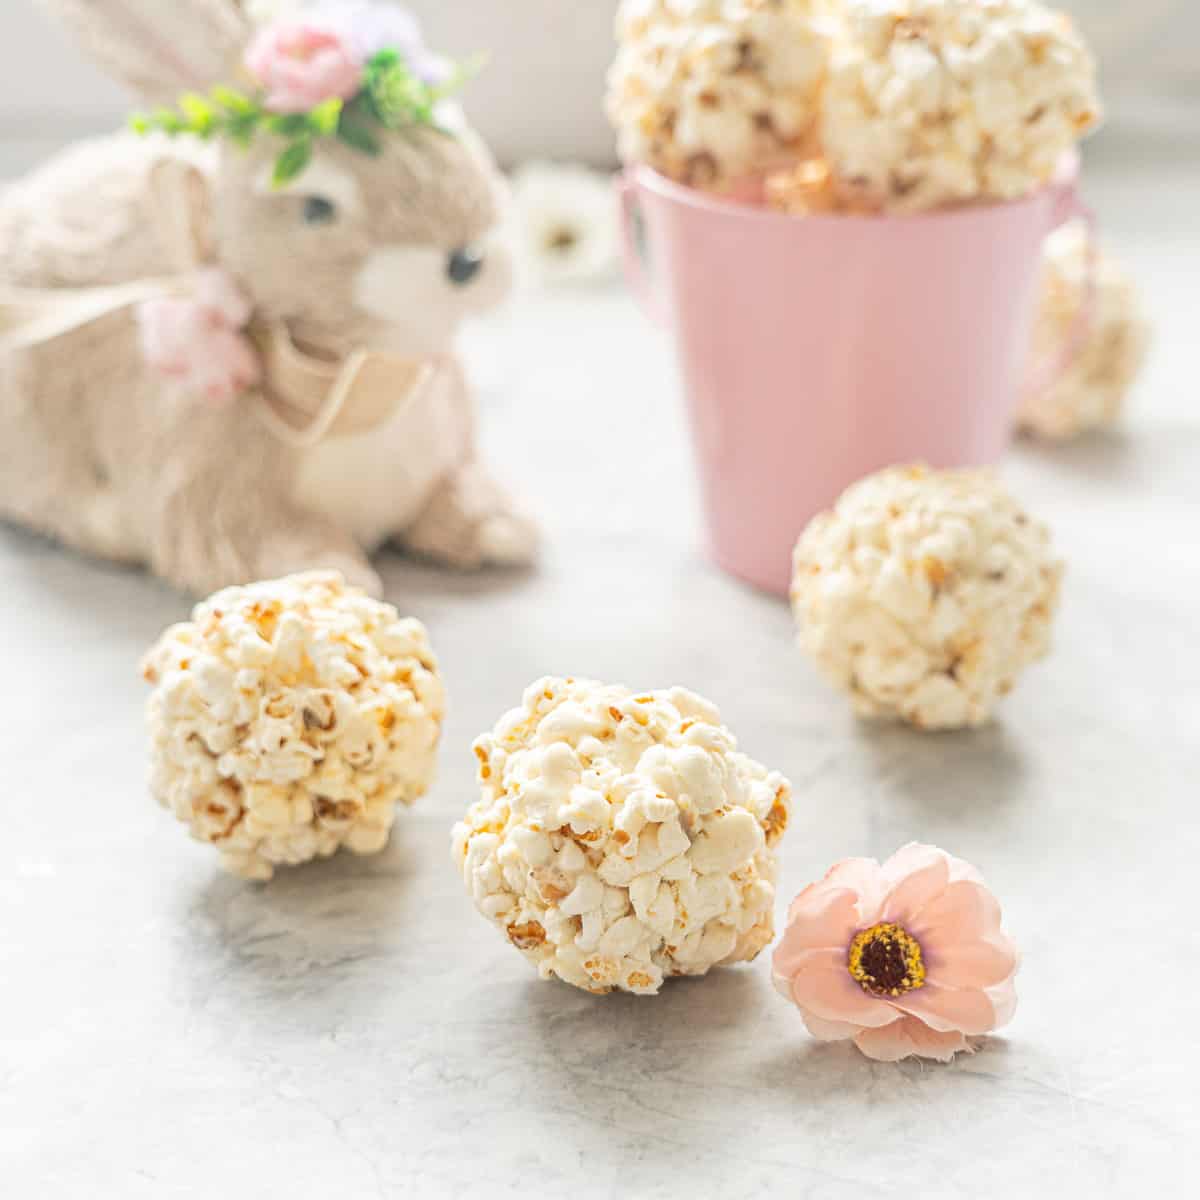
Why This Recipe Works
- Simple and Quick to make
- Gluten Free, Dairy Free instructions provided
- So much fun for Easter or birthday parties
Ingredients you will need
- popcorn
- marshmallows
- coconut oil
- white chocolate
- vanilla extract
- salt
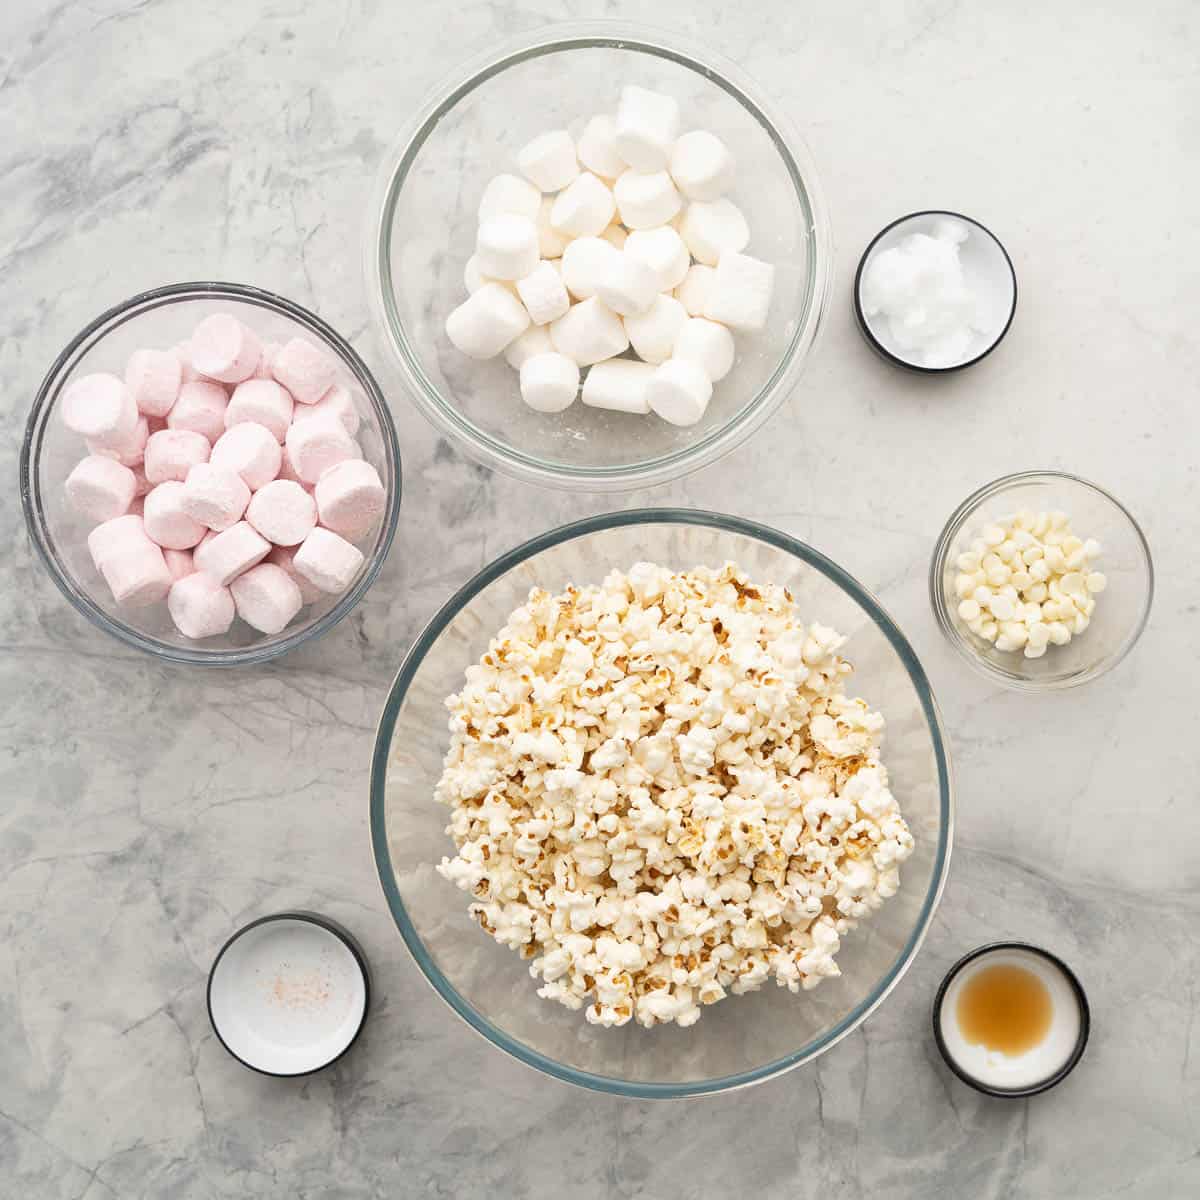
Ingredient Notes and Substitutes
- Popcorn: I use plain popcorn, if you would like to pop your own there are step by step instructions for stovetop popcorn in my cinnamon popcorn recipe. But of course there is no judgment if you grab a bag of popped popcorn from the supermarket or a pack of microwave popcorn.
- Marshmallows: When I made my bunny tails I separated out the marshmallows and used just the white ones, but you could of course make pink popcorn balls if you wish. Any sized marshmallows will work, including mini marshmallows which will melt a bit quicker than the large ones,
- Coconut oil: This can be substituted for butter if you prefer.
- White chocolate: If you would like to make these popcorn balls dairy-free you can leave out the white chocolate and double the coconut oil to four Tablespoons.
- Salt: You can skip the salt, but I love my popcorn when it is both sweet and salty.
Step-by-step instructions
Below are illustrated step-by-step instructions to make my popcorn ball recipe, if you prefer just the written instructions then head straight to the printable recipe card below.
Step one: Heat a large pot (it needs to be big enough to hold all the ingredients) over a medium heat. Add the marshmallows, white chocolate and coconut oil.
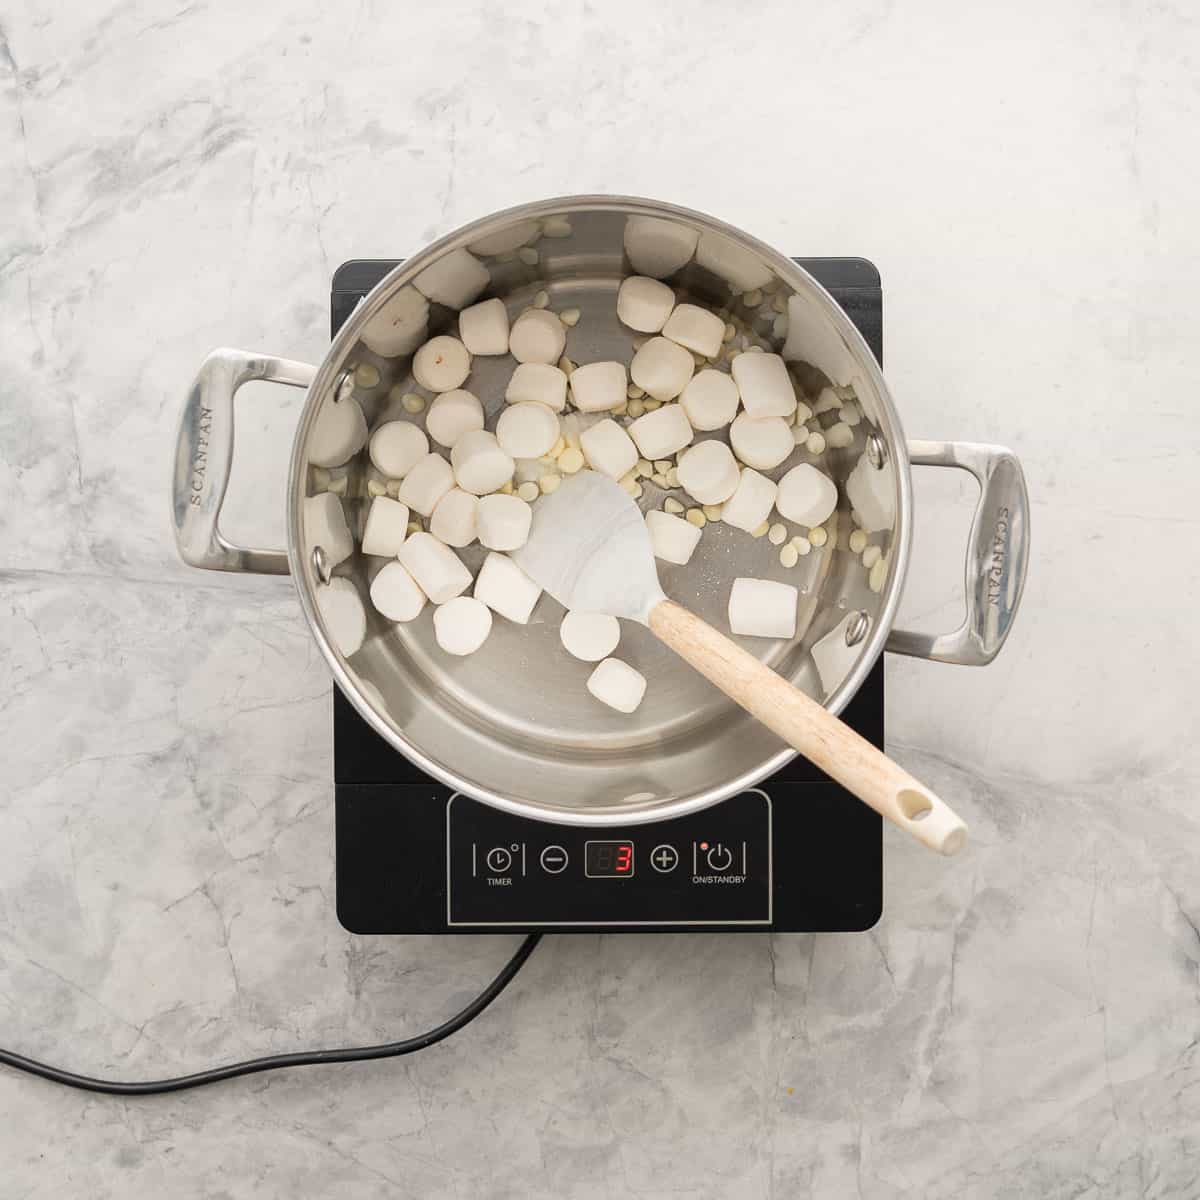
Step two: Stir until they are melted and combined. Remove from the heat
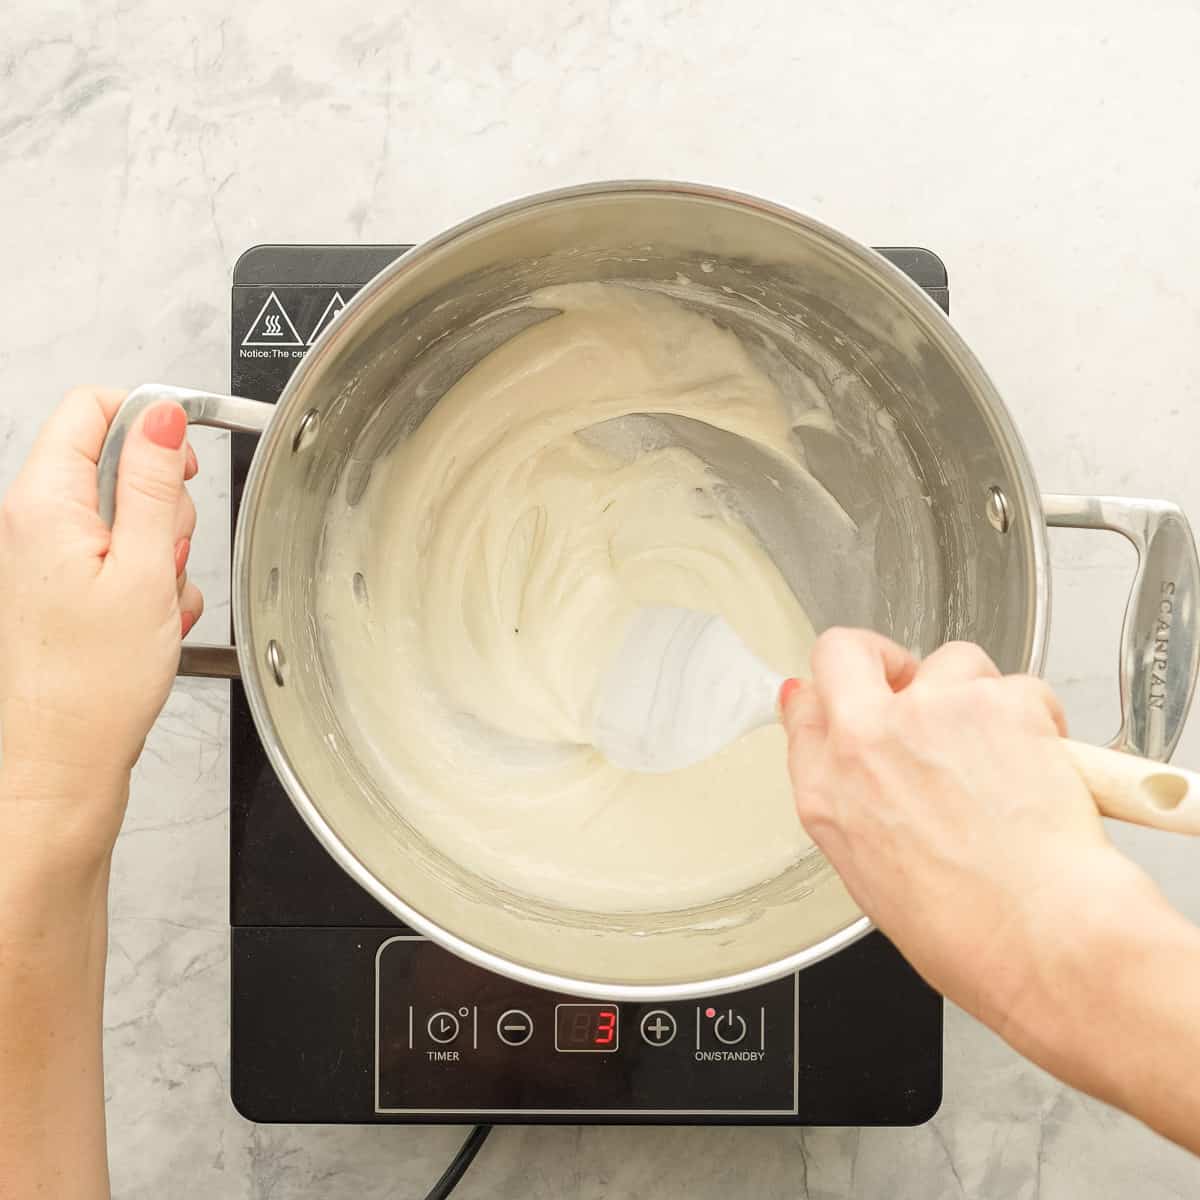
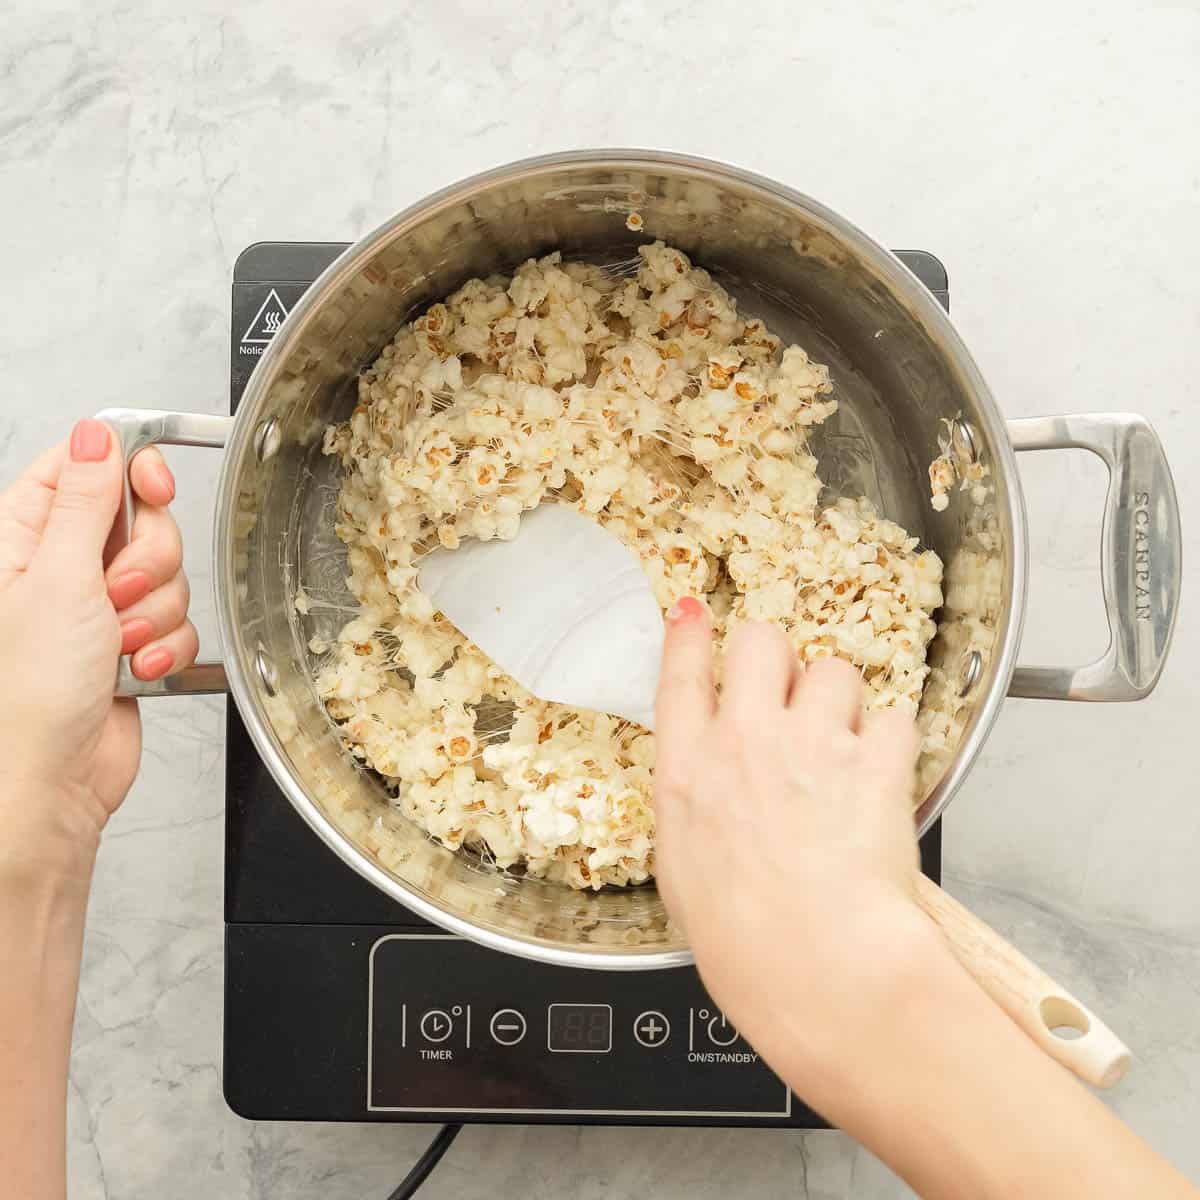
Step three: Stir through vanilla extract and salt, and then stir through the popcorn so that all the popcorn is completely coated in the marshmallow mixture.
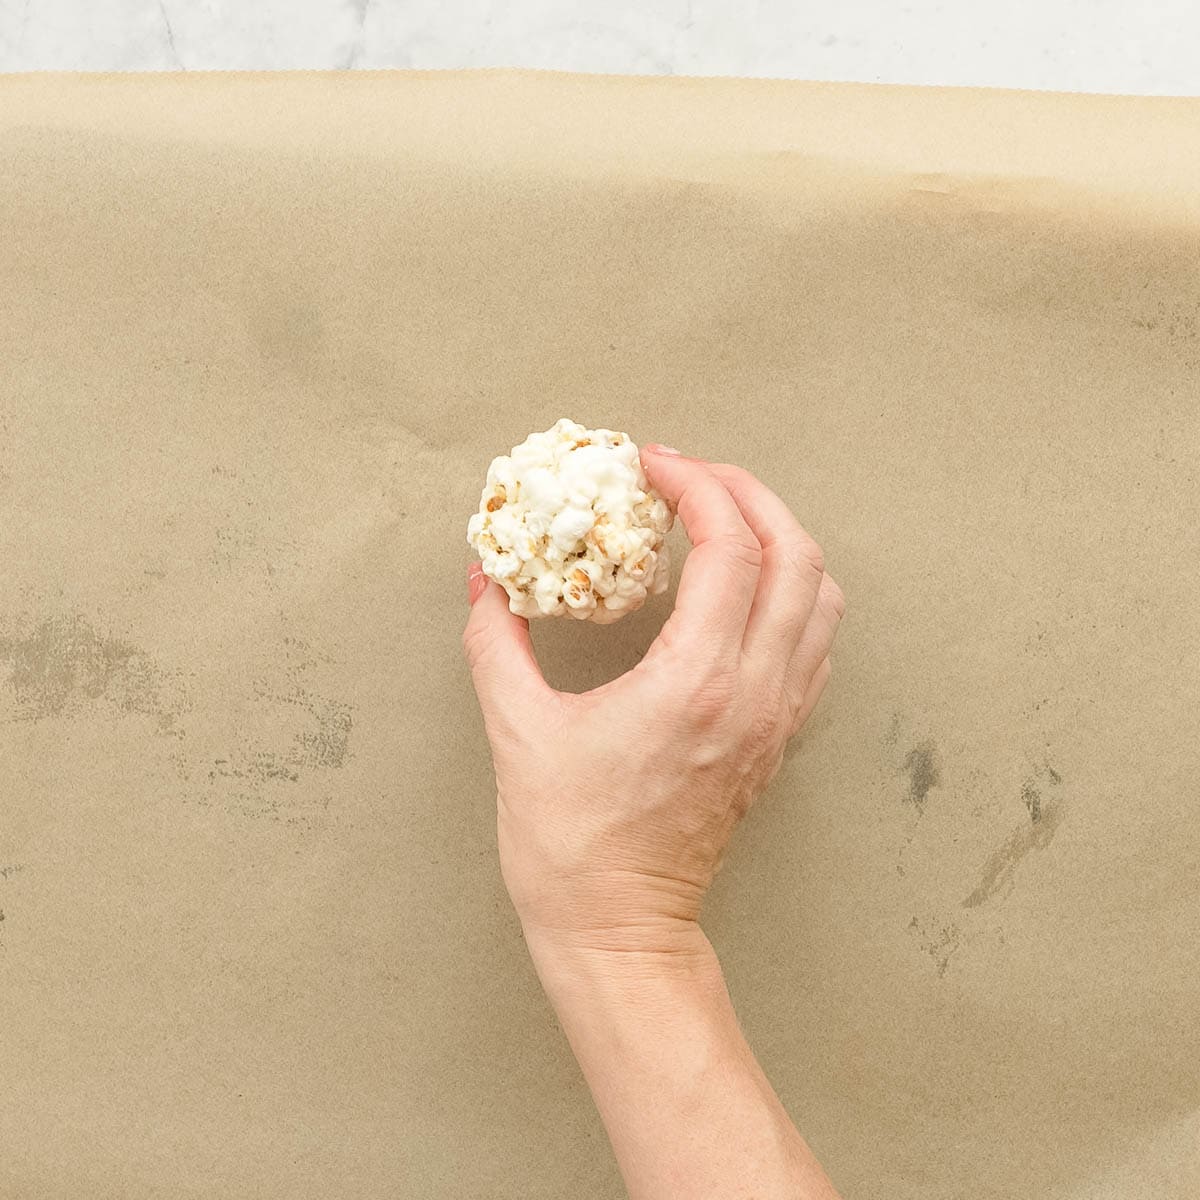
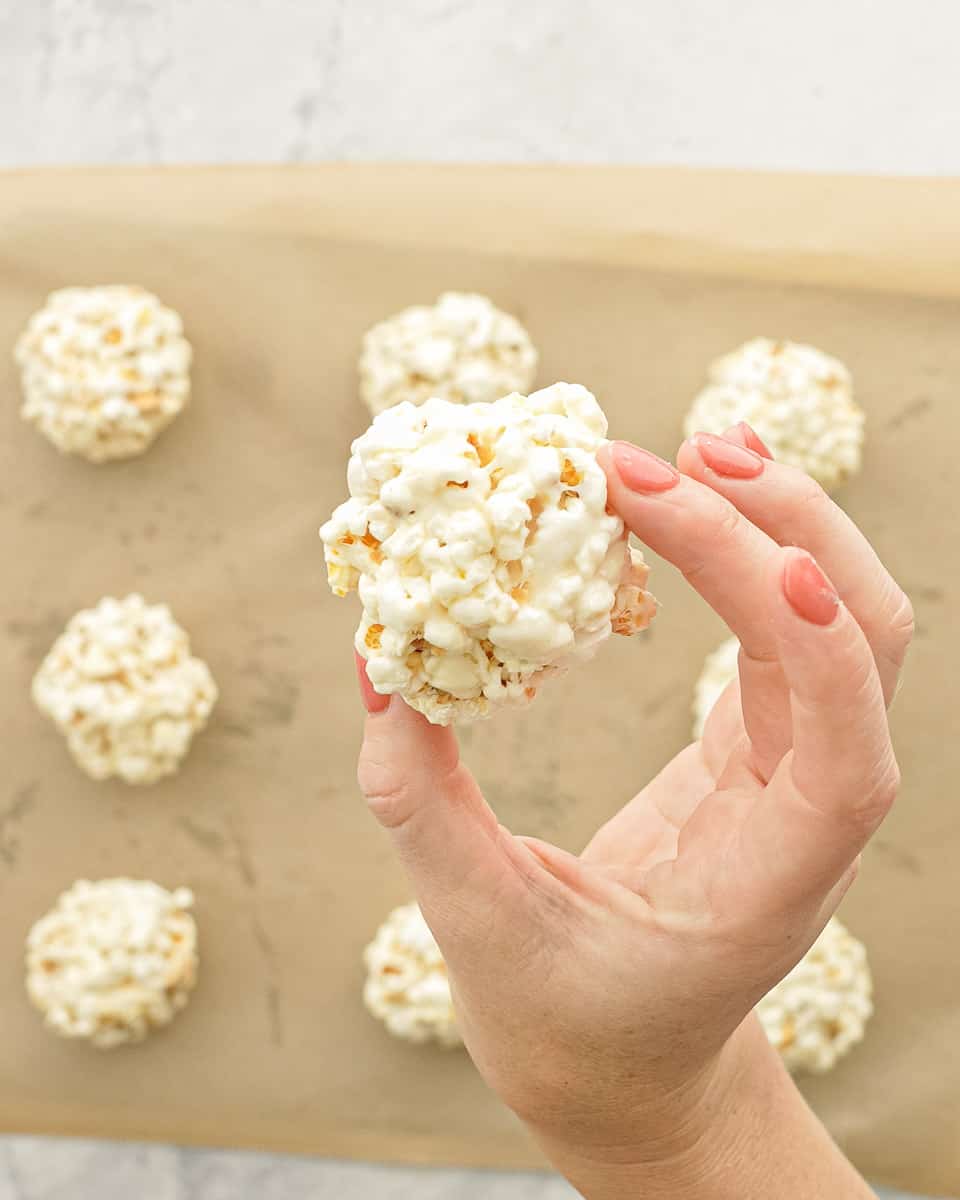
Step four: Lay out a sheet of baking paper, parchment paper or a non stick silicone mat on your bench top. Roll handfuls of the popcorn into balls (bunny tails). Leave to harden, then store in an air tight container.
Enjoy
Save This Recipe!
Top Tips
Here is how you can make these marshmallow popcorn balls perfectly every time!
- Be sure to remove any unpopped kernels before you add the popcorn to the recipe. It's awful to bite into a hard popcorn kernel.
- Using the method I've described the popcorn balls will have a soft chewy texture. If you would like them to be hard then you will ned to heat the melted marshmallow mixture until it reaches soft ball stage. You can use a candy thermometer to know when you are at the right temperature.
- The mixture can be a bit sticky when you are rolling the balls. I rub a little coconut oil into my hands before I start, but you could also use cooking spray.
- If you are making popcorn balls for a birthday party and what them to match a colour theme you can add food colouring when you add the vanilla extract and/or you can sprinkle on some sprinkles to the warm popcorn balls.
- Store your popcorn balls at room temperature in airtight containers for up to five days.
Popcorn and Young Children
Because of its size and shape and squishable nature popcorn is a choking hazard for young children. The Ministry of Health Guidelines in New Zealand do not recommend giving popcorn to children under five years of age.
Popcorn Balls
RATE THIS RECIPE
Save This Recipe!
Ingredients
- 8 cups popped popcorn 110 grams
- 3 cups marshmallows 150 grams
- 2 tablespoons coconut oil 35 grams
- ¼ cup white chocolate 40 grams
- ½ teaspoon vanilla extract
- 1 pinch salt
Instructions
- Heat a large saucepan (it needs to be big enough to hold all the ingredients) over a medium heat. Add the marshmallows, white chocolate and coconut oil.
- Stir until they are melted and combined. Remove from the heat
- Stir through vanilla extract and salt, and then stir through the popcorn so that all the popcorn is completely coated in the marshmallow mixture.
- Lay out a sheet of baking paper, parchment paper or a non stick silicone mat on your bench top.
- Roll handfuls of the popcorn into balls (bunny tails). Leave to harden, then store in an air tight container.
- Enjoy
Video
Notes
- Be sure to remove any unpopped kernels before you add the popcorn to the recipe. It's awful to bite into a hard popcorn kernel.
- Using the method I've described the popcorn balls will have a soft chewy texture. If you would like them to be hard then you will ned to heat the melted marshmallow mixture until it reaches soft ball stage. You can use a candy thermometer to know when you are at the right temperature.
- The mixture can be a bit sticky when you are rolling the balls. I rub a little coconut oil into my hands before I start, but you could also use cooking spray.
- If you are making popcorn balls for a birthday party and what them to match a colour theme you can add food colouring when you add the vanilla extract and/or you can sprinkle on some sprinkles to the warm popcorn balls.
- Store your popcorn balls at room temperature in airtight containers for up to five days.
- Popcorn: I use plain popcorn, if you would like to pop your own there are step by step instructions for stovetop popcorn in my cinnamon popcorn recipe. But of course there is no judgment if you grab a bag of popped popcorn from the supermarket or a pack of microwave popcorn.
- Marshmallows: When I made my bunny tails I separated out the marshmallows and used just the white ones, but you could of course make pink popcorn balls if you wish. Any sized marshmallows will work, including mini marshmallows which will melt a bit quicker than the large ones,
- Coconut oil: This can be substituted for butter if you prefer.
- White chocolate: If you would like to make these popcorn balls dairy-free you can leave out the white chocolate and double the coconut oil to four Tablespoons.
- Salt: You can skip the salt, but I love my popcorn when it is both sweet and salty.

Quick Start Guide To BLW
Baby led weaning doesn’t need to be complicated, grab my quick start guide to begin your little ones food journey.