Sushi Rice Recipe
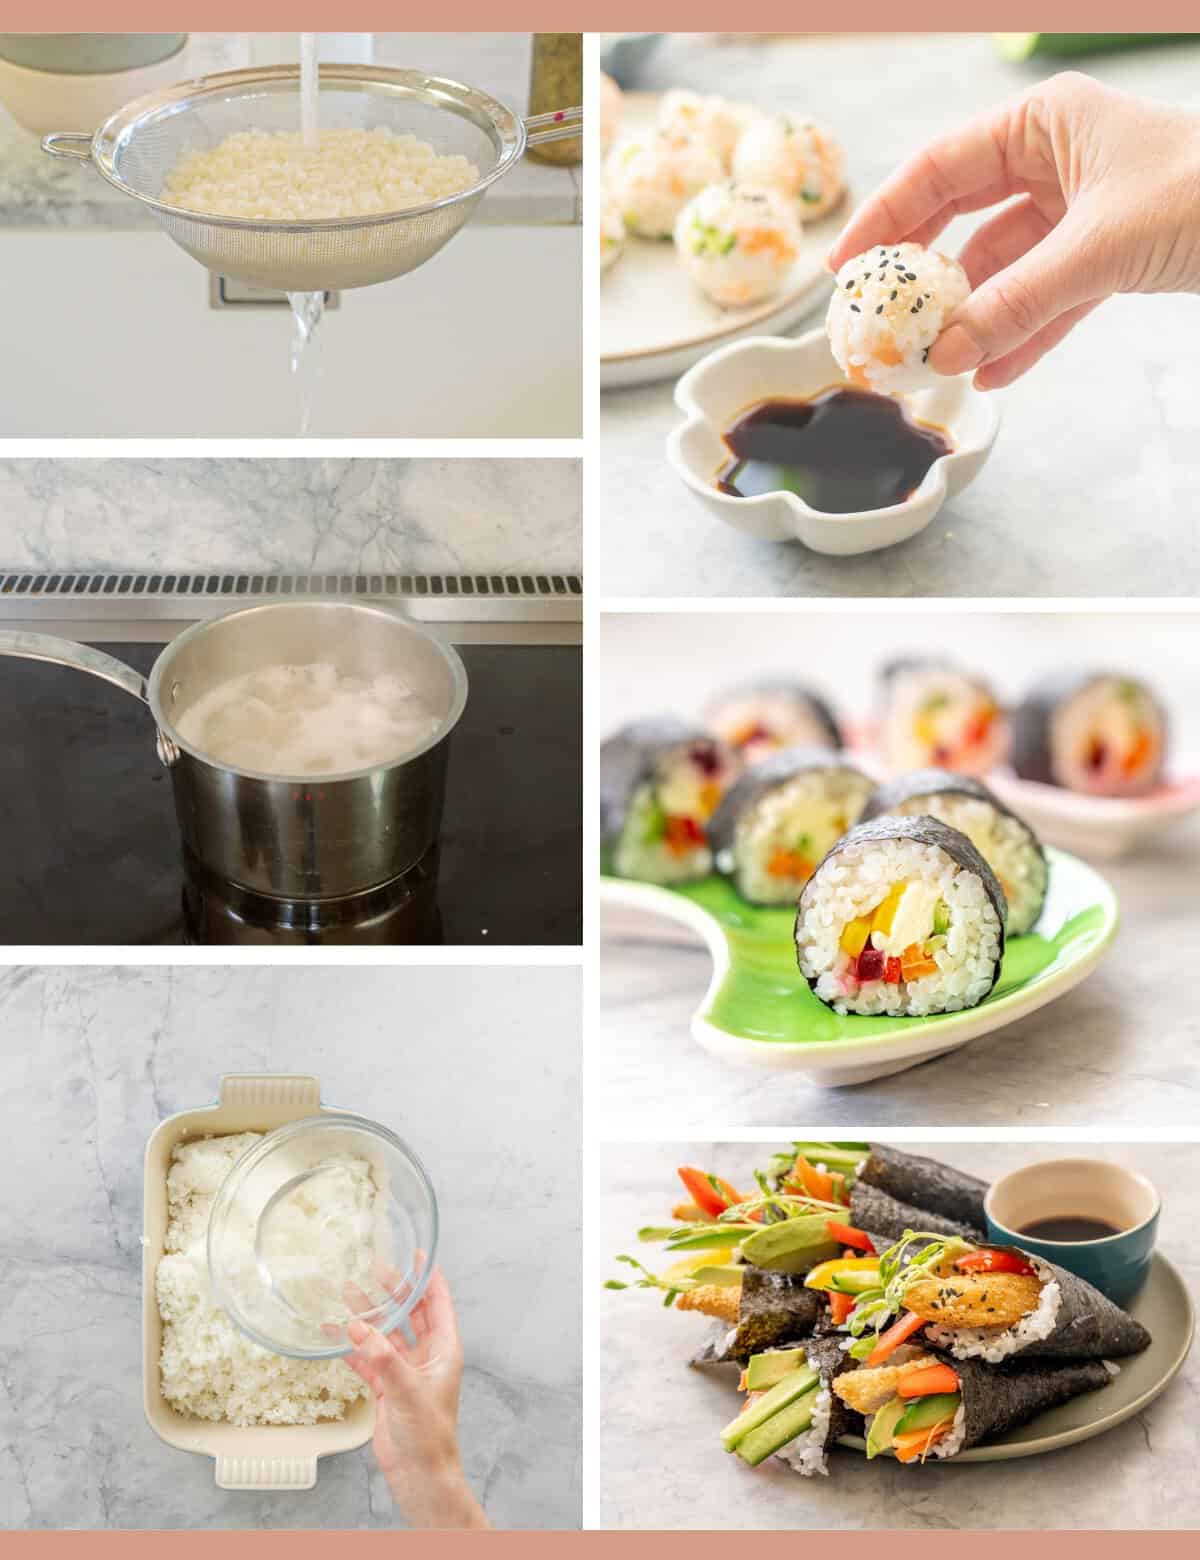
If your kids are like mine and LOVE sushi, use this easy sushi rice recipe to make your own at home so that you can enjoy sushi without the expense!
Once you've made homemade sushi rice it's so easy to then create rainbow sushi rolls, hand roll sushi, sushi balls, and chicken sushi bowls.
Ingredients you will need
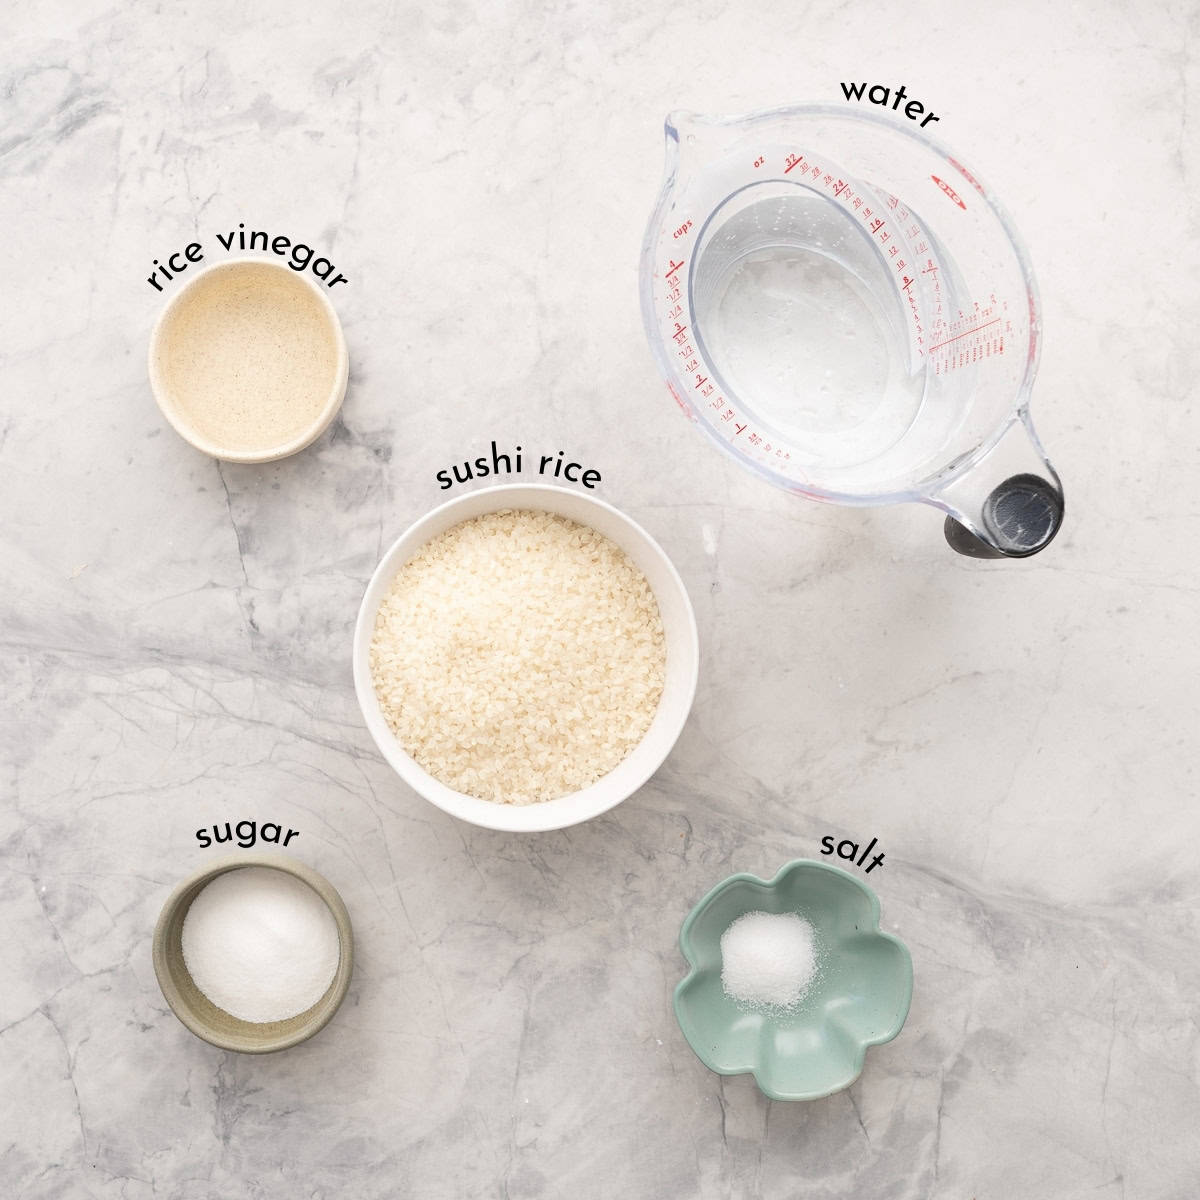
Ingredient Notes, Substitutes, & Alternatives
- Sushi Rice: Sushi rice is a Japanese short grained rice. It will be labeled sushi rice in your supermarket. If you don't have sushi rice a short grain rice can work as a substitute. Long-grain rice such as basmati rice or jasmine rice are not good for sushi.
- Salt, Sugar, Rice Vinegar: The familiar sushi rice flavor comes from seasoning the rice with salt, sugar and rice vinegar. I use a little less of each (than many recipes) when I make my sushi rice and my family are still happy with the taste when compared to store bought. You can absolutely skip the seasoning, my kids used to happily eat non-seasoned sushi when they were little, but now that they have a test for the store bought version they prefer it when I season it. If you prefer to avoid white sugar you can use another sweetener such as honey or coconut sugar. Rice vinegar may also be knows as sushi vinegar.
Stovetop Sushi Rice Step-By-Step
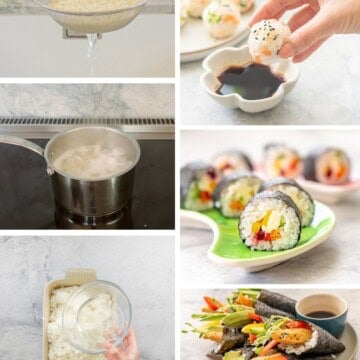
Below are illustrated step-by-step instructions to make my Sushi Rice recipe, if you prefer just the written instructions then head straight to the printable recipe card below.
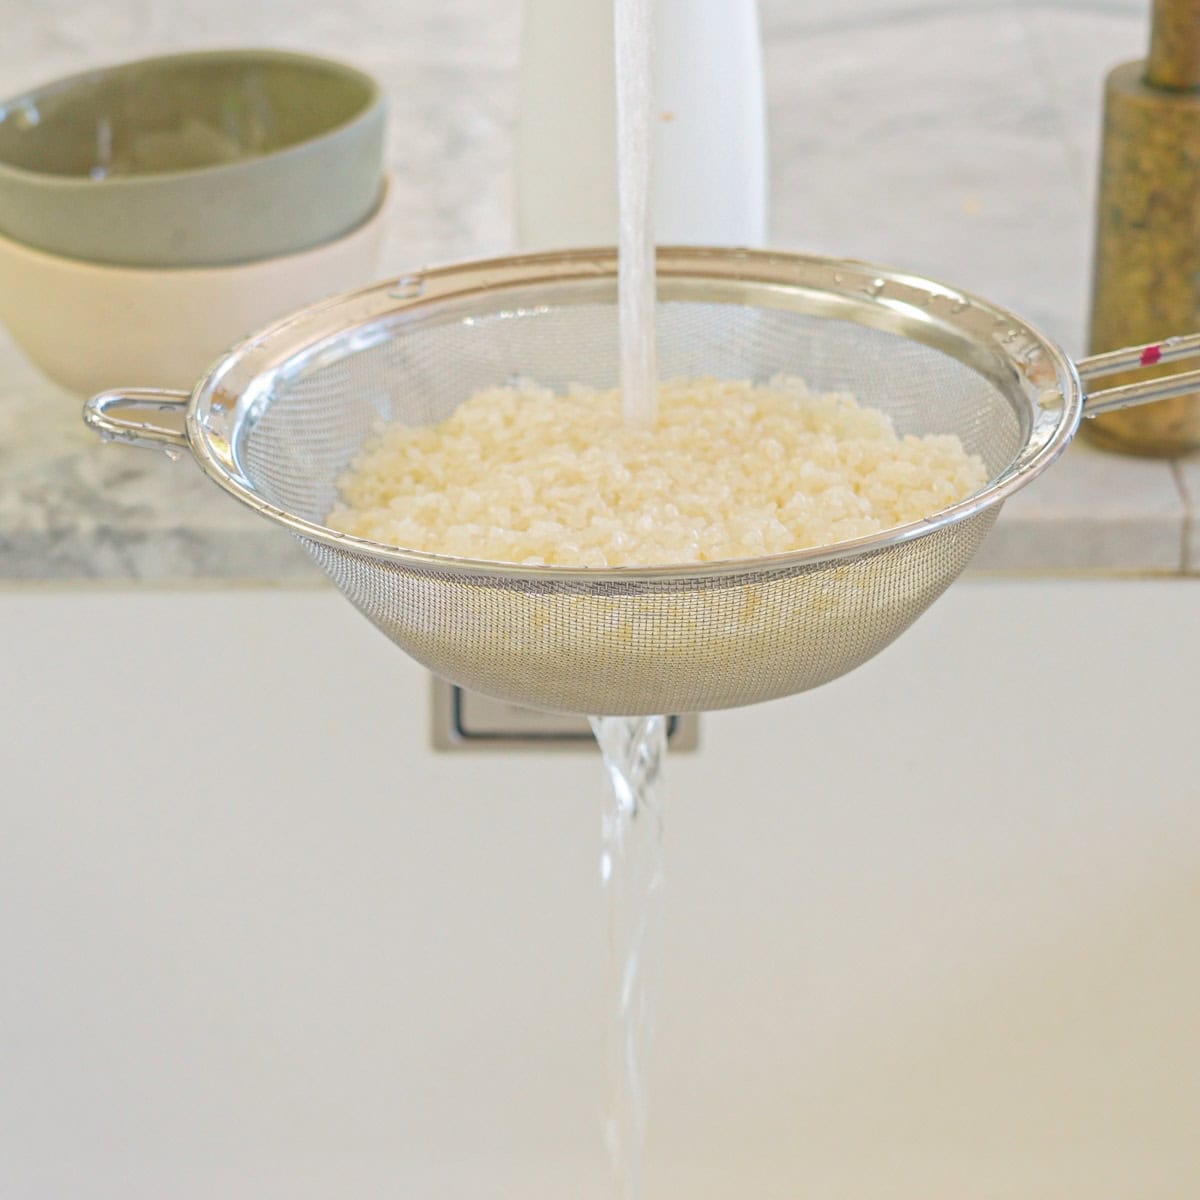
Step one: Rinse the Rice: Start by rinsing the sushi rice under cold water in a fine mesh strainer. This step is crucial—it helps remove excess starch and ensures your rice turns out fluffy and not sticky.
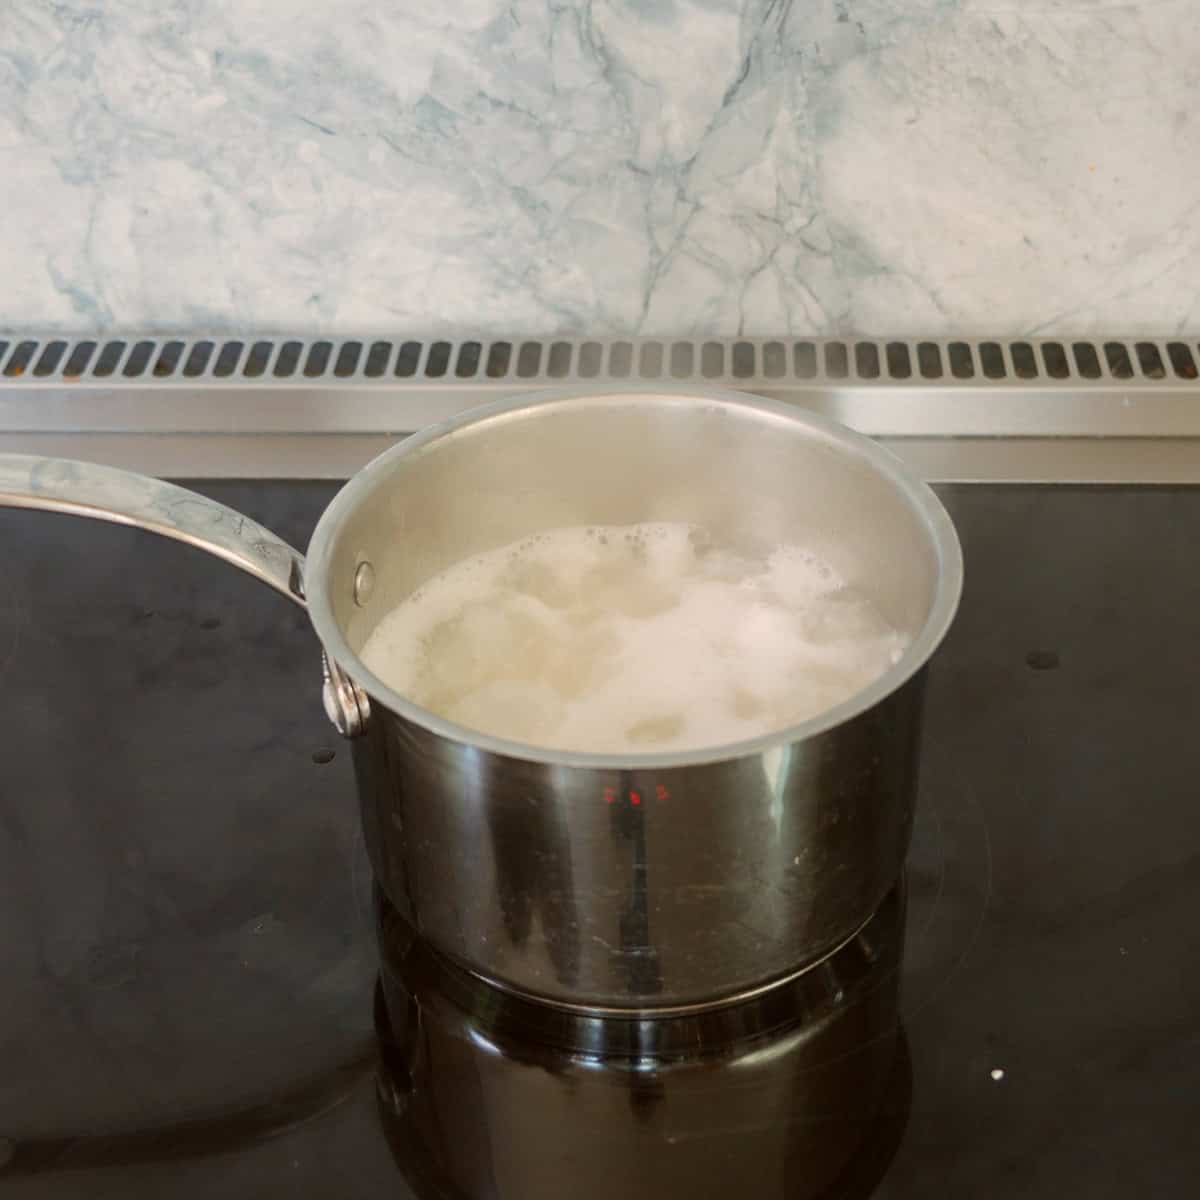
Step two: Cook the Rice: In a medium-sized pot, combine the rinsed sushi rice and 2 ½ cups of water. Bring it to a boil over medium-high heat. Once it starts boiling, reduce the heat to low, cover the pot, and let it simmer for about 18-20 minutes. Avoid lifting the lid during this time to keep the steam in!
Once the rice has cooked, remove it from the heat and let it sit, covered, for another 10 minutes. This resting period allows the rice to finish steaming.
Step three: Prepare the Vinegar Mixture: While the rice is cooking, mix together the rice vinegar, sugar, and salt in a small bowl. Leave the ingredients to soak while the rice cooks, it should then be easy to get the sugar to dissolve in the vinegar.
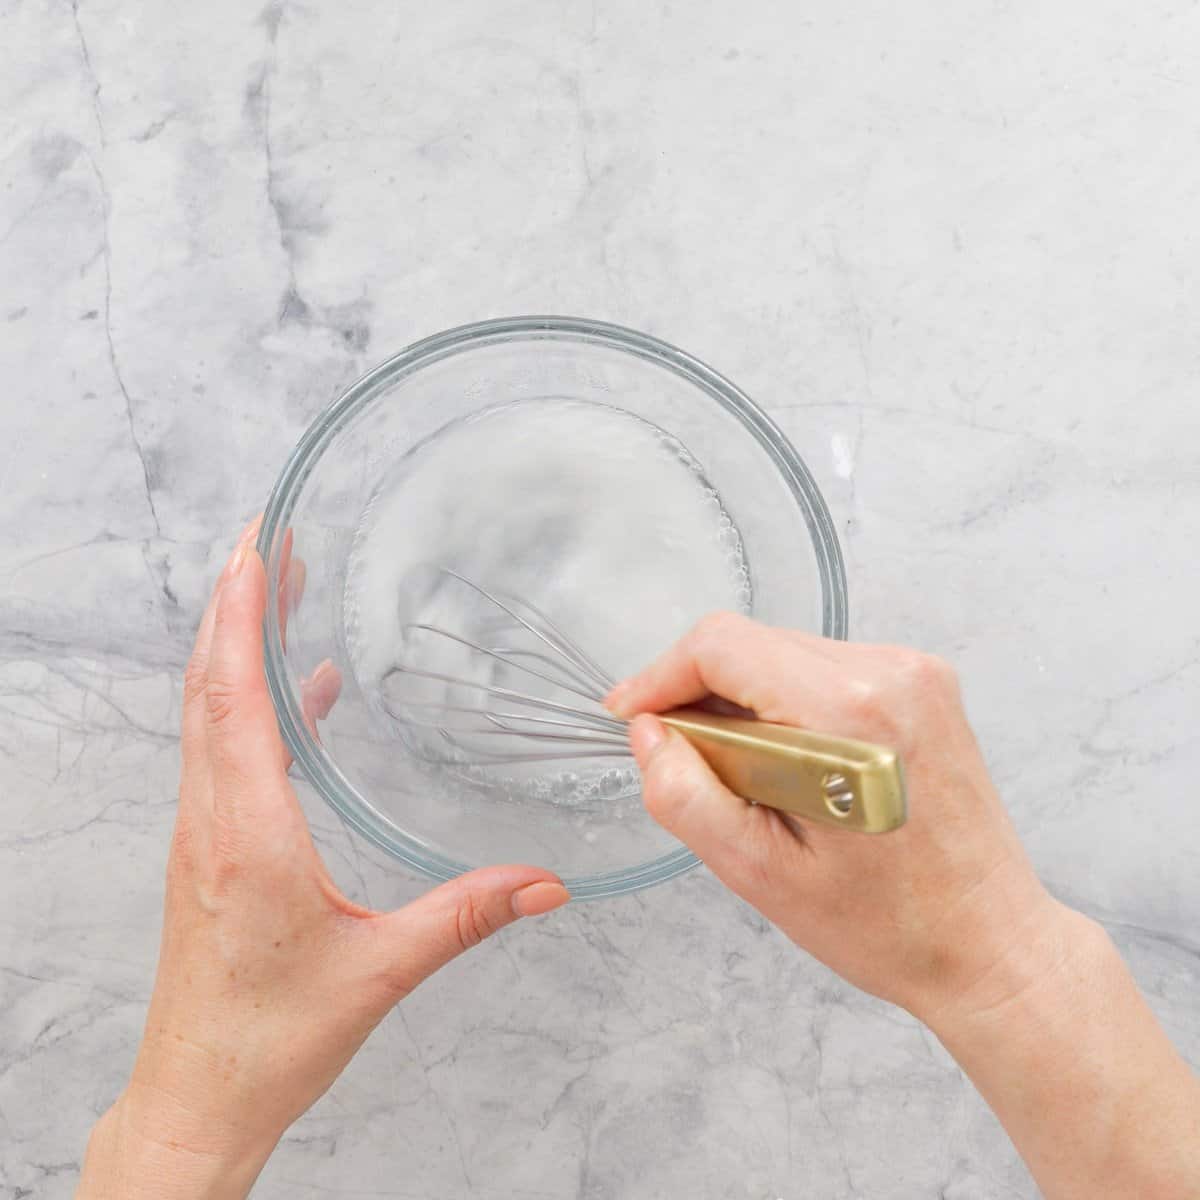
Step four: Combine with the Vinegar Mixture: Transfer the warm rice to a large bowl and drizzle the vinegar mixture over it. Gently fold the rice with a spatula or paddle to mix it in without mashing the grains. This step adds that classic sushi rice flavor!
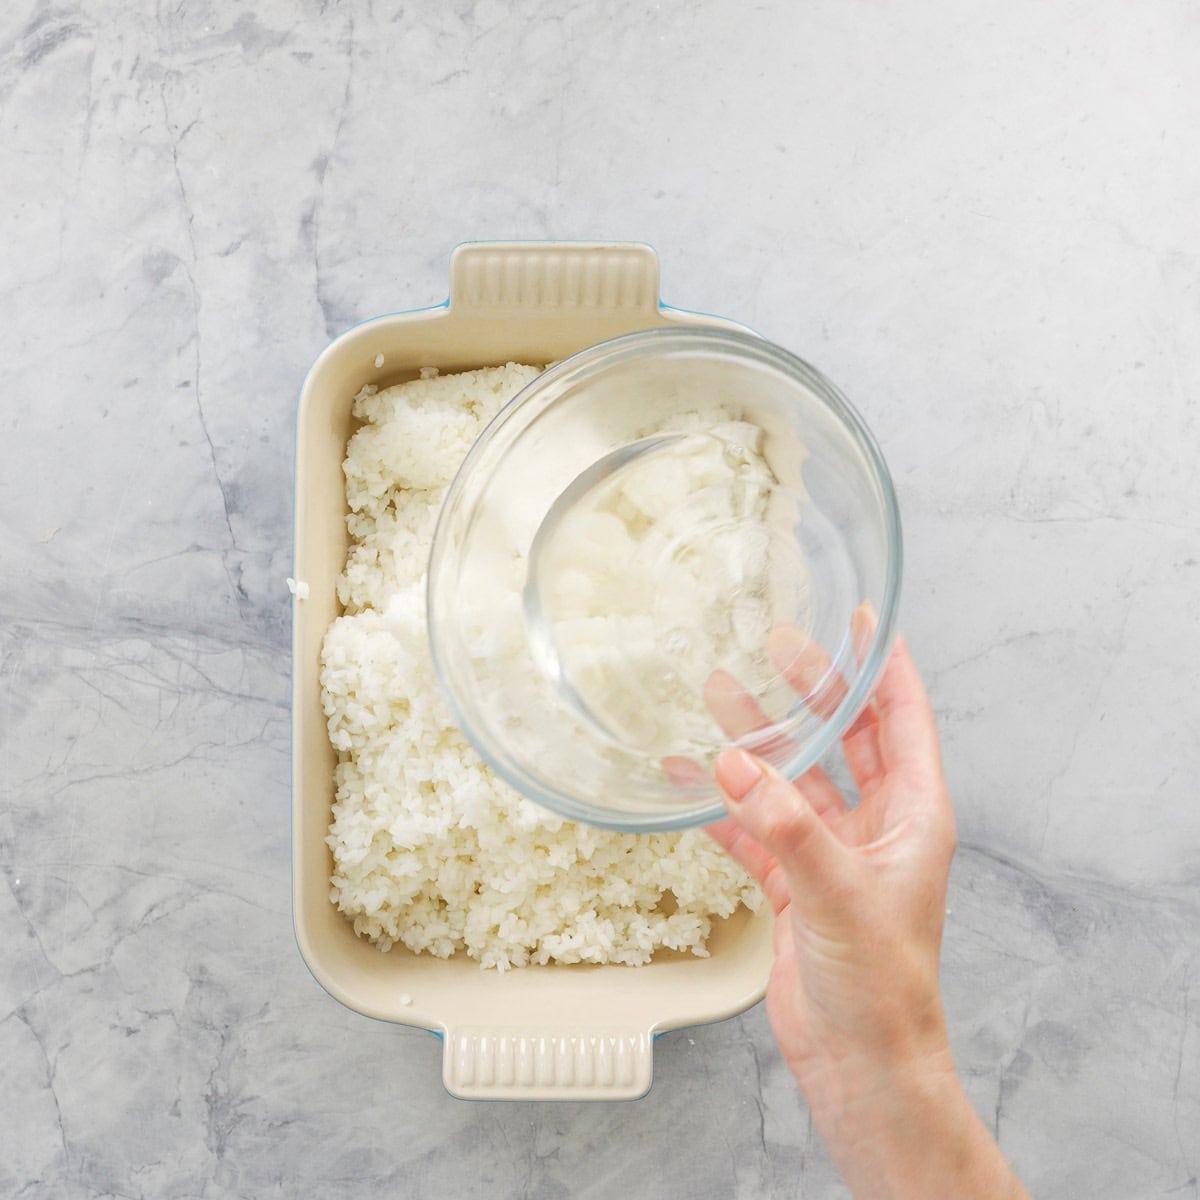
Step five: Cool the Rice: Let the sushi rice cool to room temperature before using it to make sushi rolls. You can speed up the cooling process by popping it in the fridge. The shallower the dish the quicker the sushi rice will cool.
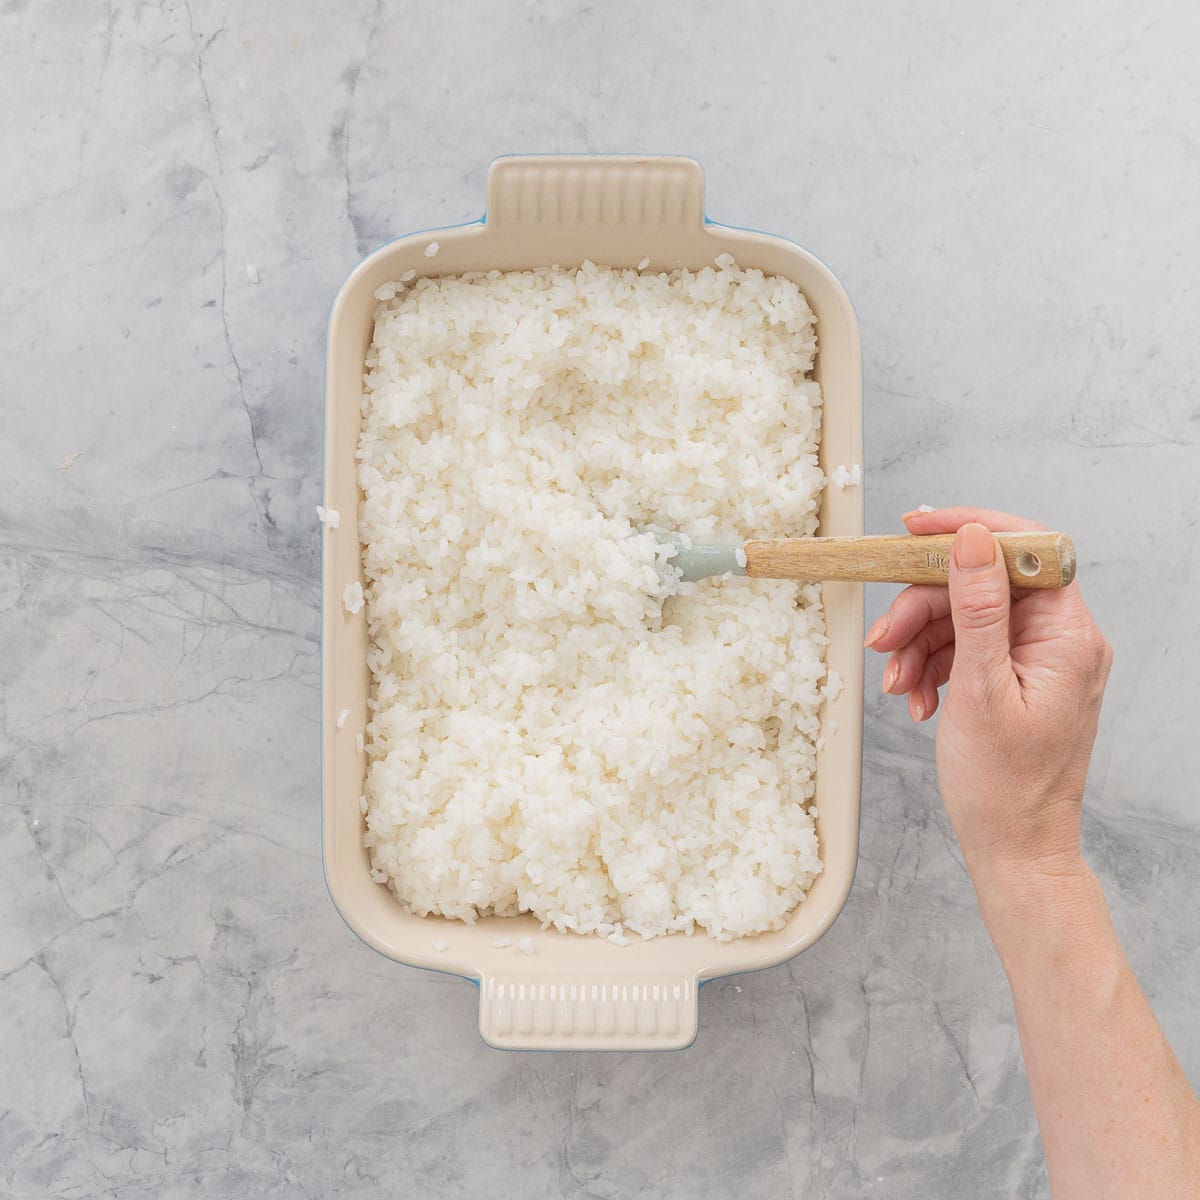
Enjoy!
Tips & Tricks
Here is how you can make this Sushi Rice perfectly every time!
- Once your sushi rice is cooked, damp hands and damp utensils will make the sushi rice easier to handle and stop it from sticking so much to you.
- Play around with the amount of sushi seasoning you use, you may not need as much salt and sugar as you think.
- Cool your rice quickly by transferring to a large shallow dish, store cooked sushi rice in the fridge below 4 degrees celsius, for up to three days. If your sushi rice sits at room temperature for more than two hours it should br discarded and not stored long term.
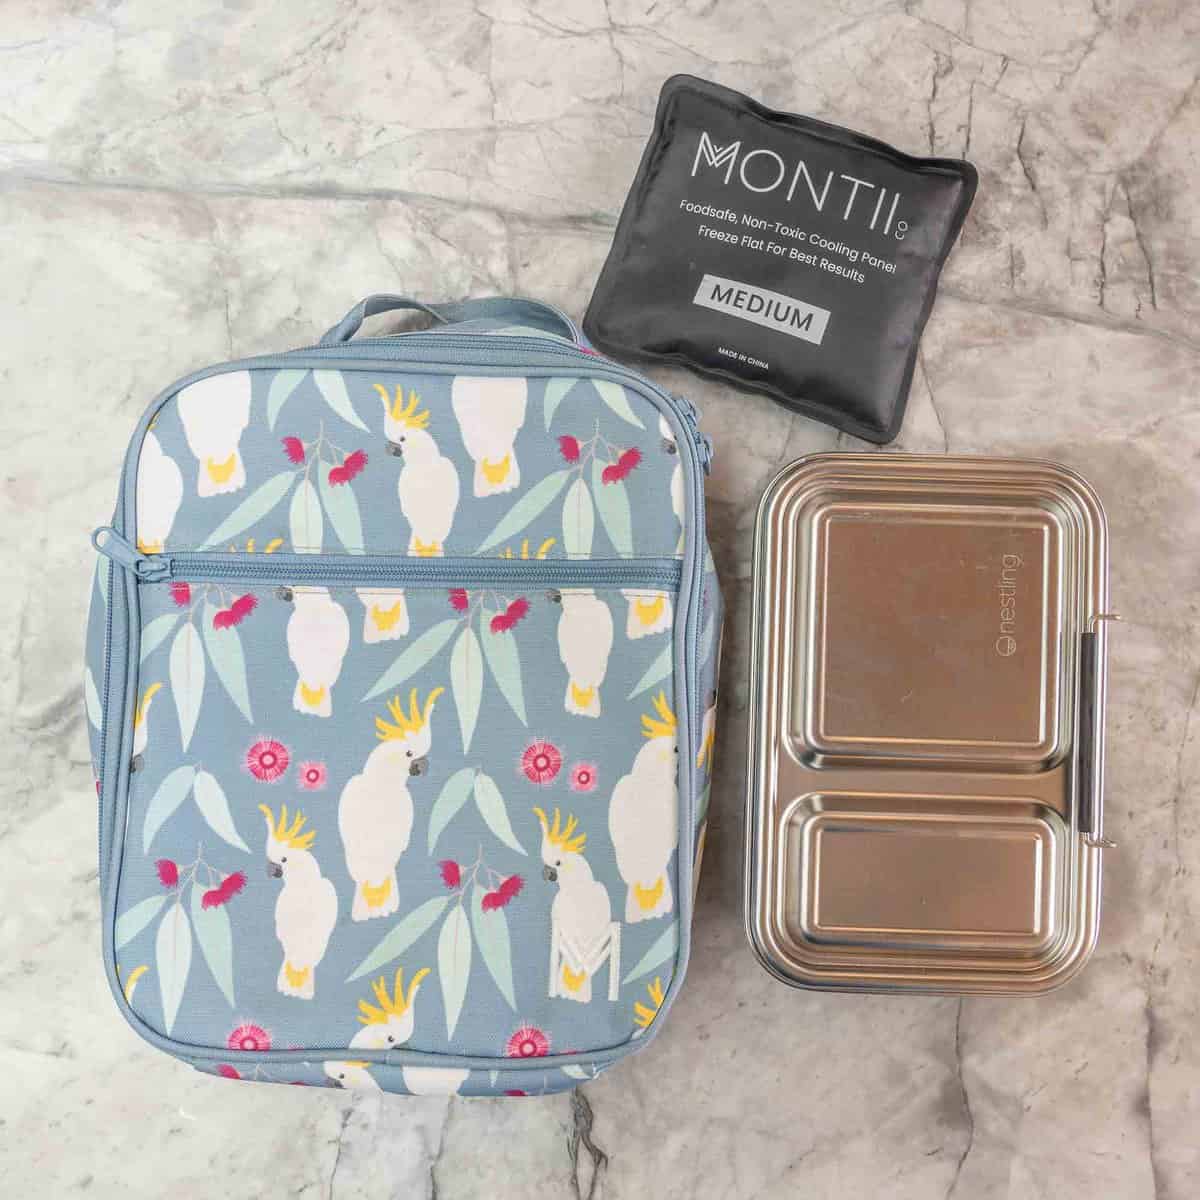
- I keep sushi rice in the fridge, make my kids sushi for their lunchboxes which goes to school in a cooler bag with an ice pack.
Save This Recipe!
How To Make This Recipe Suitable For Baby-Led-Weaning
- If you skip the seasoning with (particularly with salt and sugar) then this sushi rice recipe is suitable for baby led weaning.
- Check the sushi rice is well cooked with no hard grains.

If you tried this Sushi Rice recipe please leave a star rating and let me know how you go in the comments below. I love hearing from you!
Sushi Rice
RATE THIS RECIPE
Save This Recipe!
Ingredients
- 2 cups sushi rice
- 3 cups water
- ¼ cup rice vinegar
- 1 teaspoon salt
- 2 Tablespoons sugar
Instructions
- Rinse the Rice: Start by rinsing the sushi rice under cold water in a fine mesh strainer. This step is crucial—it helps remove excess starch and ensures your rice turns out fluffy and not sticky.
- Cook the Rice: In a medium-sized pot, combine the rinsed sushi rice and 2 ½ cups of water. Bring it to a boil over medium-high heat. Once it starts boiling, reduce the heat to low, cover the pot, and let it simmer for about 18-20 minutes. Avoid lifting the lid during this time to keep the steam in!Once the rice has cooked, remove it from the heat and let it sit, covered, for another 10 minutes. This resting period allows the rice to finish steaming.
- Prepare the Vinegar Mixture: While the rice is cooking, mix together the rice vinegar, sugar, and salt in a small bowl. Leave the ingredients to soak while the rice cooks, it should then be easy to get the sugar to dissolve in the vinegar.
- Combine with the Vinegar Mixture: Transfer the warm rice to a large bowl and drizzle the vinegar mixture over it. Gently fold the rice with a spatula or paddle to mix it in without mashing the grains. This step adds that classic sushi rice flavor!
- Cool the Rice: Let the sushi rice cool to room temperature before using it to make sushi rolls. You can speed up the cooling process by popping it in the fridge. The shallower the dish the quicker the sushi rice will cool.
Notes
- Yield 6-7 cups
- Once your sushi rice is cooked, damp hands and damp utensils will make the sushi rice easier to handle and stop it from sticking so much to you.
- Play around with the amount of sushi seasoning you use, you may not need as much salt and sugar as you think.
- Cool your rice quickly by transferring to a large shallow dish, store cooked sushi rice in the fridge below 4 degrees celsius, for up to three days. If your sushi rice sits at room temperature for more than two hours it should br discarded and not stored long term.
- I keep sushi rice in the fridge, make my kids sushi for their lunchboxes which goes to school in a cooler bag with an ice pack.

Quick Start Guide To BLW
Baby led weaning doesn’t need to be complicated, grab my quick start guide to begin your little ones food journey.