Instant Pot Sushi Rice
Instant Pot Sushi Rice is a foolproof way to make great sushi rice that you can then use for all the sushi recipes your family love.
Like Hand Rolls, Cucumber Sushi, Sushi Balls and Sushi Bowls.

Ingredients you will need
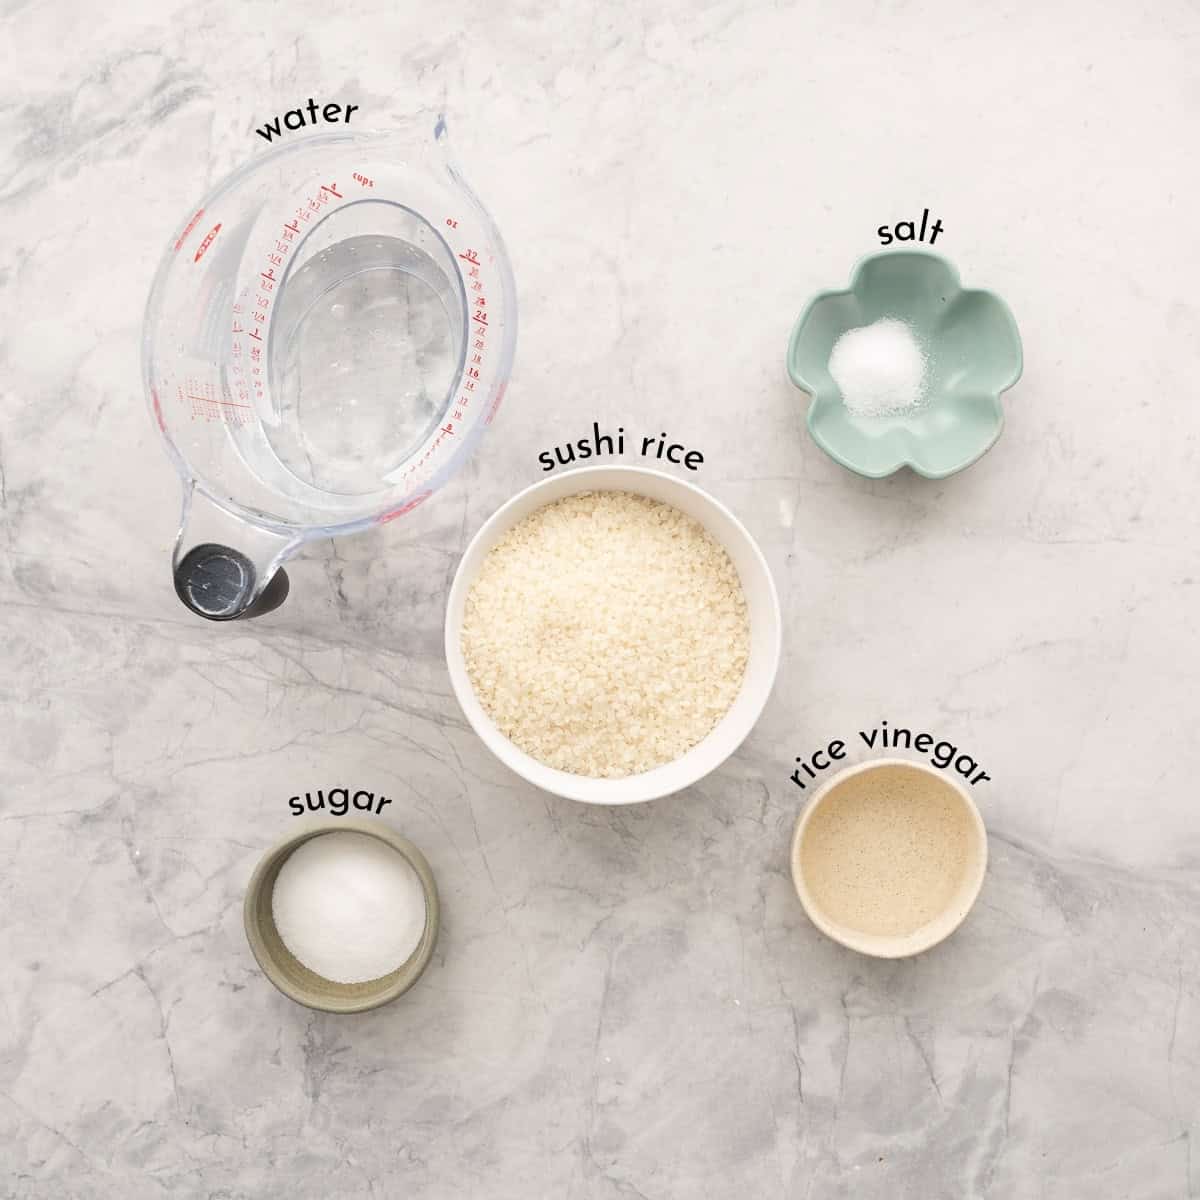
Ingredient Notes, Substitutes, & Alternatives
- Sushi Rice: Sushi rice is a type of short-grain rice that’s perfect for making sushi, and you’ll find it labeled as "sushi rice" at your supermarket. If you can’t find it, don’t stress—a short-grain rice will also work. Just make sure to avoid long-grain varieties like basmati or jasmine, as they don’t give you that perfect sushi texture.
- Salt, Sugar, Rice Vinegar: The key to that familiar sushi rice flavor comes from seasoning it with salt, sugar, and rice vinegar. I tend to use a little less of each ingredient than some recipes call for, and my family still loves it—it's a bit more subtle compared to store-bought sushi rice. You can totally skip the seasoning if you prefer; my kids used to eat sushi rice without any seasoning when they were younger, but now that they’ve tasted store-bought sushi, they love it with a little flavor added. If you're avoiding white sugar, you can easily swap it out for honey or coconut sugar. Just a heads up—rice vinegar is sometimes labeled as sushi vinegar, so keep an eye out for that!
Instant Pot Sushi Rice Step-By-Step
Below are illustrated step-by-step instructions to make my Instant Pot Sushi Rice recipe, if you prefer just the written instructions then head straight to the printable recipe card below.
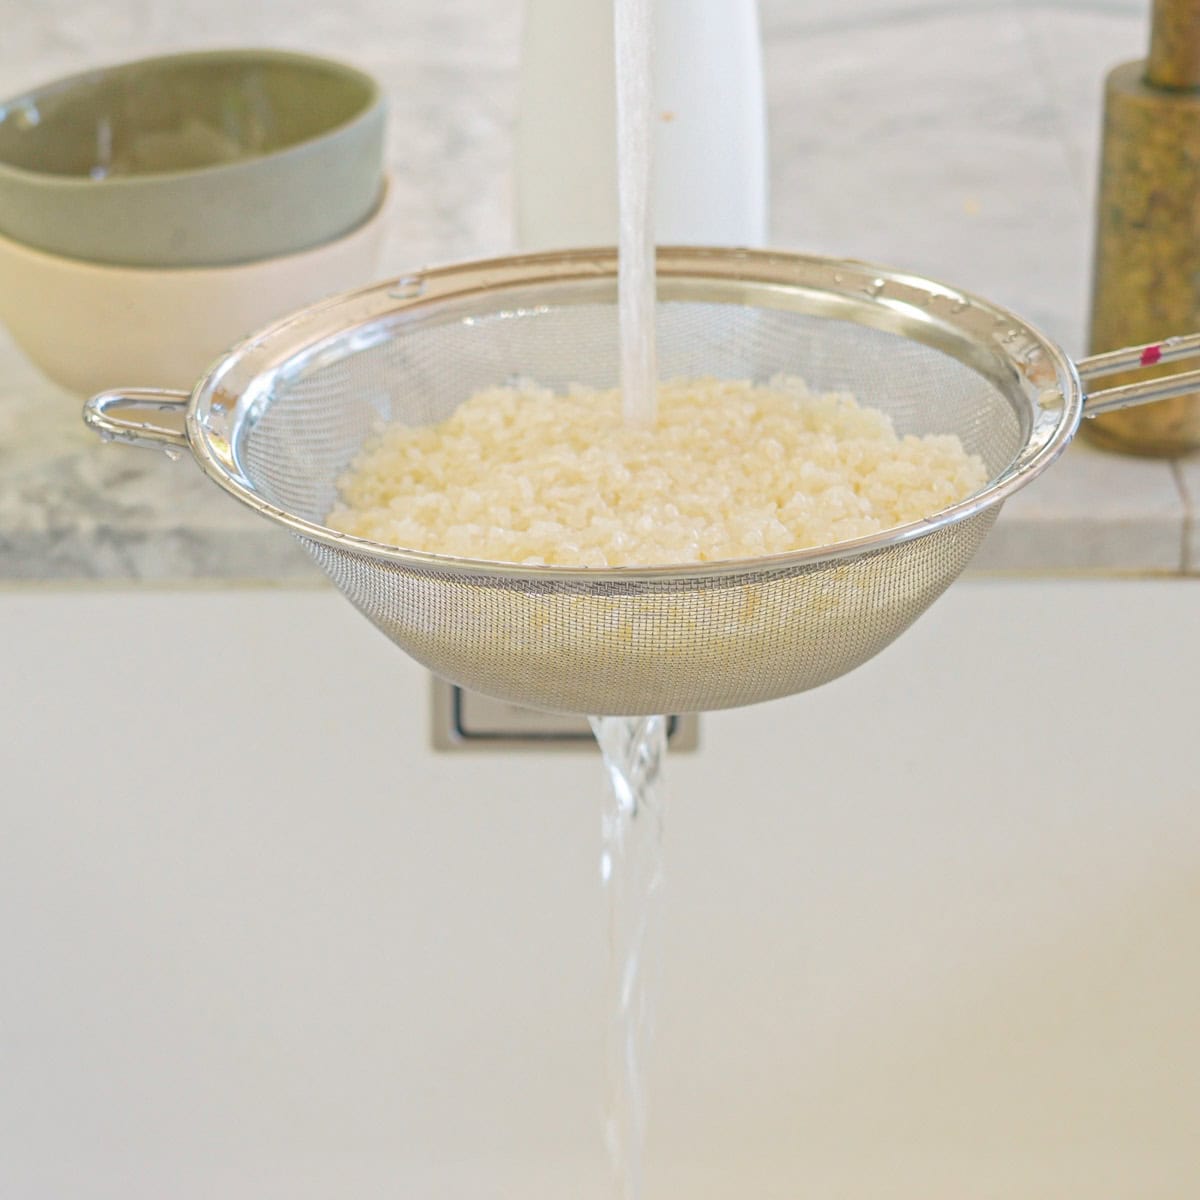
Step one: Rinse the Rice: Start by rinsing the sushi rice under cold water in a fine mesh strainer. This helps remove excess starch, ensuring your rice turns out perfectly fluffy. Rinse until the water runs clear.
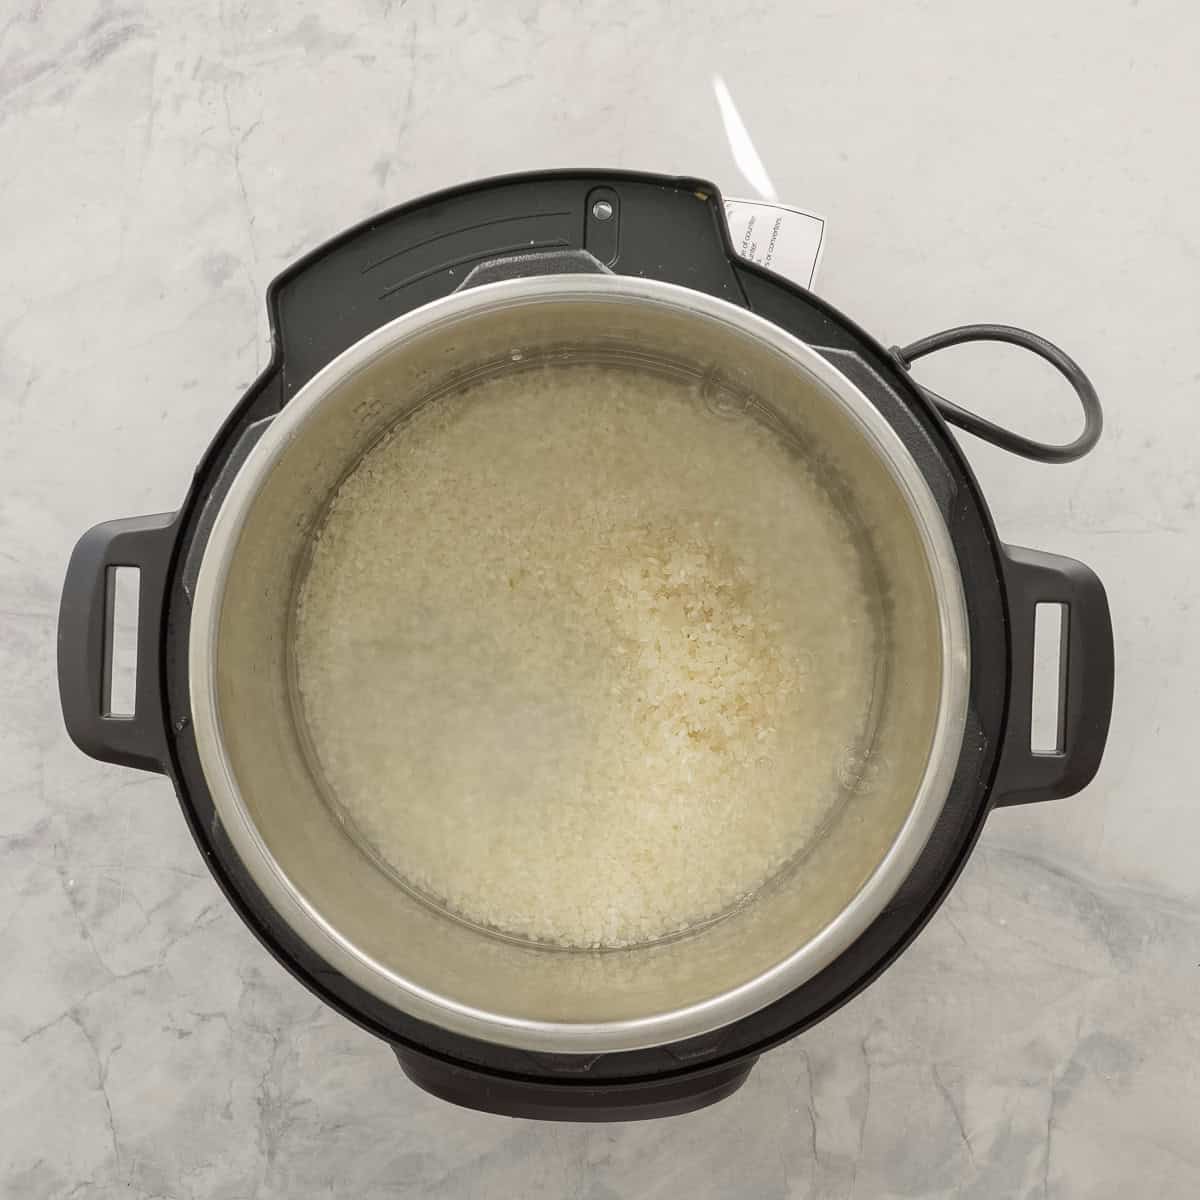
Step two: Add to the Instant Pot: Pour the rinsed sushi rice into the Instant Pot and add 2 ½ cups of water. Give it a gentle stir to ensure the rice is evenly distributed.
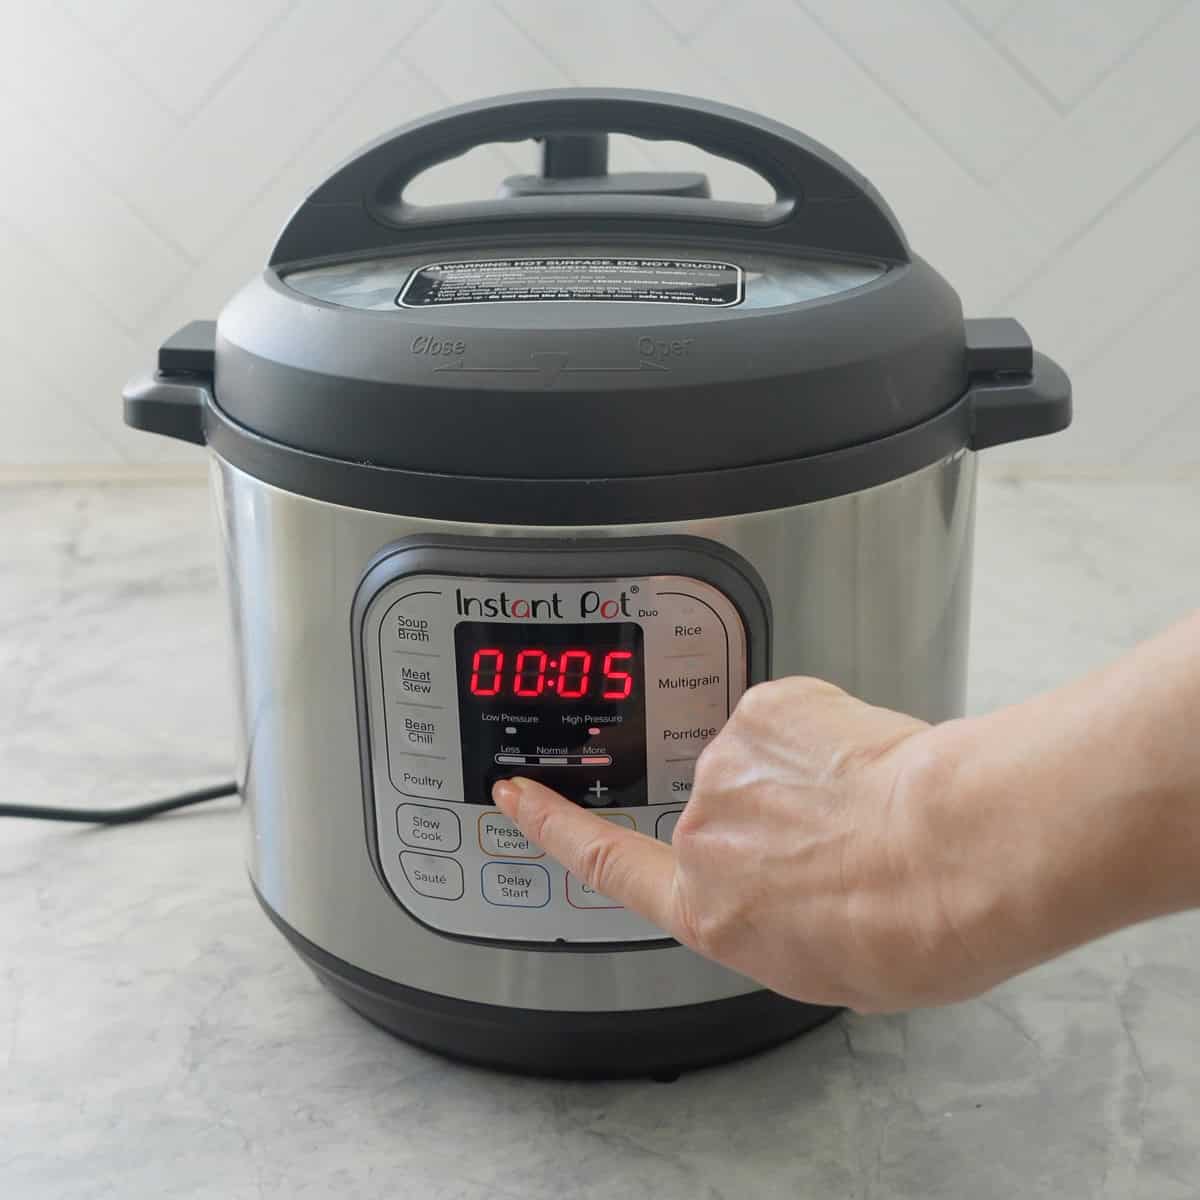
Step three: Pressure Cook the Rice: Close the lid, making sure the valve is set to "sealing." Select the "Manual" or "Pressure Cook" setting and adjust the time to 4 minutes on high pressure. Once the cooking time is up, allow for a natural pressure release for 10 minutes before carefully switching the valve to "venting" to release any remaining pressure.
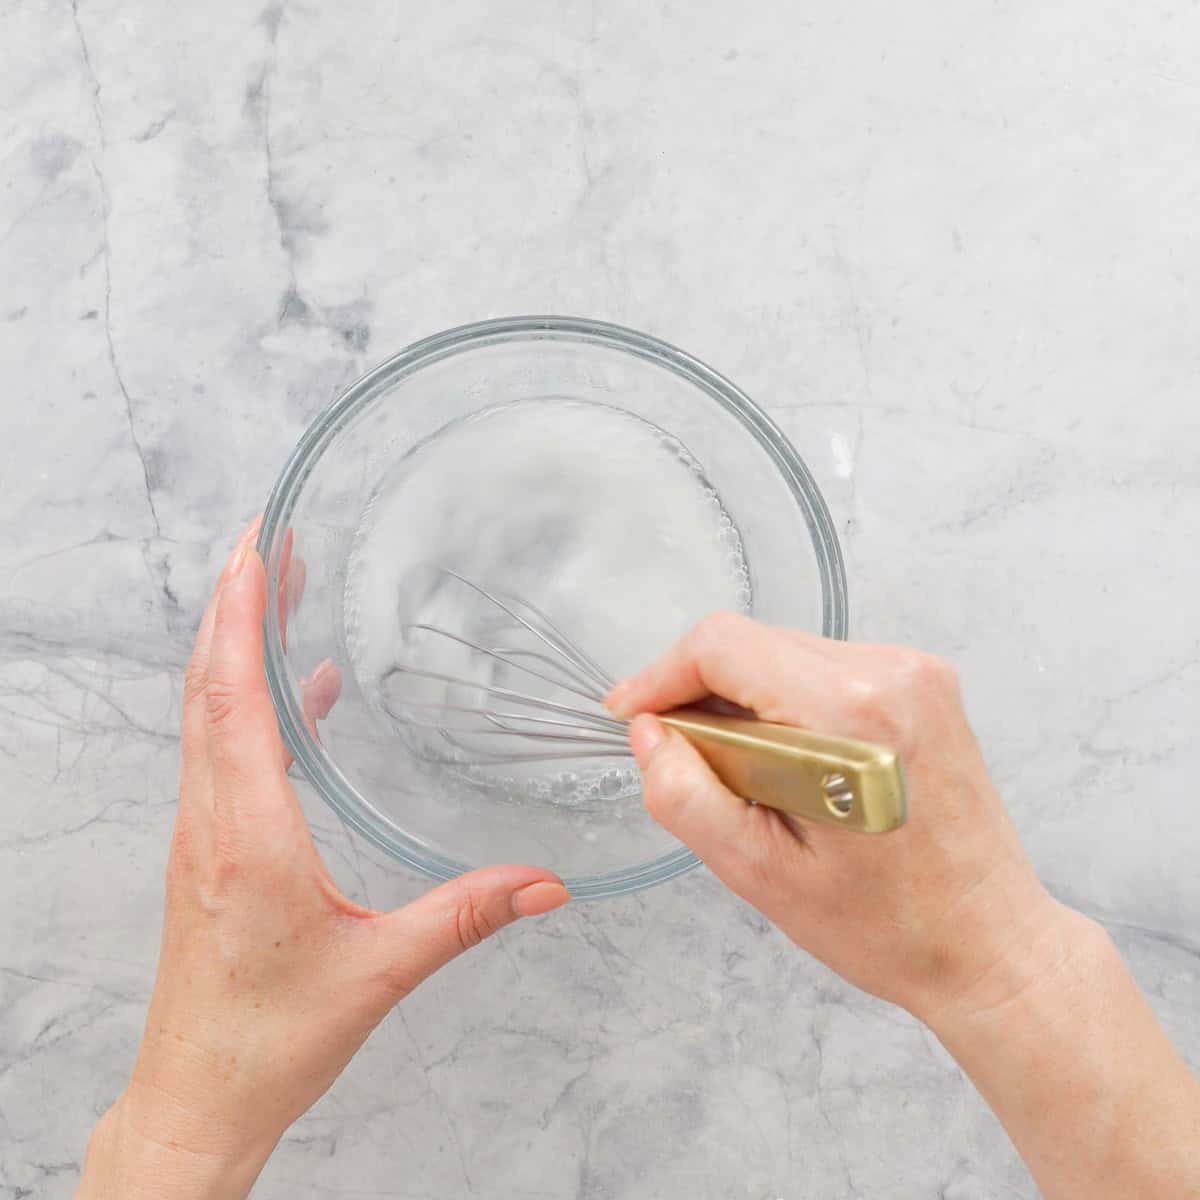
Step four: Prepare the Vinegar Mixture: While the rice is cooking, mix together the rice vinegar, sugar, and salt in a small bowl. Leave the ingredients to soak while the rice cooks, it should then be easy to get the sugar to dissolve in the vinegar.
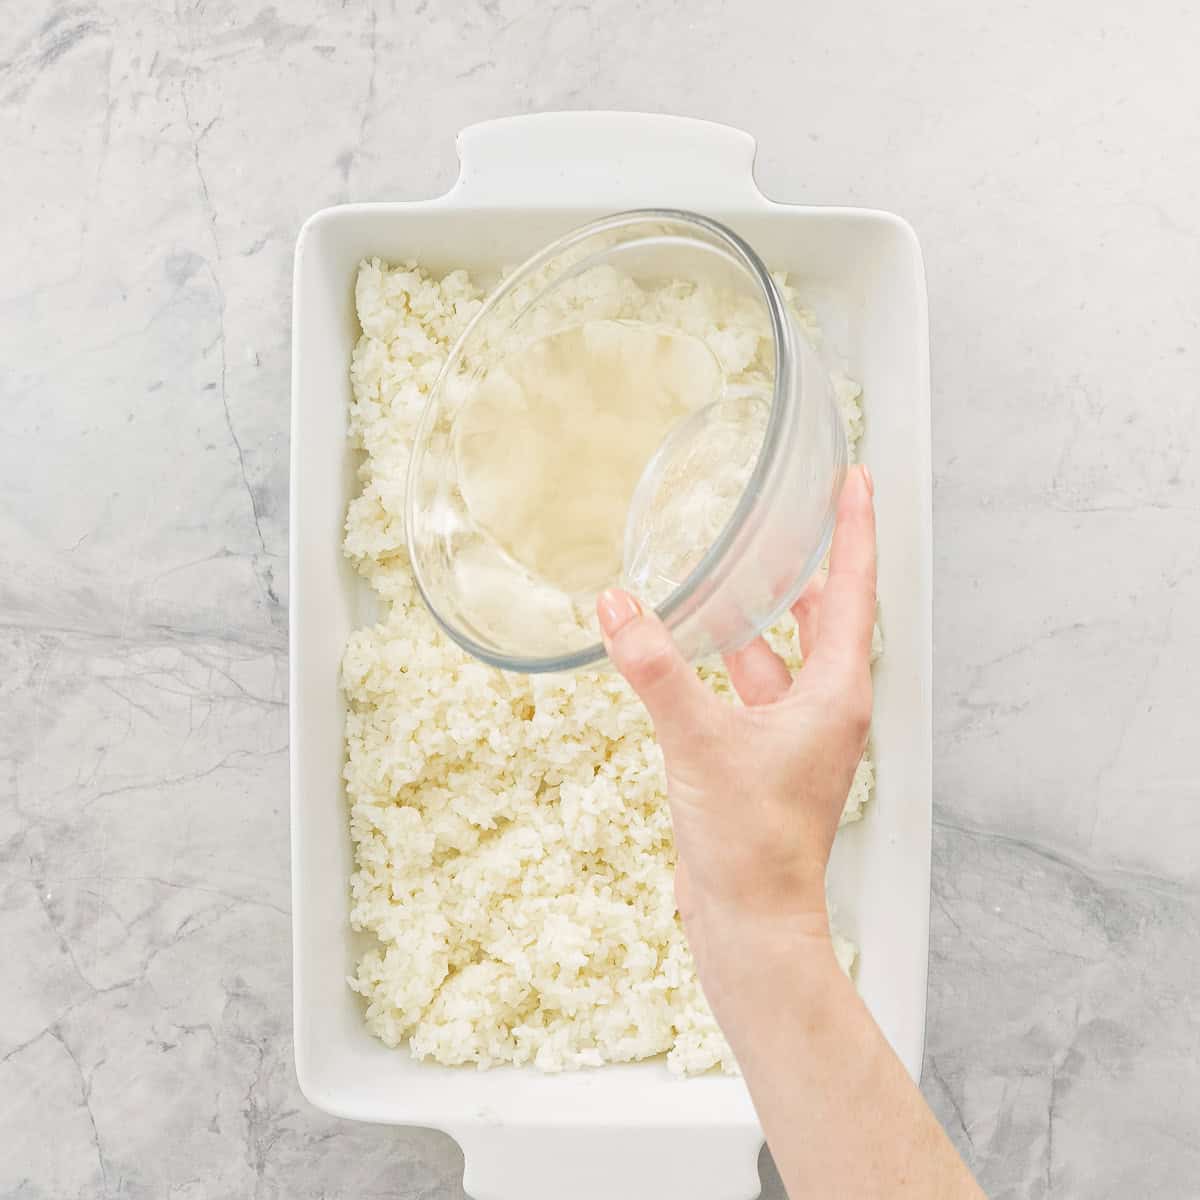
Step five: Combine with the Vinegar Mixture: Transfer the warm rice to a large bowl and drizzle the vinegar mixture over it. Gently fold the rice with a spatula or paddle to mix it in without mashing the grains. This step adds that classic sushi rice flavor!
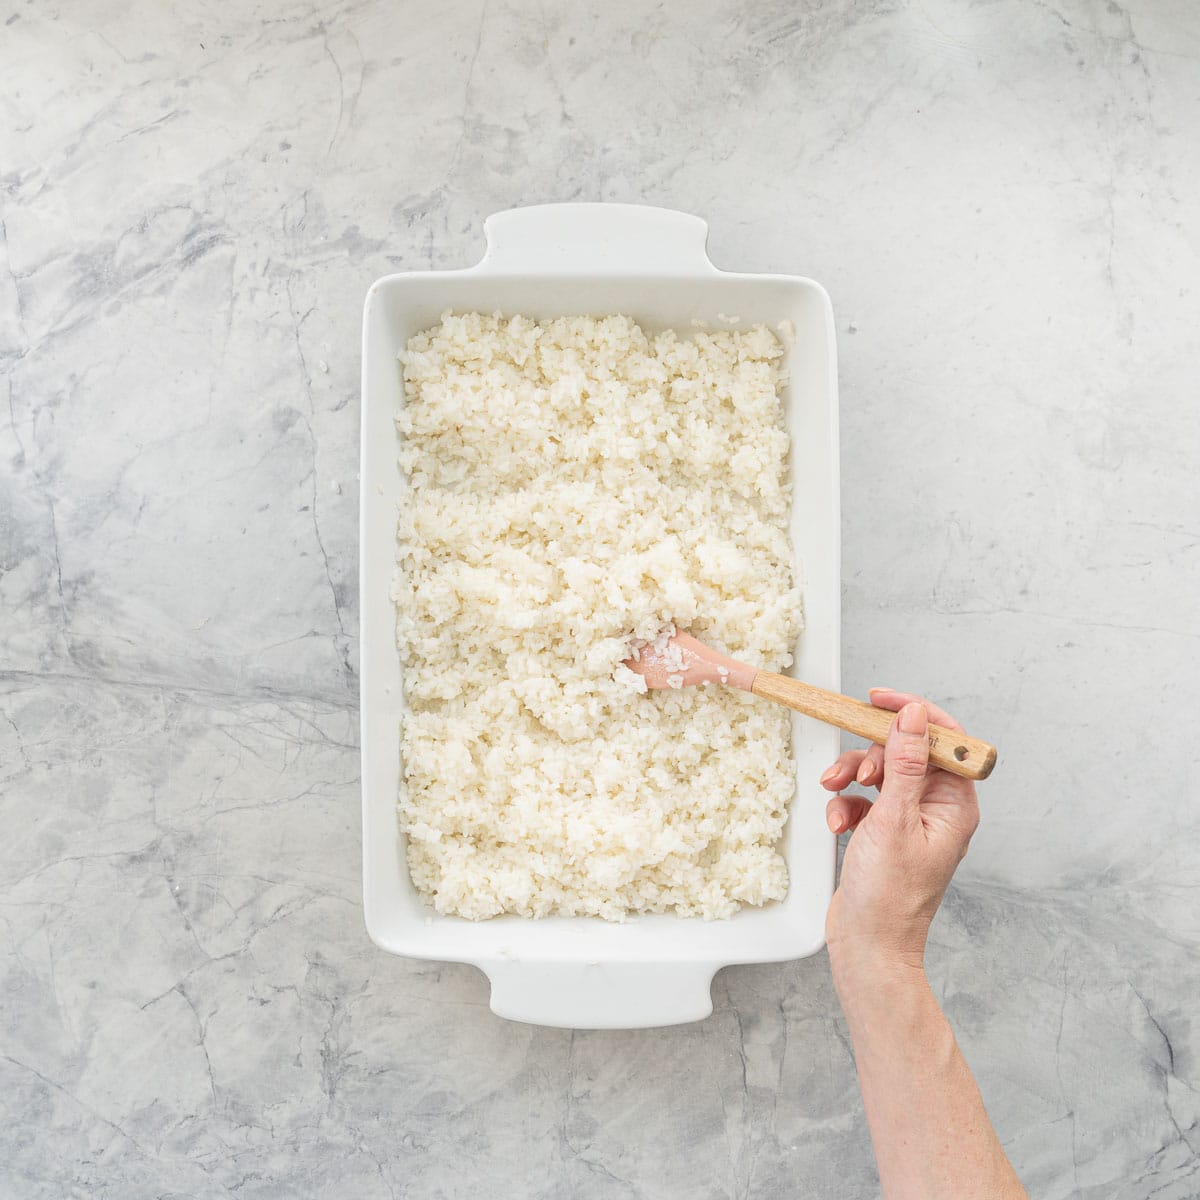
Step six: Cool the Rice: Let the sushi rice cool to room temperature before using it to make sushi rolls. You can speed up the cooling process by popping it in the fridge. The shallower the dish the quicker the sushi rice will cool.
Enjoy!
Tips & Tricks
Here is how you can make this Instant Pot Sushi Rice perfectly every time!
- Making sushi rice in the Instant Pot is a game changer, but handling it properly afterward is key. Once your sushi rice is cooked, dampening your hands and utensils makes everything easier—no more sticky rice on your fingers or tools! It’s a simple trick that really helps when you’re preparing sushi at home or for your kids' lunchboxes.
- When it comes to sushi seasoning, don’t be afraid to play around with the amount of salt and sugar. You might find that you don’t need as much as some recipes suggest, and adjusting it to your taste is a great way to make the rice just right for your family. Every palate is different, and that’s what makes homemade sushi so fun!
- To cool the rice quickly, transfer it to a large shallow dish to help it cool evenly. Once it’s cooled, store your sushi rice in the fridge at a temperature below 4°C, and it’ll keep for up to three days. Keep in mind, if the rice has been sitting at room temperature for more than two hours, it’s best to toss it to ensure it’s safe to eat.
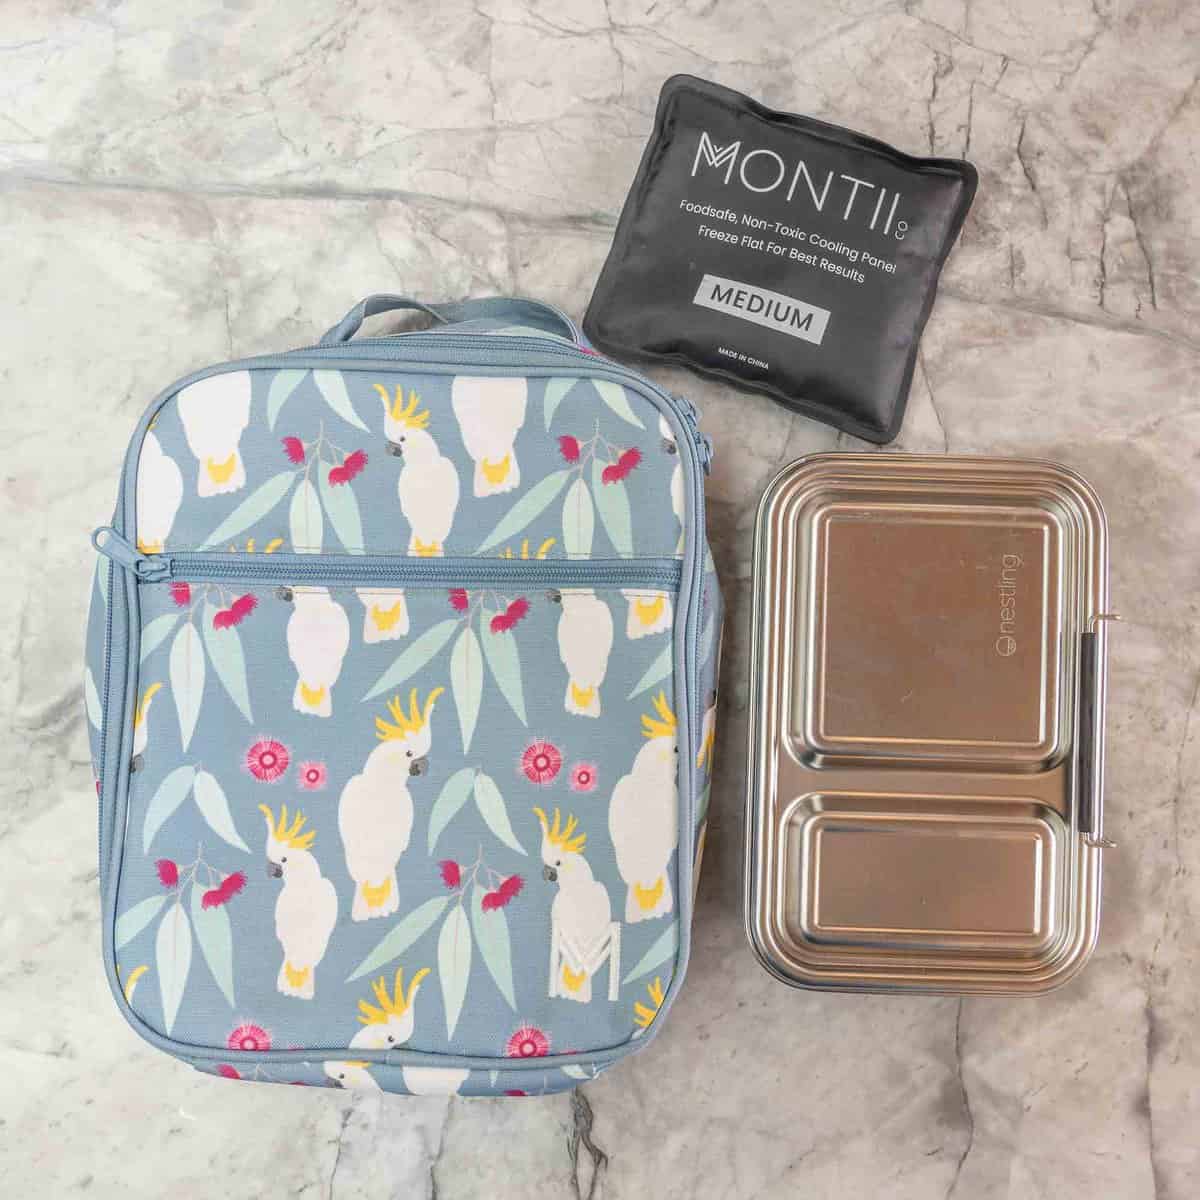
- I love keeping sushi rice in the fridge for quick, easy meals—my kids love having sushi in their lunchboxes, and I send them off to school in a cooler bag with an ice pack to keep it fresh. It’s an easy, fun, and healthy lunch option that I can prep ahead of time!
Save This Recipe!
How To Make This Recipe Suitable For Baby-Led-Weaning
- Be sure to check the rice is well cooked with no hard grains.
- Skip the seasoning with salt and sugar then this sushi rice recipe is suitable for baby led weaning.

If you tried this Instant Pot Sushi Rice recipe please leave a star rating and let me know how you go in the comments below. I love hearing from you!

Instant Pot Sushi Rice
RATE THIS RECIPE
Save This Recipe!
Ingredients
- 2 cups sushi rice
- 2 ½ cups water
- ¼ cup rice vinegar
- 1 teaspoon salt
- 2 Tablespoons sugar
Instructions
- Rinse the Rice: Start by rinsing the sushi rice under cold water in a fine mesh strainer. This helps remove excess starch, ensuring your rice turns out perfectly fluffy. Rinse until the water runs clear.
- Add to the Instant Pot: Pour the rinsed sushi rice into the Instant Pot and add 2 ½ cups of water. Give it a gentle stir to ensure the rice is evenly distributed.
- Pressure Cook the Rice: Close the lid, making sure the valve is set to "sealing." Select the "Manual" or "Pressure Cook" setting and adjust the time to 4 minutes on high pressure. Once the cooking time is up, allow for a natural pressure release for 10 minutes before carefully switching the valve to "venting" to release any remaining pressure.
- Prepare the Vinegar Mixture: While the rice is cooking, mix together the rice vinegar, sugar, and salt in a small bowl. Leave the ingredients to soak while the rice cooks, it should then be easy to get the sugar to dissolve in the vinegar.
- Combine with the Vinegar Mixture: Transfer the warm rice to a large bowl and drizzle the vinegar mixture over it. Gently fold the rice with a spatula or paddle to mix it in without mashing the grains. This step adds that classic sushi rice flavor!
- Cool the Rice: Let the sushi rice cool to room temperature before using it to make sushi rolls. You can speed up the cooling process by popping it in the fridge. The shallower the dish the quicker the sushi rice will cool.
Notes
- Making sushi rice in the Instant Pot is a game changer, but handling it properly afterward is key. Once your sushi rice is cooked, dampening your hands and utensils makes everything easier—no more sticky rice on your fingers or tools! It’s a simple trick that really helps when you’re preparing sushi at home or for your kids' lunchboxes.
- When it comes to sushi seasoning, don’t be afraid to play around with the amount of salt and sugar. You might find that you don’t need as much as some recipes suggest, and adjusting it to your taste is a great way to make the rice just right for your family. Every palate is different, and that’s what makes homemade sushi so fun!
- To cool the rice quickly, transfer it to a large shallow dish to help it cool evenly. Once it’s cooled, store your sushi rice in the fridge at a temperature below 4°C, and it’ll keep for up to three days. Keep in mind, if the rice has been sitting at room temperature for more than two hours, it’s best to toss it to ensure it’s safe to eat.
- I love keeping sushi rice in the fridge for quick, easy meals—my kids love having sushi in their lunchboxes, and I send them off to school in a cooler bag with an ice pack to keep it fresh. It’s an easy, fun, and healthy lunch option that I can prep ahead of time!
- Sushi Rice: Sushi rice is a type of short-grain rice that’s perfect for making sushi, and you’ll find it labeled as "sushi rice" at your supermarket. If you can’t find it, don’t stress—a short-grain rice will also work. Just make sure to avoid long-grain varieties like basmati or jasmine, as they don’t give you that perfect sushi texture.
- Salt, Sugar, Rice Vinegar: The key to that familiar sushi rice flavor comes from seasoning it with salt, sugar, and rice vinegar. I tend to use a little less of each ingredient than some recipes call for, and my family still loves it—it's a bit more subtle compared to store-bought sushi rice. You can totally skip the seasoning if you prefer; my kids used to eat sushi rice without any seasoning when they were younger, but now that they’ve tasted store-bought sushi, they love it with a little flavor added. If you're avoiding white sugar, you can easily swap it out for honey or coconut sugar. Just a heads up—rice vinegar is sometimes labeled as sushi vinegar, so keep an eye out for that!

Quick Start Guide To BLW
Baby led weaning doesn’t need to be complicated, grab my quick start guide to begin your little ones food journey.