
Easy Baked Chicken Tenderloins

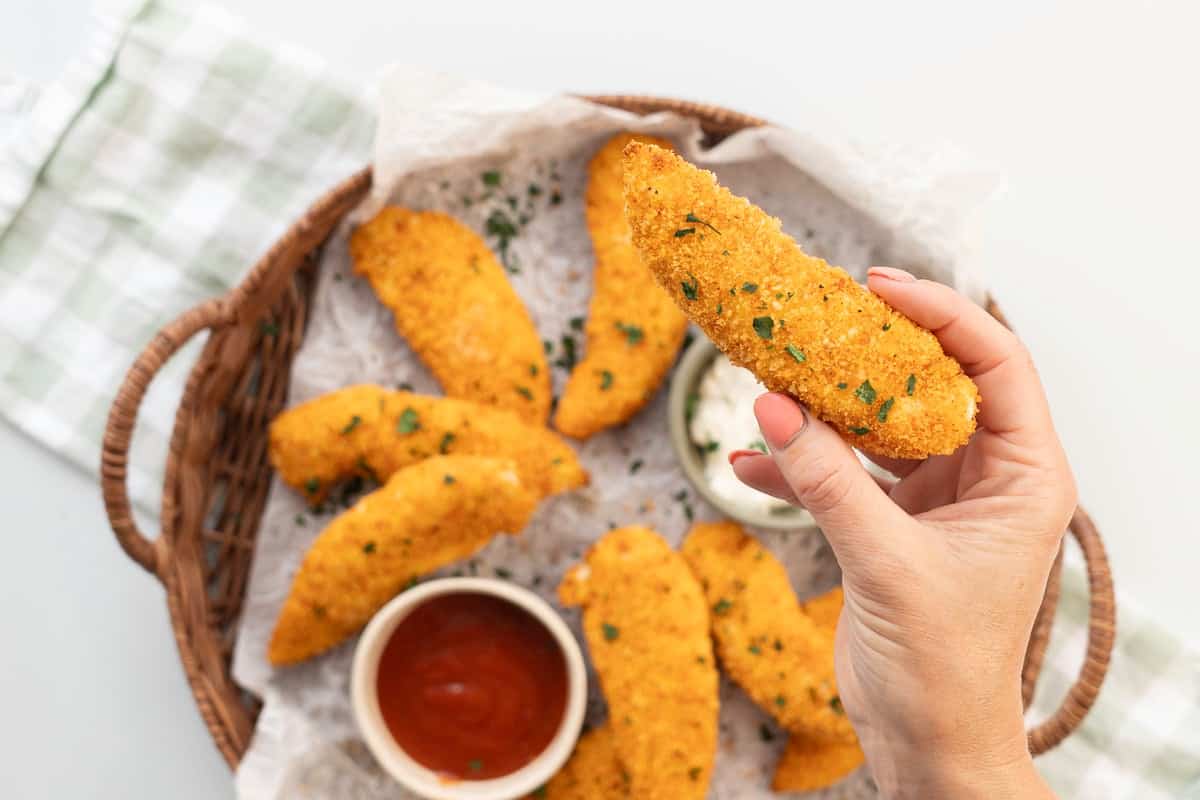
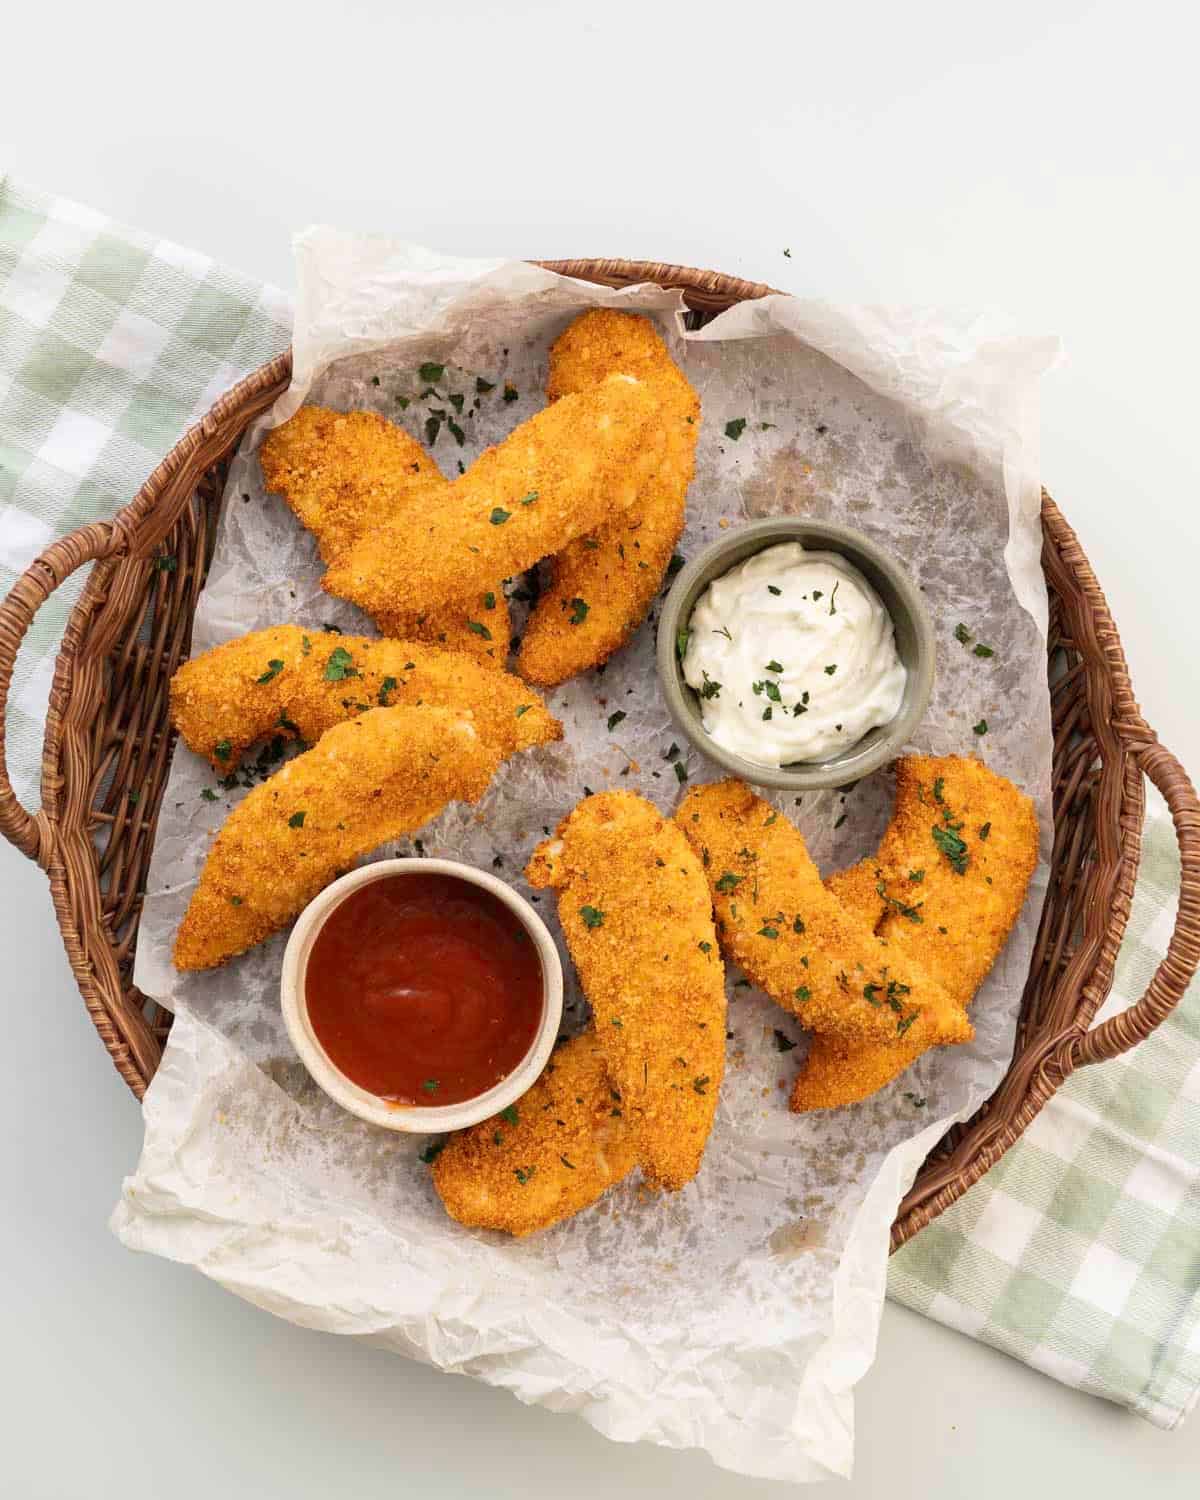
These easy baked chicken tenderloins have a lovely golden, crunchy coating with juicy chicken inside. They're made with simple ingredients, baked in the oven rather than fried, and perfect for a quick family dinner. Add your kids' favourite dipping sauce and you're good to go!
This chicken tenderloin oven recipe uses actual chicken tenderloins, so there's no need to cut up chicken breasts. Just crumb, bake and enjoy!
Why Parents Love Baked Chicken Tenders
- Crispy without frying: Panko breadcrumbs and a little olive oil give these chicken tenders a delicious golden coating, straight from the oven. No standing over a hot frying pan!
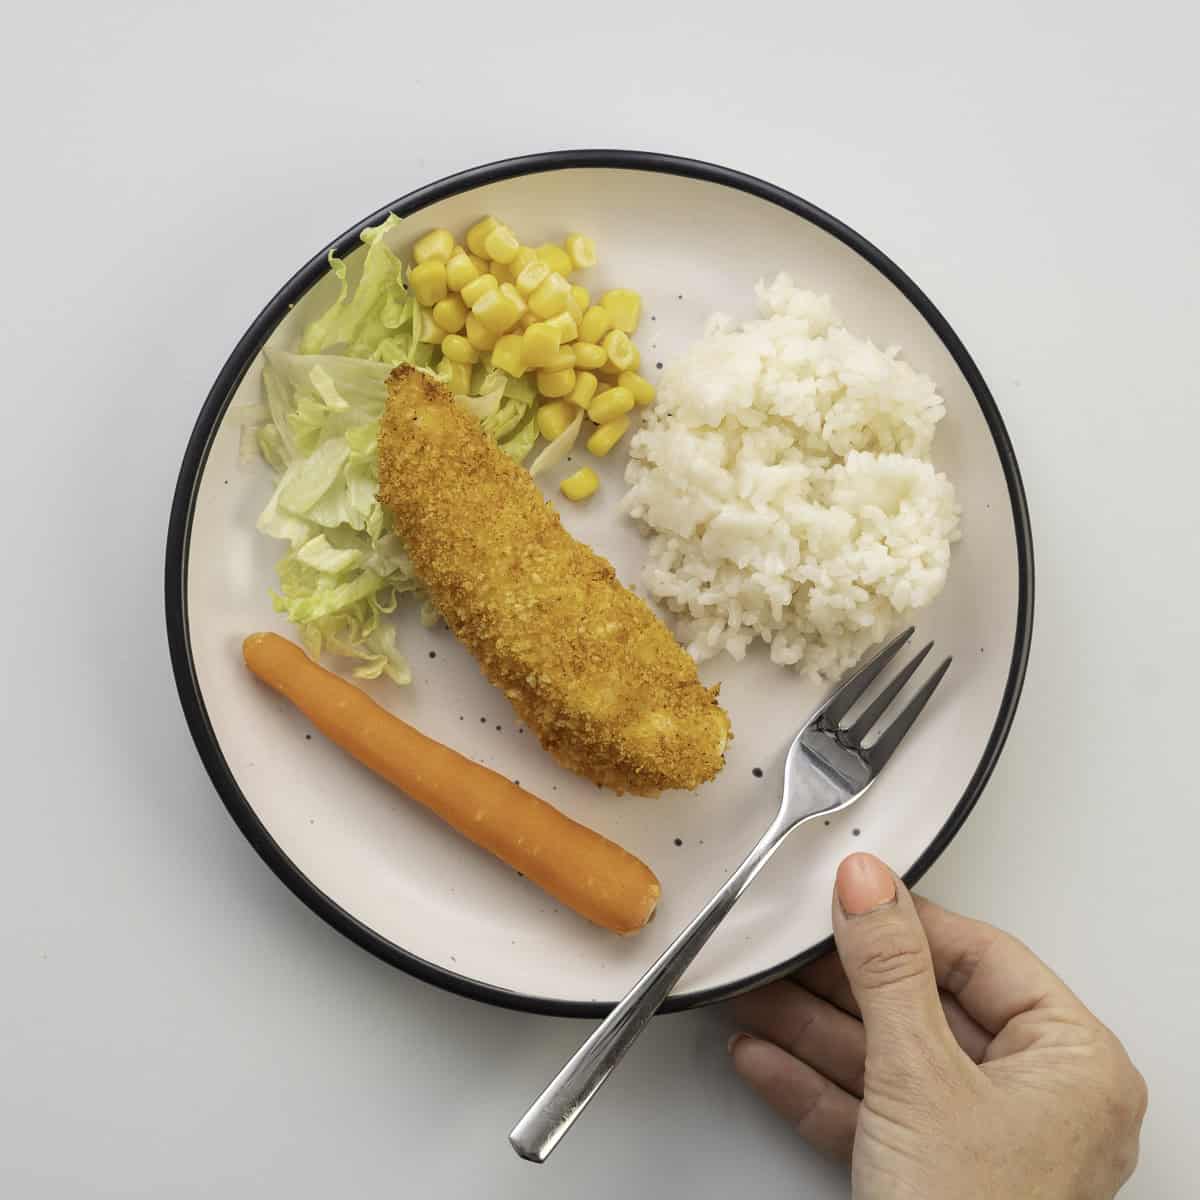
- An easy family dinner: Chicken tenderloins cook quickly, making this a great recipe for busy weeknights. The mild seasoning is full of flavour without being spicy.
- Perfect for little fingers: Chicken tenders are easy to pick up and dip, which is always a win with kids! They're also lovely cold in lunchboxes or sliced into wraps.
Ingredients You Will Need
Ingredient Notes, Substitutes, & Allergy Swaps
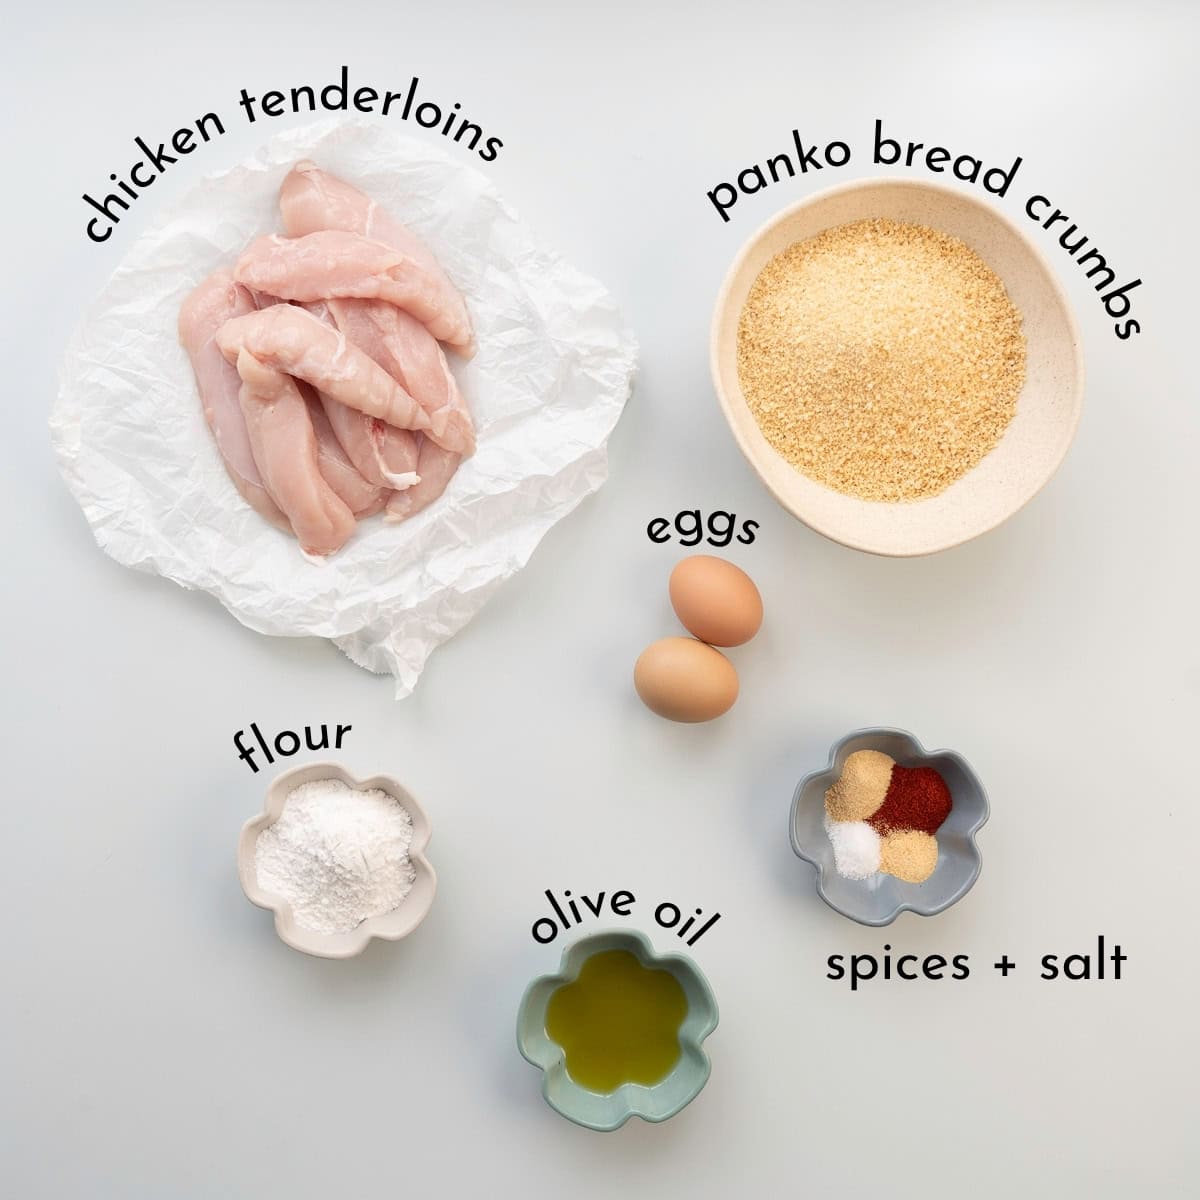
- Chicken tenderloins: These are the little strips of meat found underneath the chicken breast. They're naturally tender and already the perfect shape for homemade chicken tenders. If you can't find them, you can slice chicken breasts into even strips instead.
- Panko breadcrumbs: These give the chicken a light, crispy coating. You can use regular dried breadcrumbs if that's what you already have on hand, although the texture will be a little finer.
- Paprika: Adds a lovely golden colour and a mild flavour without any heat. Make sure you use sweet paprika rather than hot or smoked paprika if you want to keep the flavour gentle.
- Garlic and onion powder: A simple way to add flavour to the breadcrumb coating without overpowering the chicken.
- Olive oil: Mixing the oil directly through the breadcrumbs helps them turn golden and crispy in the oven, without needing to deep fry.
- Gluten-free: Swap the flour and panko breadcrumbs for gluten-free alternatives. I make this recipe gluten free all the time, I use rice flour and gluten free panko bread crumbs. You might also like my Gluten-Free Chicken Nuggets.
- Egg-free: I have a recipe for breading chicken without eggs that you might find useful.
Variations
- Extra crunchy: Try crushed cornflakes instead of panko breadcrumbs. You can also use crushed popcorn as a crumb, see my popcorn chicken.
- Cheesy: Add a little finely grated parmesan to the breadcrumb mixture.
- Different seasonings: Try Italian seasoning or a pinch of dried herbs in place of the paprika.
- No breadcrumbs: For a simpler version, brush the chicken tenderloins with olive oil, sprinkle with the seasonings and bake until cooked through. They won't have the same crispy coating, but they're still delicious!
How To Bake Chicken Tenderloins In The Oven
Below are illustrated step-by-step instructions to make my baked chicken tenders recipe, if you prefer just the written instructions then head straight to the printable recipe card below.
Step one: Preheat your oven and line a baking tray with baking paper.
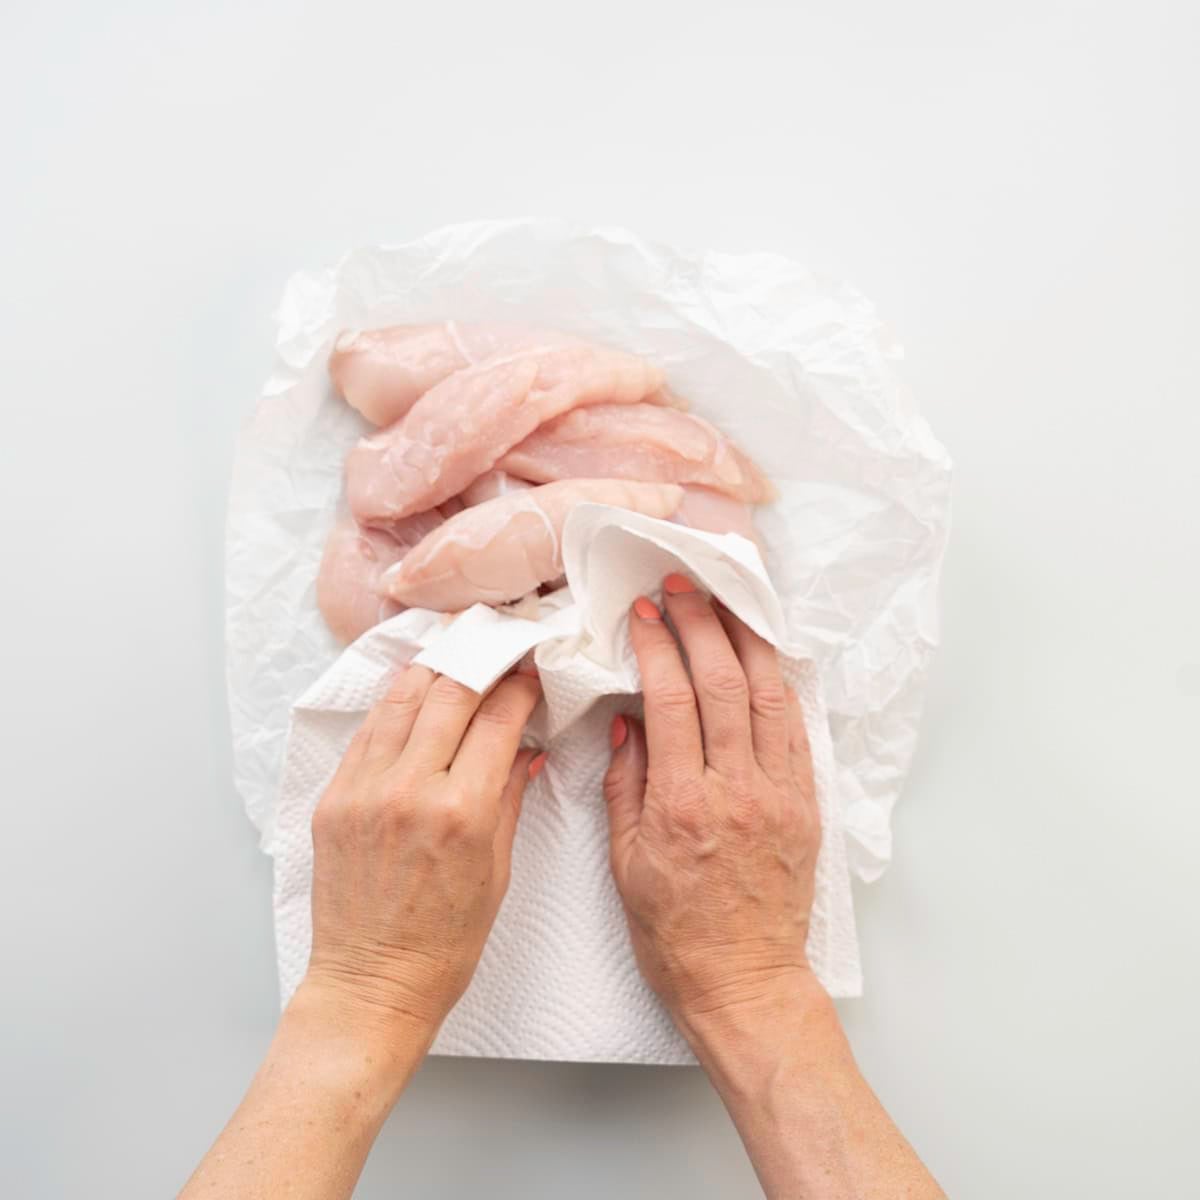
Step two: Pat the chicken tenders dry with paper towel.
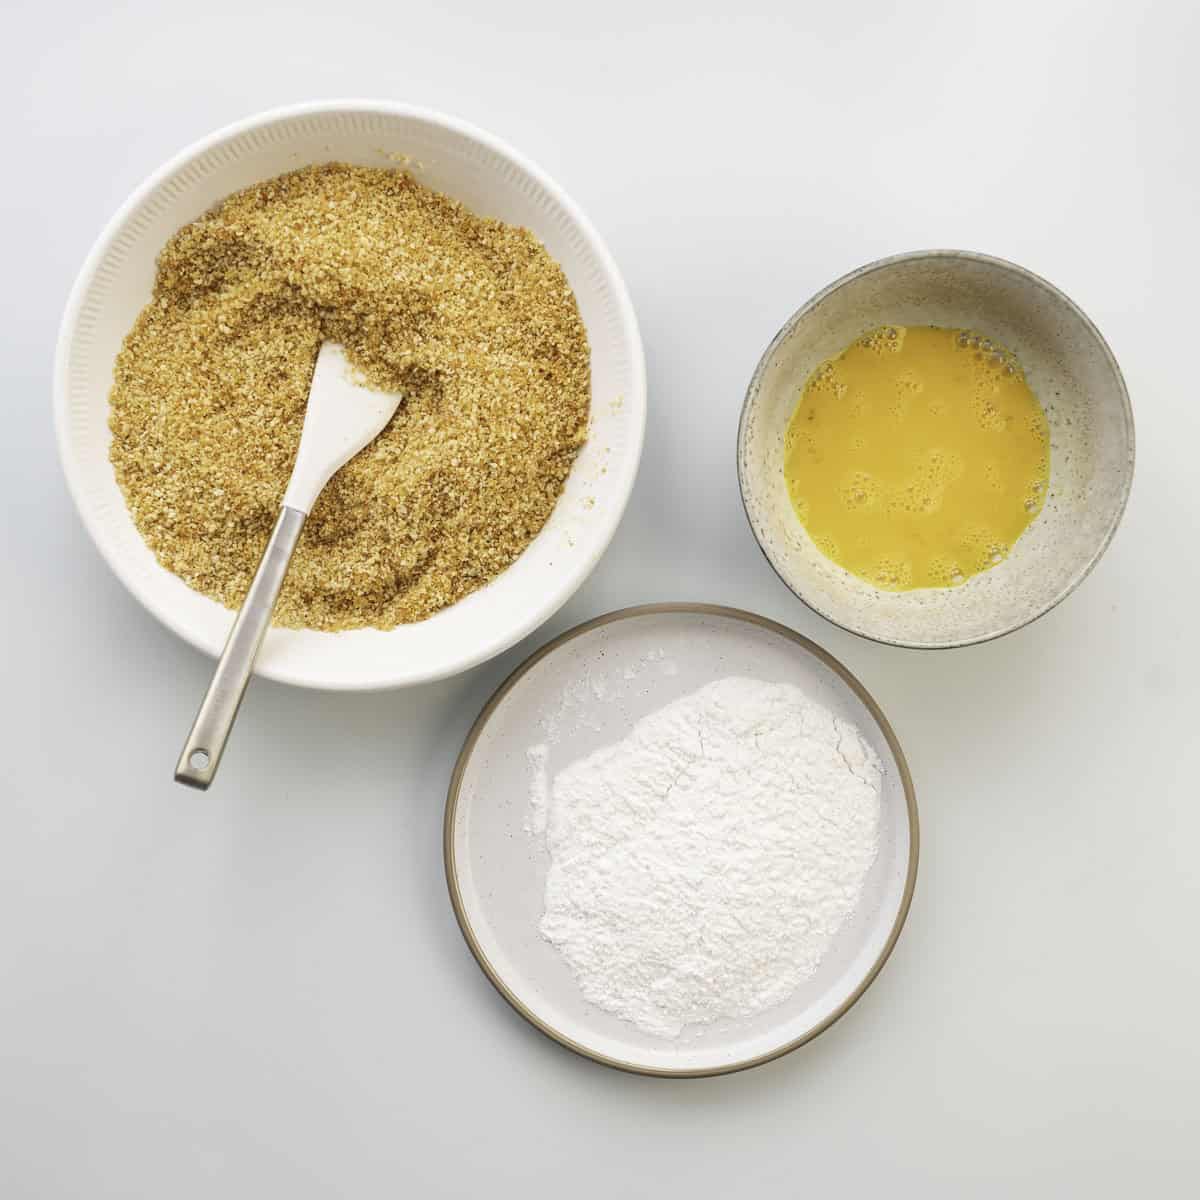
Step three: Set up three shallow bowls/plates/dishes. Place the flour in the first bowl and the lightly beaten eggs in the second.
In the third bowl, combine the panko breadcrumbs, sweet paprika, garlic powder, onion powder and salt. Add the olive oil and mix until the breadcrumbs are evenly coated.
Step four: Dip each chicken tenderloin into the flour, shaking off any excess. Next, dip it into the beaten egg, then press it into the seasoned breadcrumbs until well coated.
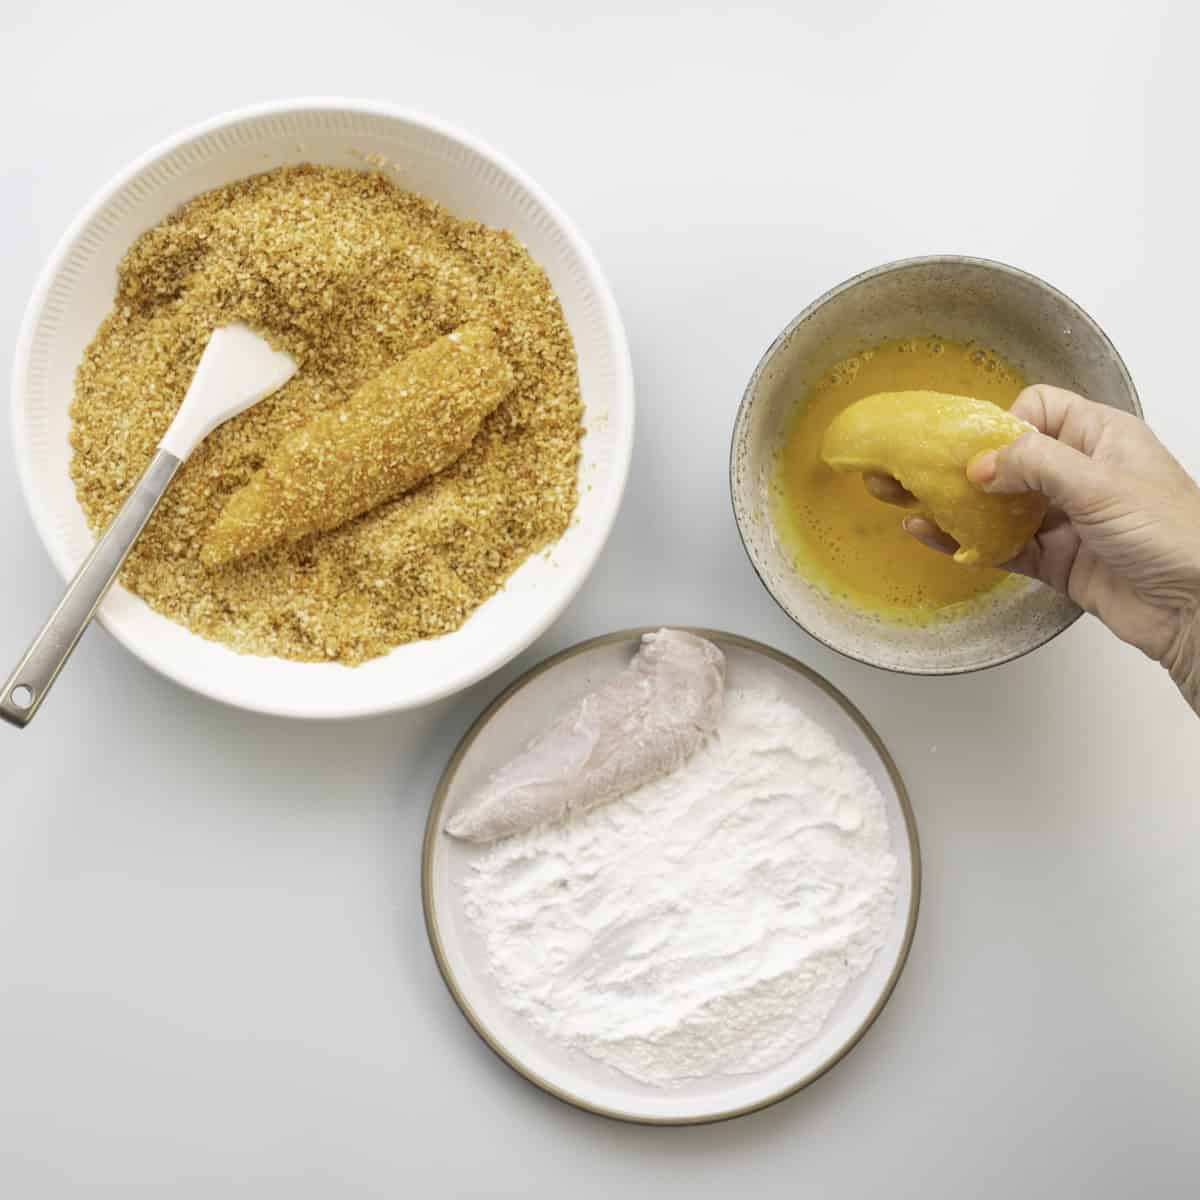
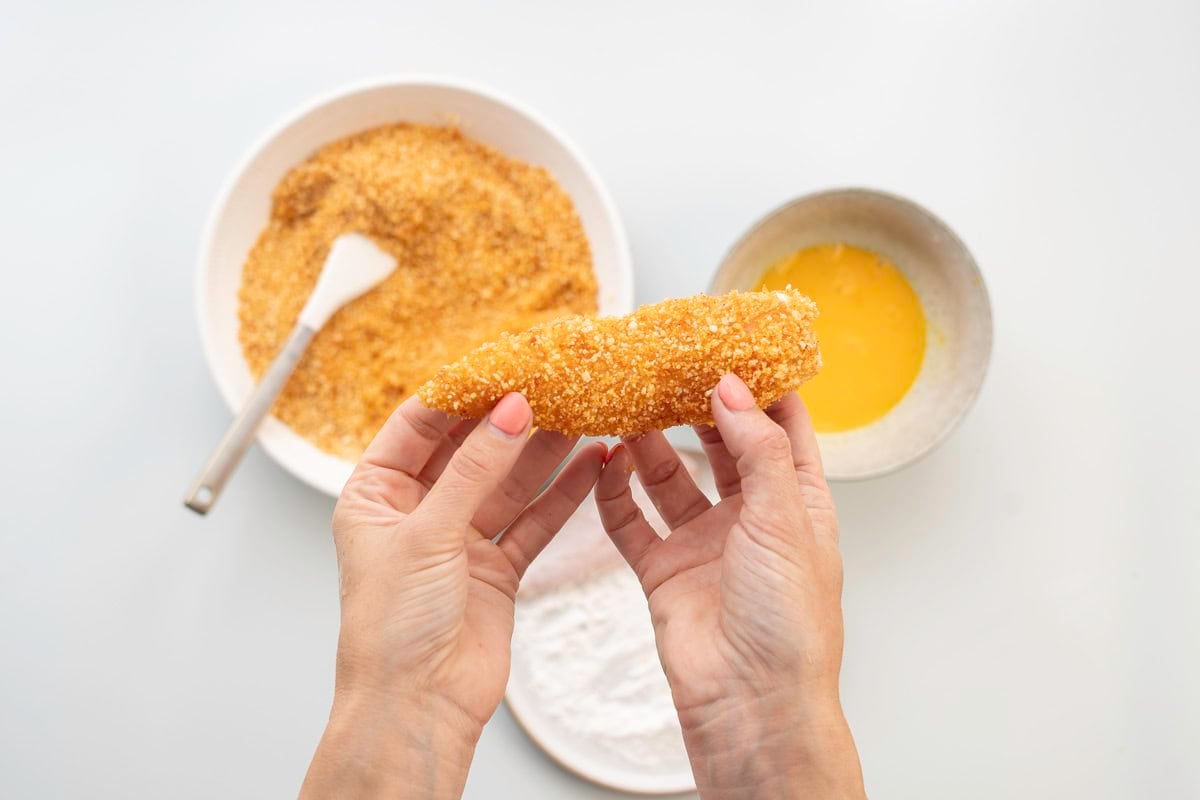
Step five: Arrange the crumbed chicken tenderloins in a single layer on the prepared baking tray, leaving a little space between each one.
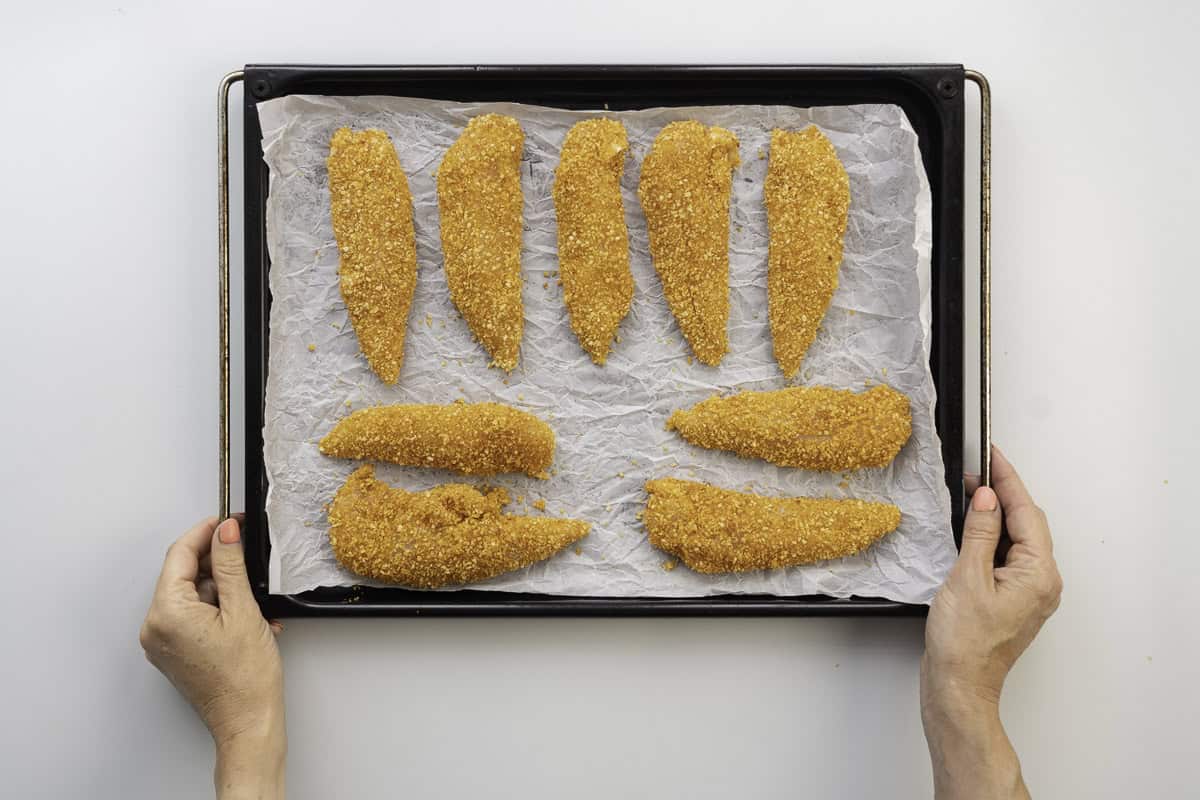
Step six: Bake for approximately 15–20 minutes, turning halfway through, until the coating is golden and the chicken is cooked through. The internal temperature should reach 74°C (165°F).
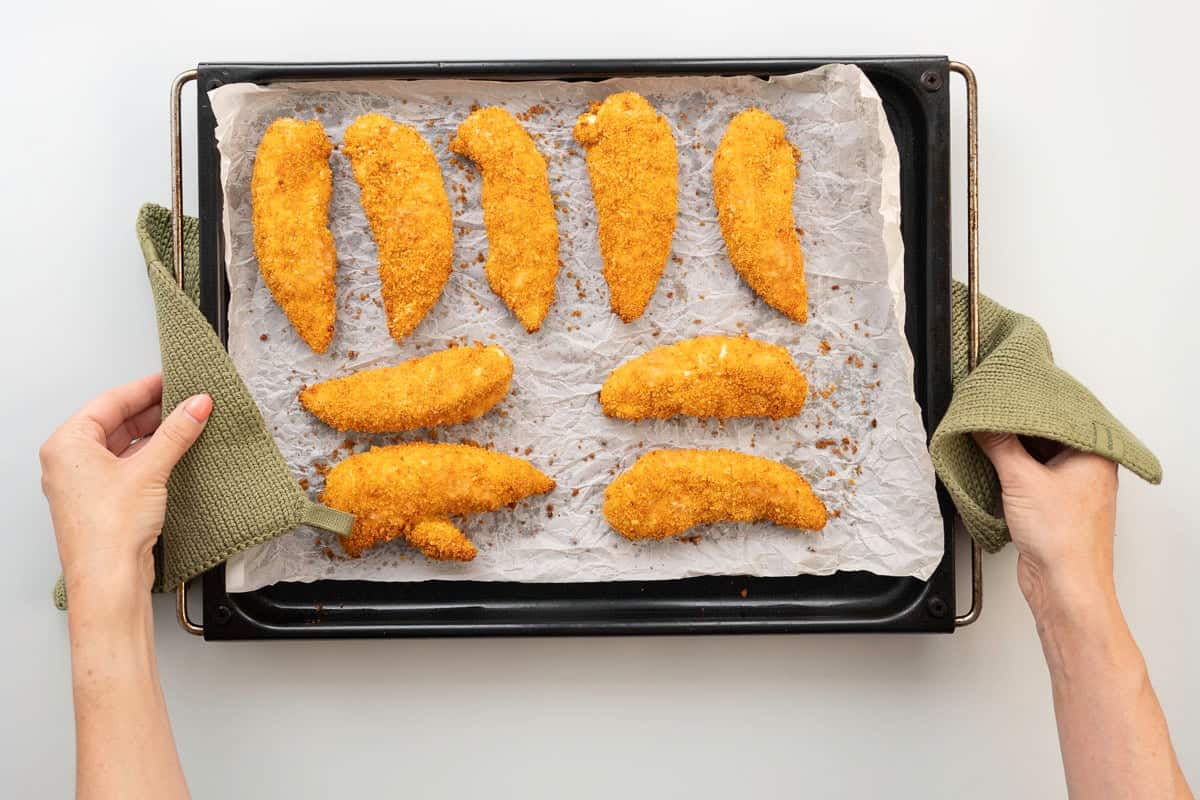
Serve warm with your favourite dipping sauce and enjoy!
Save This Recipe!
Top Tips
Here is how you can make these kid friendly chicken tenders perfectly every time!
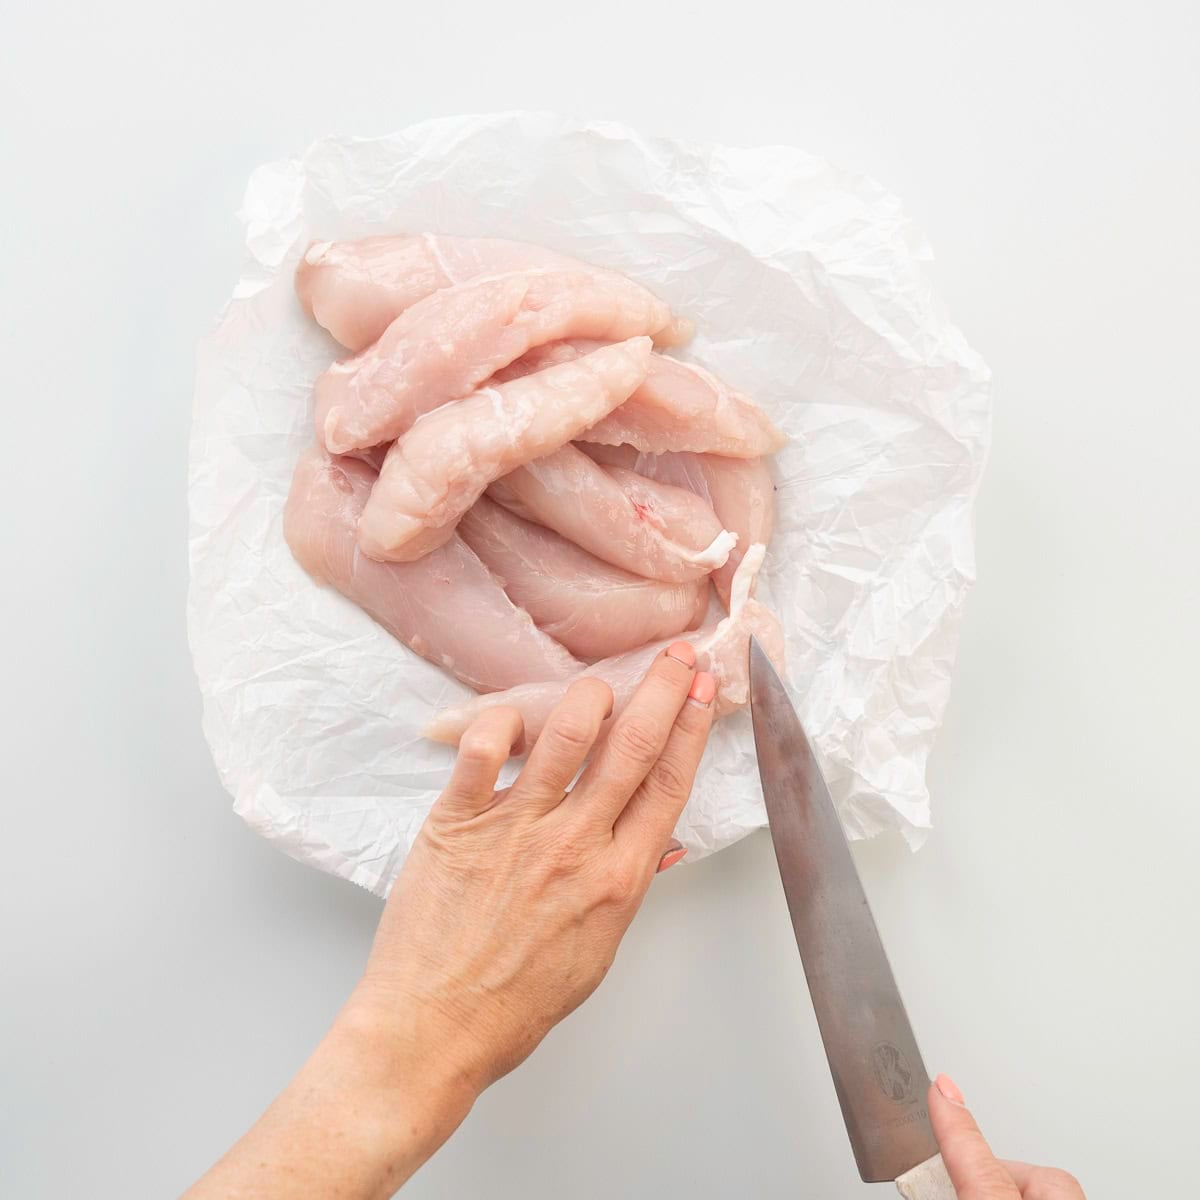
- Remove the tendon (optional). Chicken tenderloins often have a little white tendon running through one end, which can be a bit tough and chewy when cooked. You don't have to remove it, but I like to, especially when cooking for younger kids. Simply use a sharp knife or kitchen scissors to carefully trim it away before crumbing the chicken.
- Don't overcrowd the tray. Give the chicken tenderloins a little room so the hot air can circulate around them. This helps the breadcrumbs become crispy rather than soggy.
- Mix the oil through the breadcrumbs. This helps the coating turn a lovely golden colour without needing to fry the chicken.
- Press the crumbs on firmly. Gently pressing the breadcrumb mixture onto the chicken helps it stick when you turn the tenders during baking.
- Check the temperature. Chicken tenderloins can vary in size. Using a meat thermometer is the easiest way to make sure they're cooked through without drying them out.
FAQs
I recommend baking these chicken tenderloins at 220°C (425°F). The high oven temperature helps the breadcrumbs turn golden and crispy while keeping the chicken juicy inside.
These crumbed chicken tenderloins should take approximately 15–20 minutes at 220°C (425°F), depending on their size and your oven.
The most reliable way to check they're cooked is with a meat thermometer. The thickest part of the chicken should reach 74°C (165°F).
How to Make This Recipe Suitable For Baby Led Weaning
Chicken is a great source of iron and protein for babies starting solids. These crumbed chicken tenderloins may not be the best option as a first food for young babies. I would make a some changes.
To make these baked chicken tenderloins more suitable for baby-led weaning, leave the salt and crispy breadcrumb coating off their portion. Instead, lightly coat a chicken tenderloin in olive oil and a little of the mild seasoning, then bake until cooked through. Make sure the chicken is soft and moist, and offer it in an age-appropriate shape that your baby can manage.
Dry meat is tough for babies to manage. Braising, slow-cooking, or shredding and serving meat with a little sauce can help.
As your baby gets older and becomes more confident with different textures, you can introduce the breadcrumb coating if they can manage it safely.
Recipes that used minced chicken can be a good option for baby led weaning, suc as chicken patties and chicken meatballs
Always supervise your baby while eating and make sure the chicken is tender, moist and easy to chew.

Baked Chicken Tenderloins
RATE THIS RECIPE
Save This Recipe!
Ingredients
- 600 grams chicken tenderloins
- 5 Tablespoons flour
- 2 large eggs
- 2 cups panko bread crumbs
- 1 teaspoon paprika I use sweet, not smoked or spicy paprika in this recipe
- 1 teaspoon garlic powder
- ½ teaspoon onion powder
- ½ teaspoon salt
- 2 Tablespoons olive oil
Instructions
- Preheat the oven to 220°C (425°F), or 200°C fan bake. Line a large baking tray with baking paper.
- Pat the chicken tenderloins dry with paper towels.
- Place the flour in one shallow bowl and the lightly beaten eggs in another.
- In a third bowl, combine the panko breadcrumbs, sweet paprika, garlic powder, onion powder and salt. Add the olive oil and mix until evenly coated.
- Dip each chicken tenderloin into the flour, shaking off any excess. Next dip into the egg, then press into the seasoned breadcrumbs until well coated.
- Arrange the chicken tenderloins in a single layer on the prepared baking tray, leaving space between each piece.
- Bake for approximately 15–20 minutes, turning halfway through, until golden and cooked through. The internal temperature should reach 74°C (165°F).
- Serve warm with your favourite dipping sauce
Notes
- Chicken: Chicken breast sliced into even strips can be used instead of tenderloins. Cooking time will depend on thickness.
- Breadcrumbs: Regular dried breadcrumbs or gluten-free breadcrumbs can be used instead of panko.
- Oven temperature: You can bake at 200°C (400°F), allowing a few extra minutes if needed.
- Remove the tendon (optional). Chicken tenderloins often have a little white tendon running through one end, which can be a bit tough and chewy when cooked. You don't have to remove it, but I like to, especially when cooking for younger kids. Simply use a sharp knife or kitchen scissors to carefully trim it away before crumbing the chicken.
- Storage: Refrigerate cooked chicken tenders for 3–4 days
- Food safety: Always check that the thickest part of the chicken reaches 74°C (165°F).
- Paprika: Adds a lovely golden colour and a mild flavour without any heat. Make sure you use sweet paprika rather than hot or smoked paprika if you want to keep the flavour gentle.
- Garlic and onion powder: A simple way to add flavour to the breadcrumb coating without overpowering the chicken.
- Olive oil: Mixing the oil directly through the breadcrumbs helps them turn golden and crispy in the oven, without needing to deep fry.
- Gluten-free: Swap the flour and panko breadcrumbs for gluten-free alternatives. I make this recipe gluten free all the time, I use rice flour and gluten free panko bread crumbs.
- You might also like my Gluten-Free Chicken Nuggets.
- Egg-free: I have a recipe for breading chicken without eggs that you might find useful.
- Variations
- Extra crunchy: Try crushed cornflakes instead of panko breadcrumbs. You can also use crushed popcorn as a crumb, see my popcorn chicken.
- Cheesy: Add a little finely grated parmesan to the breadcrumb mixture.
- Different seasonings: Try Italian seasoning or a pinch of dried herbs in place of the paprika.
- No breadcrumbs: For a simpler version, brush the chicken tenderloins with olive oil, sprinkle with the seasonings and bake until cooked through. They won't have the same crispy coating, but they're still delicious!
Quick Start Guide To BLW
Baby led weaning doesn’t need to be complicated, grab my quick start guide to begin your little ones food journey.