Tuna Rice Balls
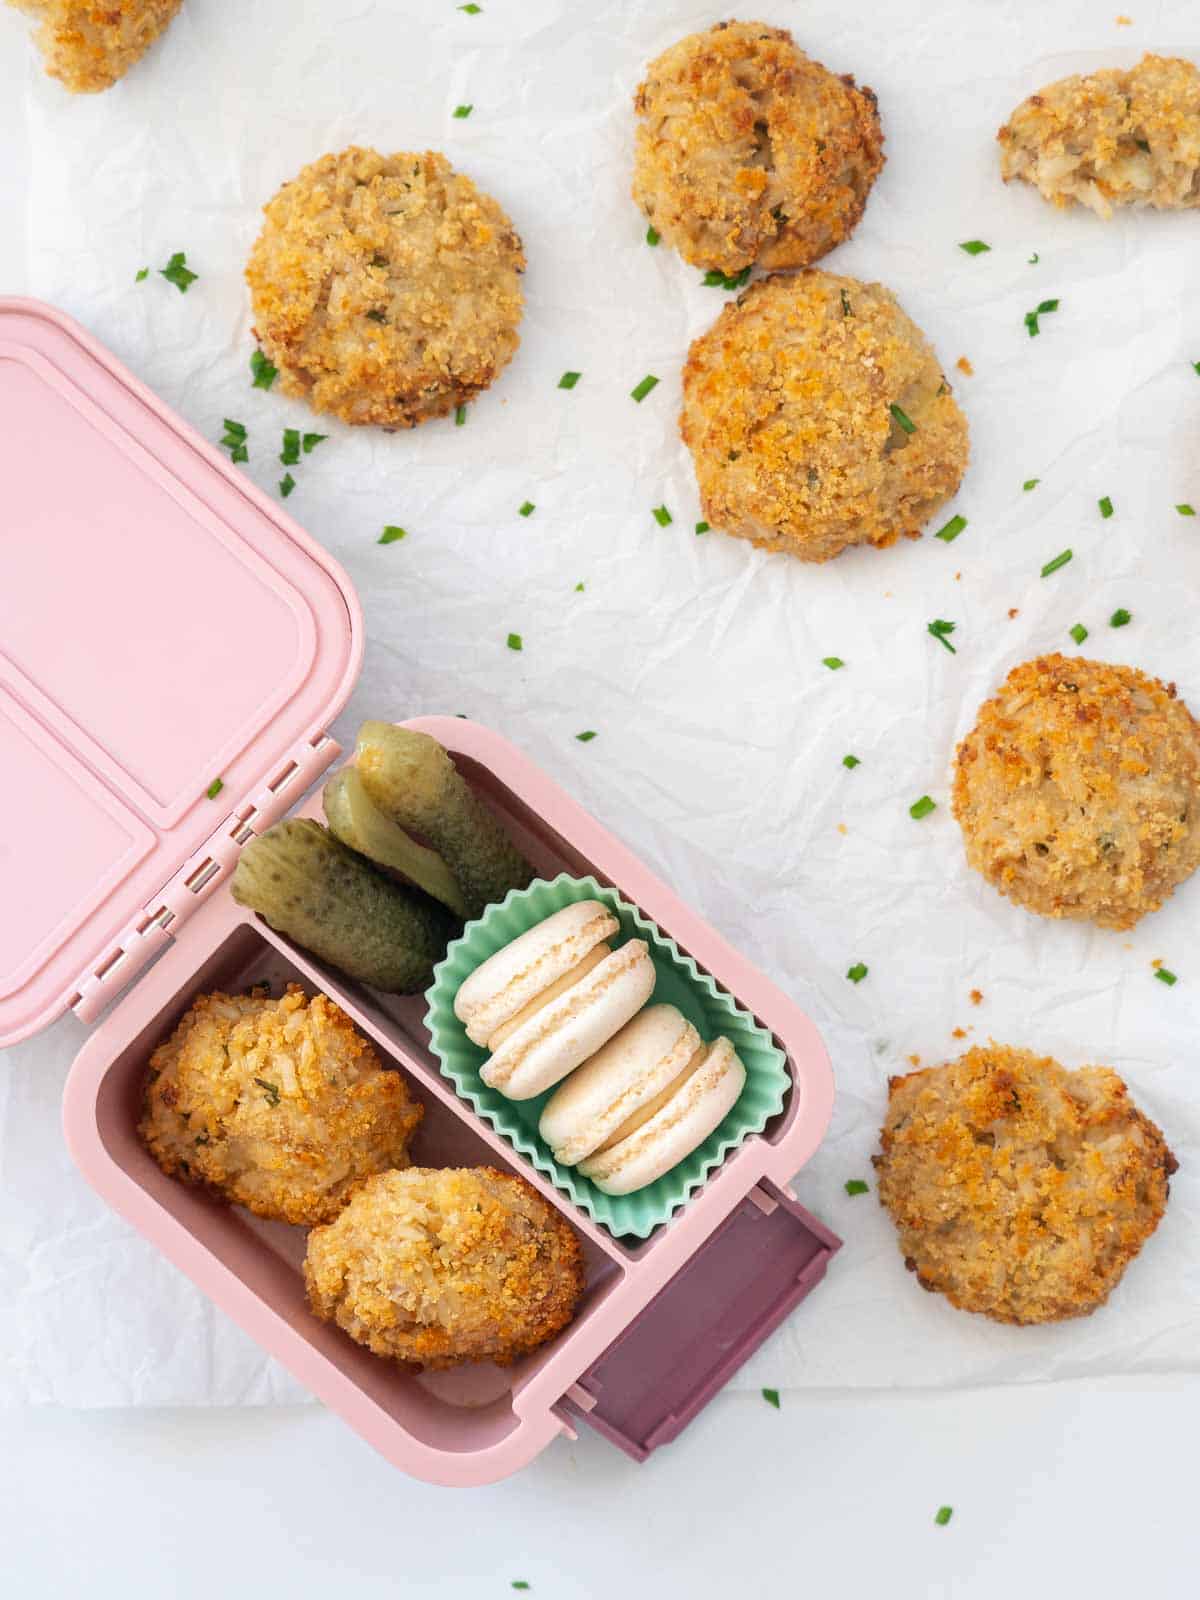
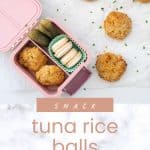
These tuna rice balls have been a long-time favourite in my house, they have had a bit of a revival of late since my son's coeliac diagnosis. He loves them as an alternative to sandwiches in his lunchbox.
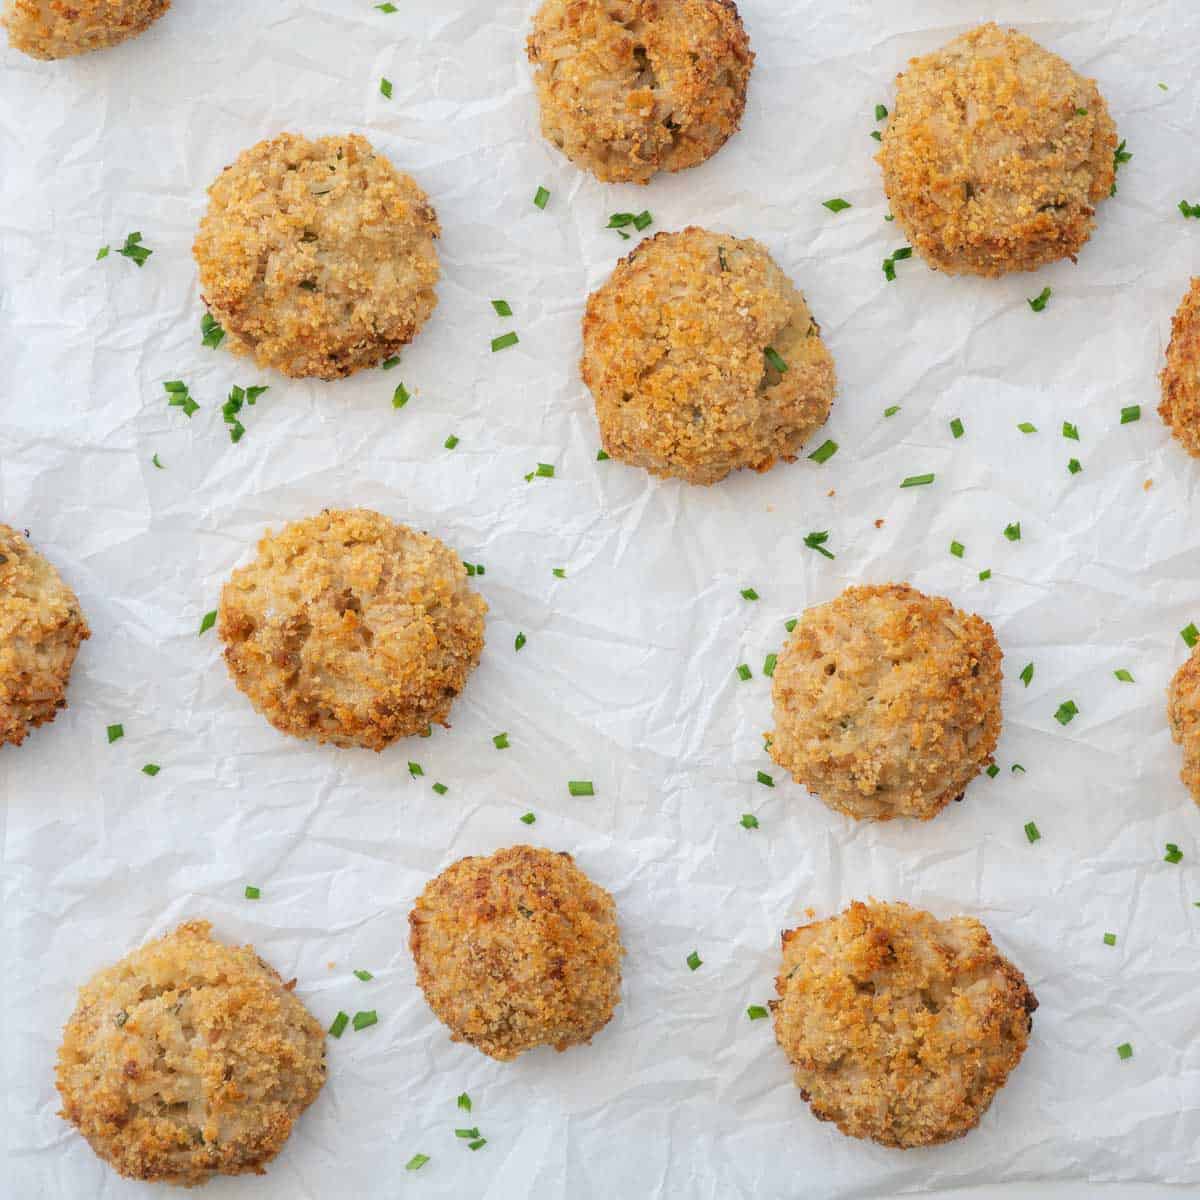
Why This Recipe Works
- Deliciously savoury
- Crispy and crunchy
- Protein-packed snack, or light-meal
- Enjoy warm or cold (great in lunch boxes)
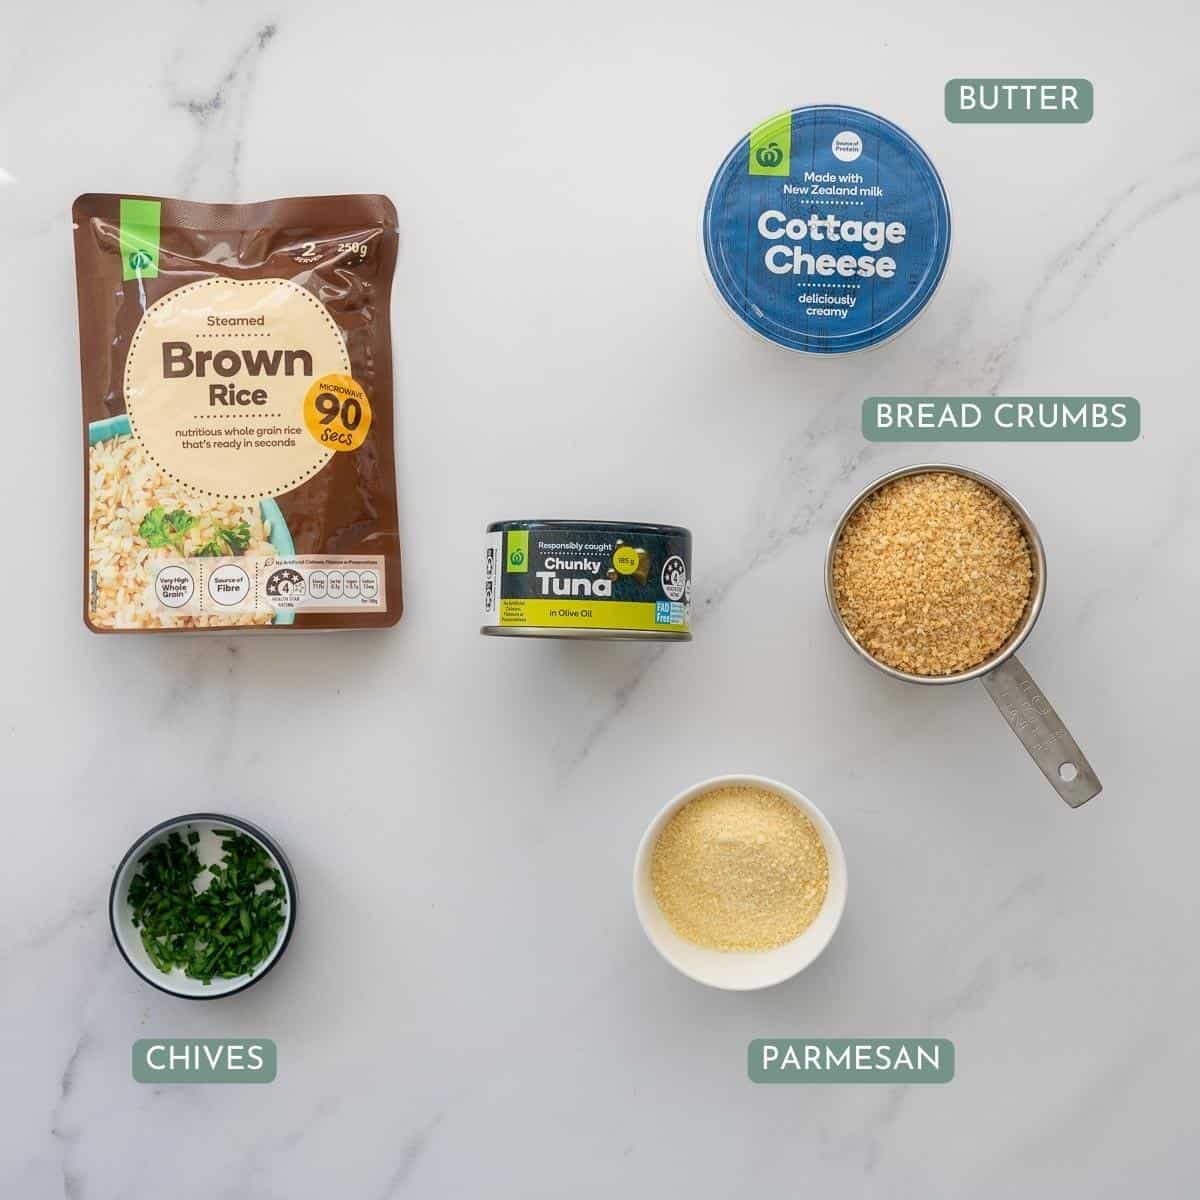
Ingredients you will need
To make my tuna rice balls you will need the following:
- Canned tuna
- Cooked brown rice
- Cottage cheese
- Parmesan
- Chives
- Bread crumbs
- Olive oil
Ingredient Notes and Substitutes
- Tuna: I like to use tuna canned-in oil in this recipe.
- Brown rice: You can of course use cooked white rice as an alternative.
- Cottage cheese: Ricotta can be used. I sometimes use cottage cheese with chives to make this recipe even easier!
- Bread crumbs: This recipe works well with gluten-free bread crumbs.
Step-by-step instructions
Below are illustrated step-by-step instructions to make my Tuna Rice Balls Recipe, if you prefer just the written instructions then head straight to the printable recipe card below.
Prep: Preheat your oven to 220 degrees celsius (425F)
Drain the canned tuna
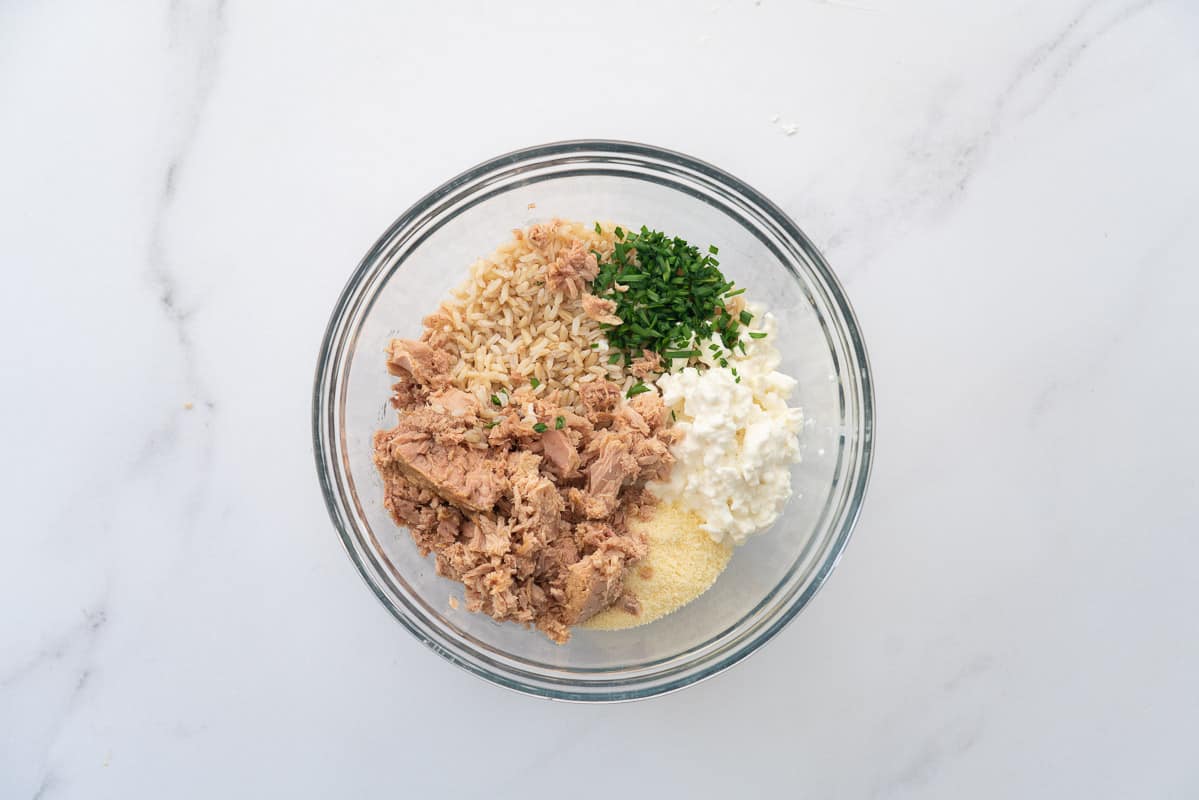
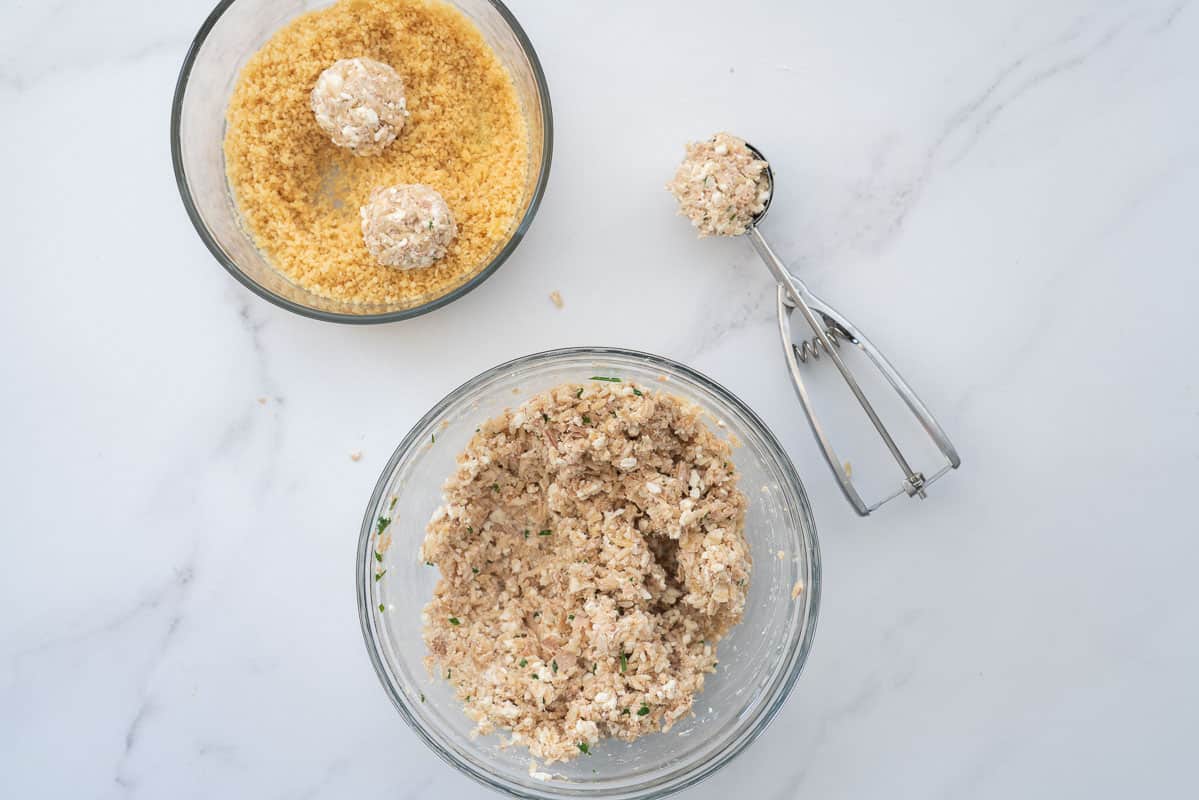
Step one: In a mixing bowl combine the tuna, brown rice, cottage cheese, chives and the first measure of parmesan cheese. Mix so that these ingredients are well combined. You can use a wooden spoon or your hands.
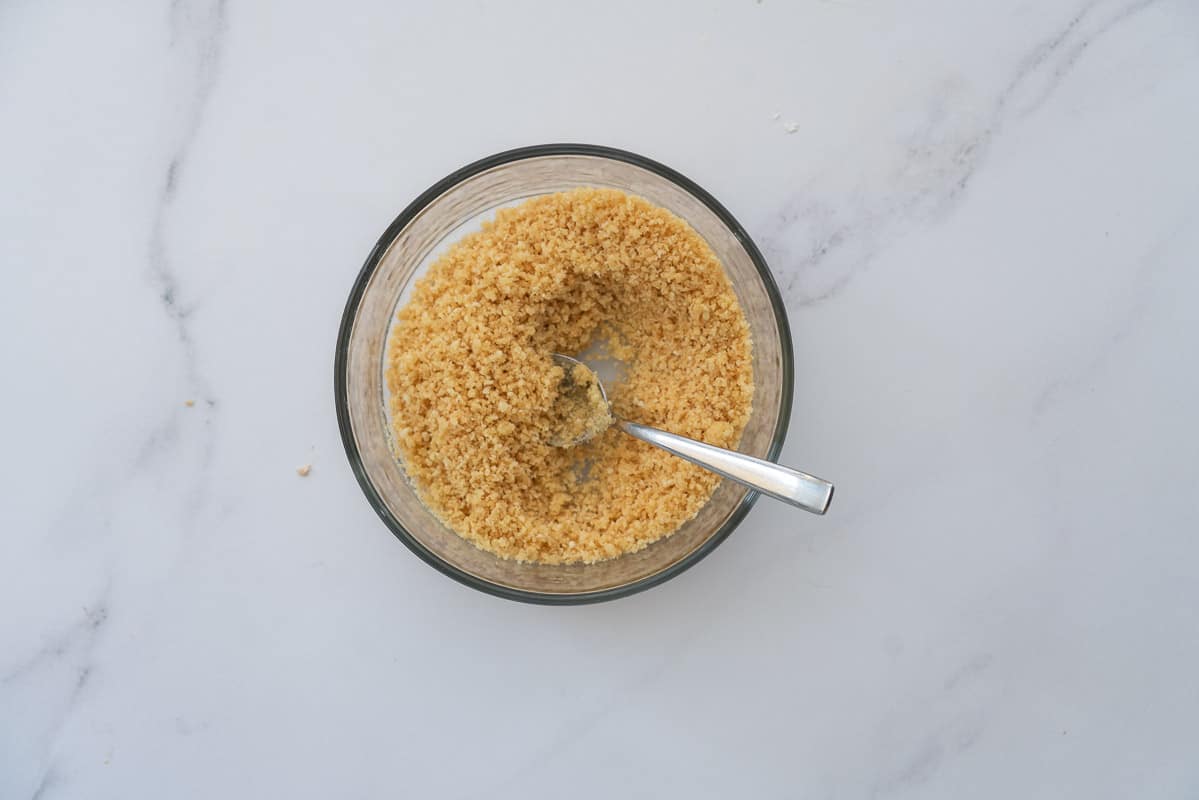
Step two: In a second dish, combine the second measure of parmesan cheese, bread crumbs and olive oil. Mix so that bread crumbs are well coated with olive oil
Save This Recipe!
Step three: Using clean damp (damp hands stop the rice mixture from sticking to your hands) make golf ball-sized balls of the rice mixture, roll these balls in the bread crumbs then place them on a lined baking tray.
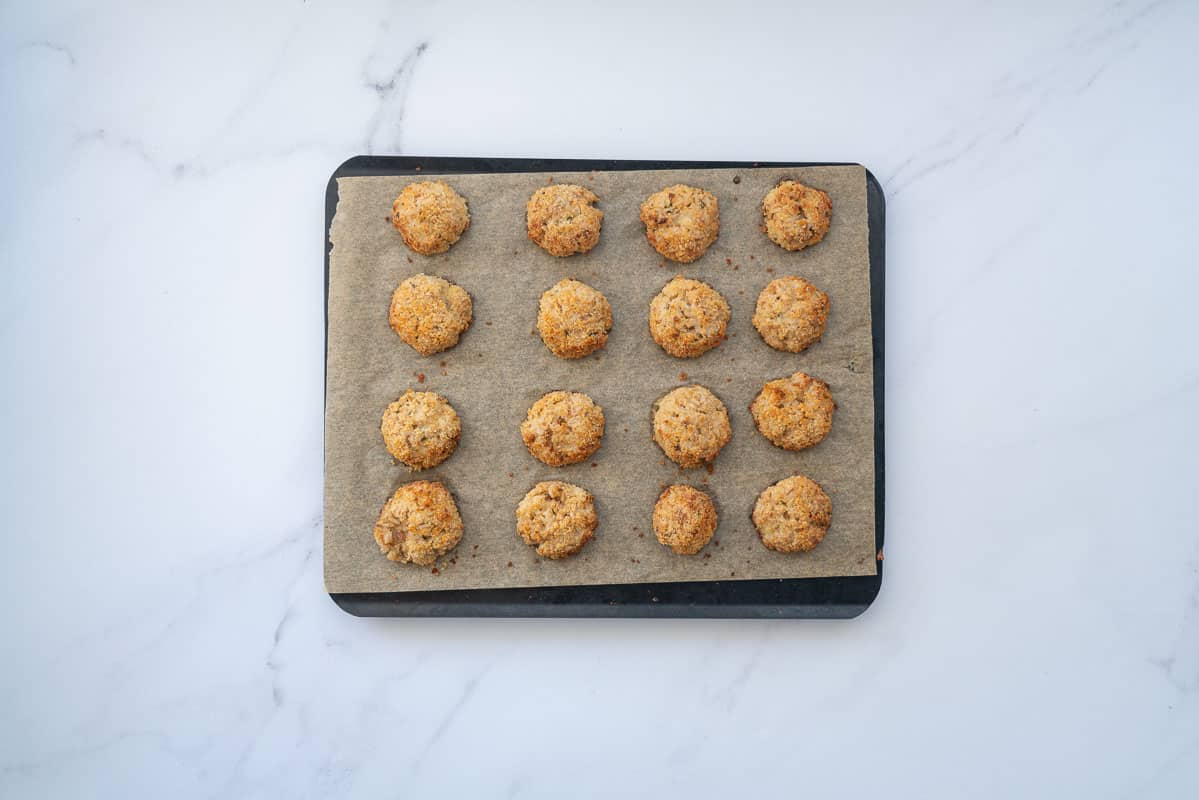
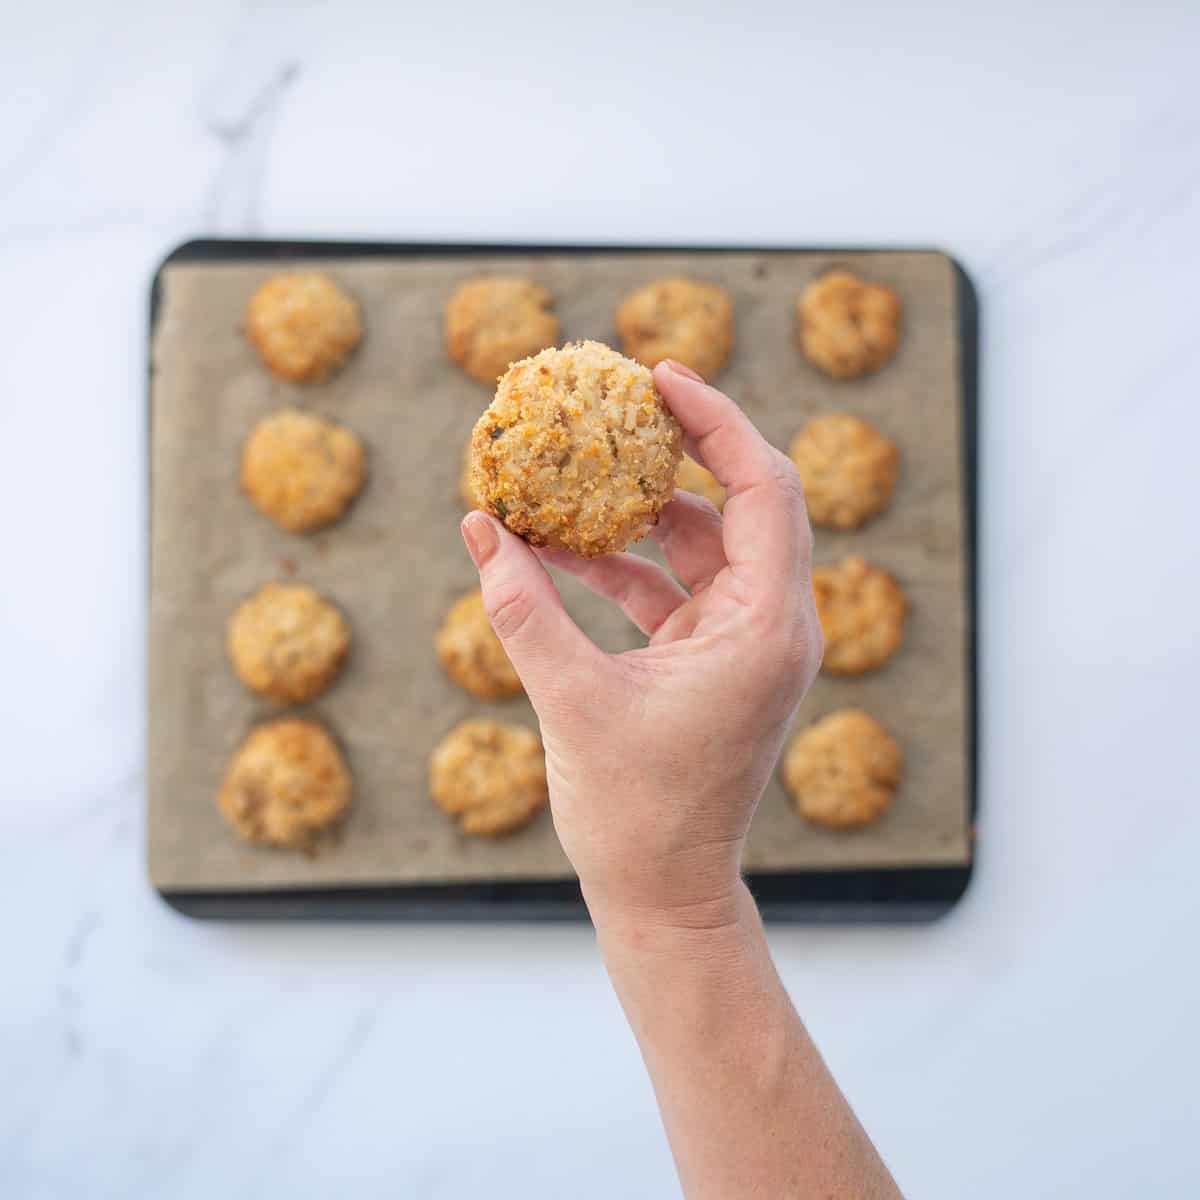
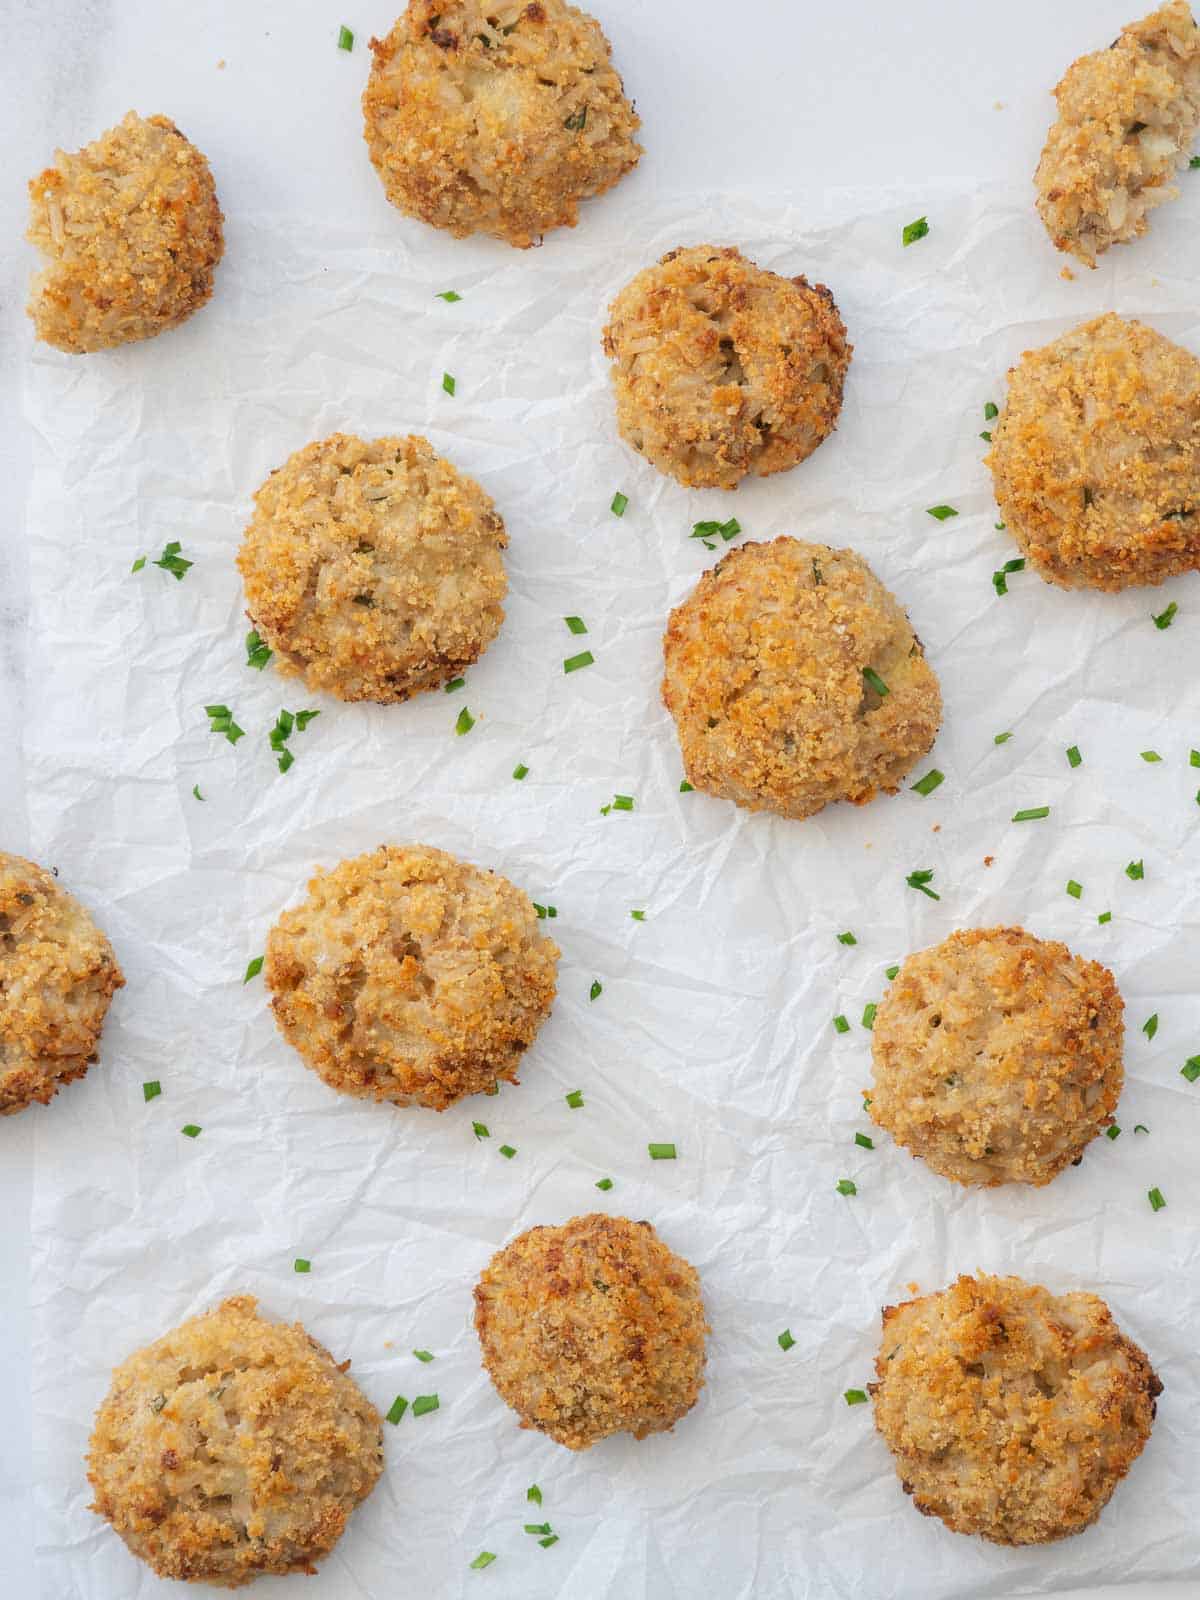
Step four: Bake in your hot oven for 15-20 minutes until crunchy and golden brown.
Enjoy!
Top Tips
Here is how you can make these tuna rice balls perfectly every time!
- Damp hands! Damp hands, when you are mixing the rice ball mix and rolling the mix into balls will stop the rice balls from sticking to your hands.
- Pre-cooked rice: If you are using precooked rice (like I did) be aware that the rice grains may not stick together as much as if you have cooked your own rice, the rice balls will still work, and will hold together well once baked but you do need to be gentle with the rice mix when you are forming the balls. This recipe works well with sushi rice.
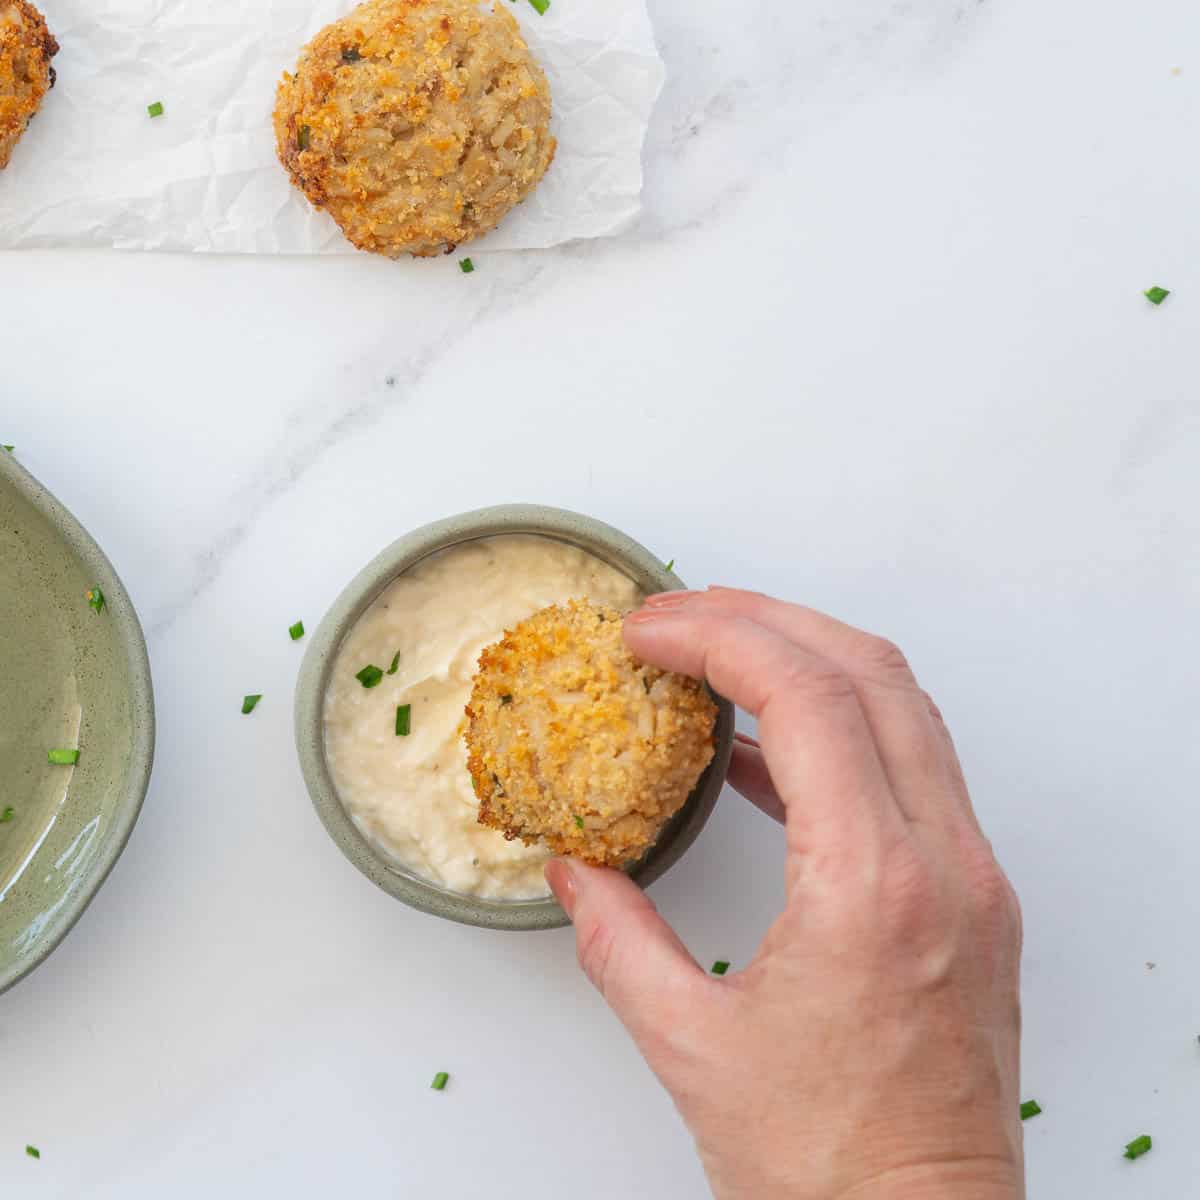
- These rice balls are delicious warm or cold, my kids love them with a little aioli
FAQs
Yes, tuna rice balls will be golden and crunchy after 10-15 minutes in an air fryer set to 200 degrees Celsius (400F)
Leftover rice balls can be stored in an airtight container in the refrigerator for up to 3 days.
More recipes you might like
- Looking for another way to use canned tuna: My Tuna Pasta Bake is simple comfort food.
- Or my one pot no boil method for salmon pasta bake is lovely too.
- This gluten-free recipe for baked salmon nuggets is another tasty way to enjoy fish.
- Zucchini tots or Salmon Sushi Balls are another savoury baked snack your kids will love.
Tuna Rice Balls
RATE THIS RECIPE
Save This Recipe!
Ingredients
- 185 grams canned tuna I use tuna canned in oil
- 250 grams cooked brown rice 1 ½ cups
- 250 grams cottage cheese 1 cup
- 25 grams parmesan ¼ cup
- 2 Tablespoons chives
- 25 grams parmesan ¼ cup
- 100g bread crumbs 1 cup (this recipe works well with gf breadcrumbs)
- 2 Tablespoons olive oil
Instructions
- Preheat your oven to 220 degrees celsius (425F)
- Drain the tuna
- In a mixing bowl combine the tuna, brown rice, cottage cheese, chives and the first measure of parmesan cheese. Mix so that these ingredients are well combined. You can use a wooden spoon or your hands.
- In a second dish, combine the second measure of parmesan cheese, bread crumbs and olive oil. Mix so that bread crumbs are well coated with olive oil.
- Using clean damp (damp hands stop the rice mixture from sticking to your hands) make golf ball-sized balls of the rice mixture, roll these balls in the bread crumbs then place them on a lined baking tray.
- Bake in your hot oven for 15-20 minutes until crunchy and golden brown.
- Enjoy!
Notes
-
- Damp hands! Damp hands, when you are mixing the rice ball mix and rolling the mix into balls will stop the rice balls from sticking to your hands.
-
- Pre-cooked rice: If you are using precooked rice (like I did) be aware that the rice grains may not stick together as much as if you have cooked your own rice, the rice balls will still work, and will hold together well once baked but you do need to be gentle with the rice mix when you are forming the balls.
-
- These rice balls are delicious warm or cold, my kids love them with a little aioli
- Leftover rice balls can be stored in an airtight container in the refrigerator for up to 3 days.
- Air fryer Option: The tuna rice balls will be golden and crunchy after 10-15 minutes in an air fryer set to 200 degrees Celsius (400F)
-
- Tuna: I like to use tuna canned-in oil in this recipe.
-
- Brown rice: You can of course use cooked white rice as an alternative.
-
- Cottage cheese: Ricotta can be used. I sometimes use cottage cheese with chives to make this recipe even easier!
-
- Bread crumbs: This recipe works well with gluten-free bread crumbs.
Nutrition
Quick Start Guide To BLW
Baby led weaning doesn’t need to be complicated, grab my quick start guide to begin your little ones food journey.
Stacey these are genius! My 7yo helped me make them and was eating the mix out the bowl, school lunch boxes are difficult because he won’t eat sandwiches so these are brilliant thank you!