Vanilla Fudge

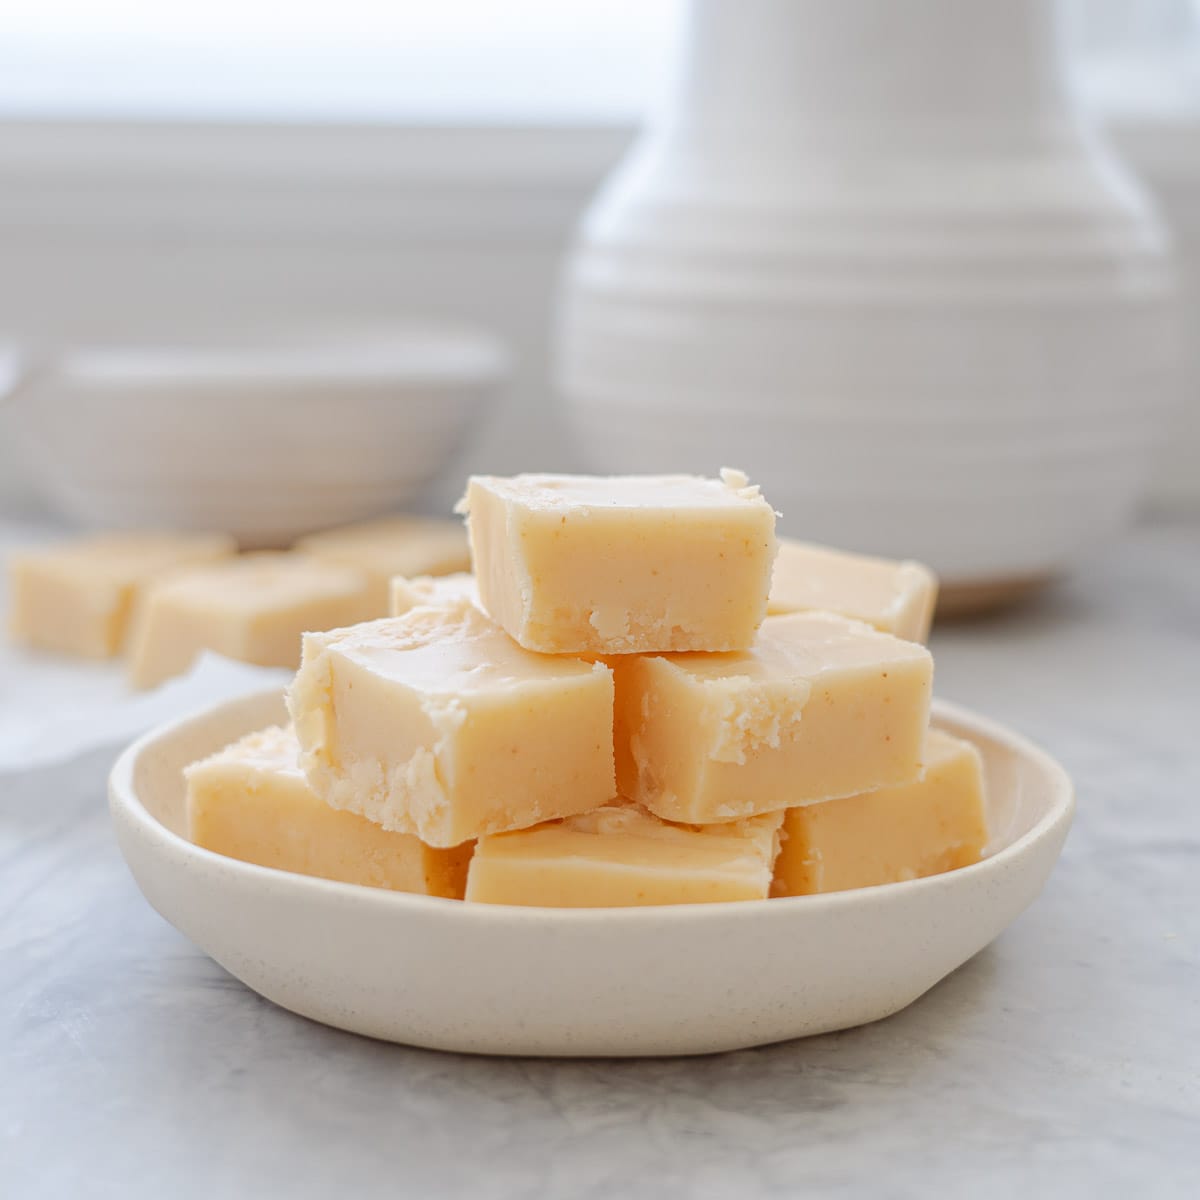
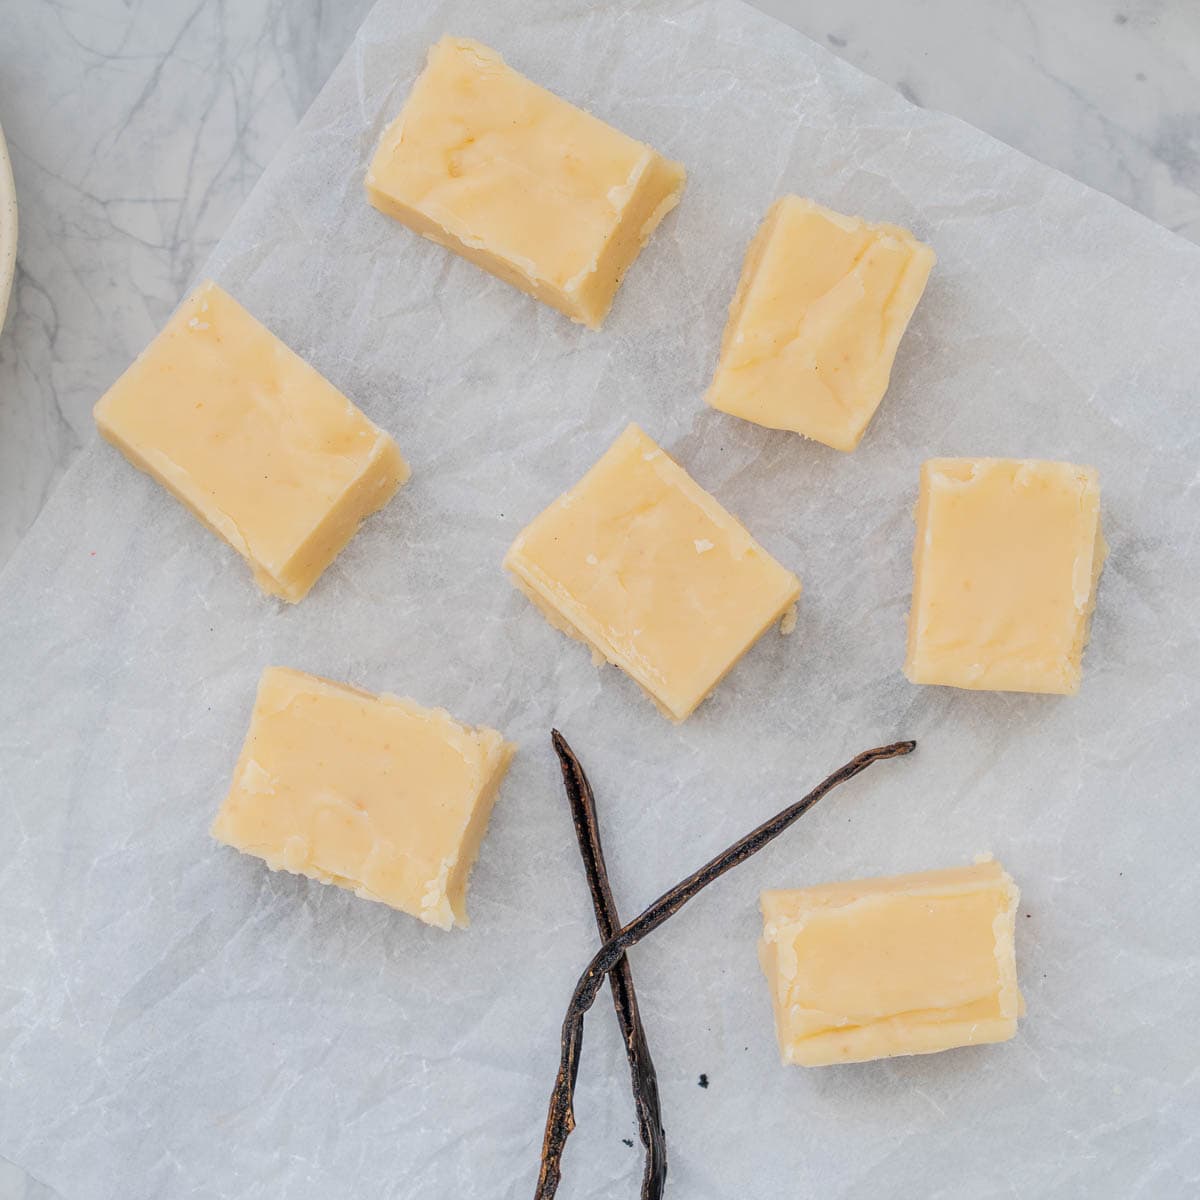
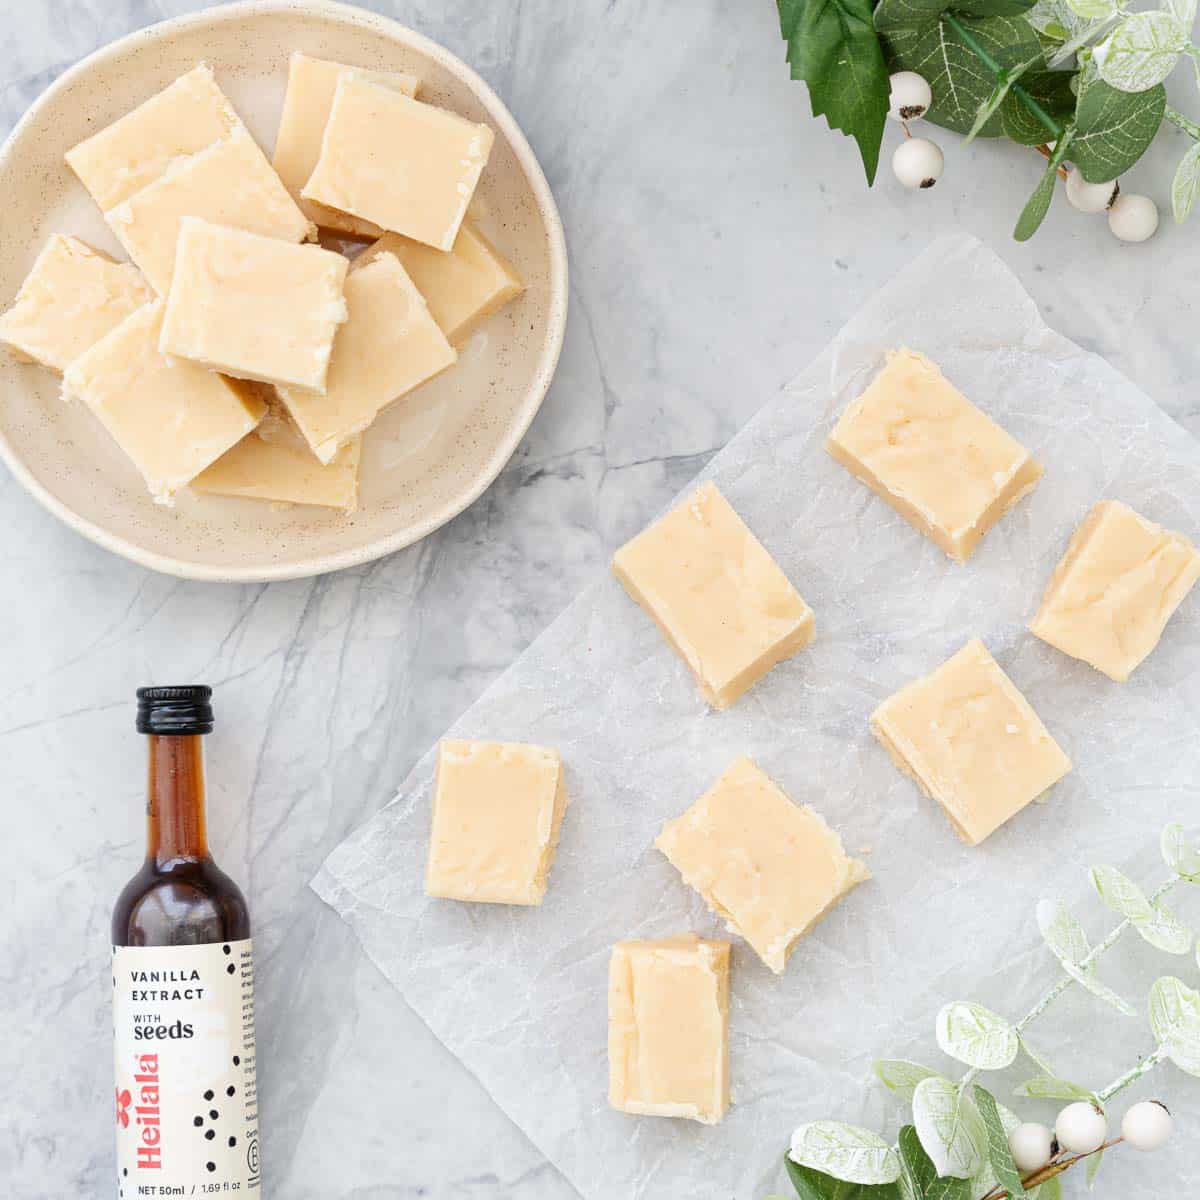
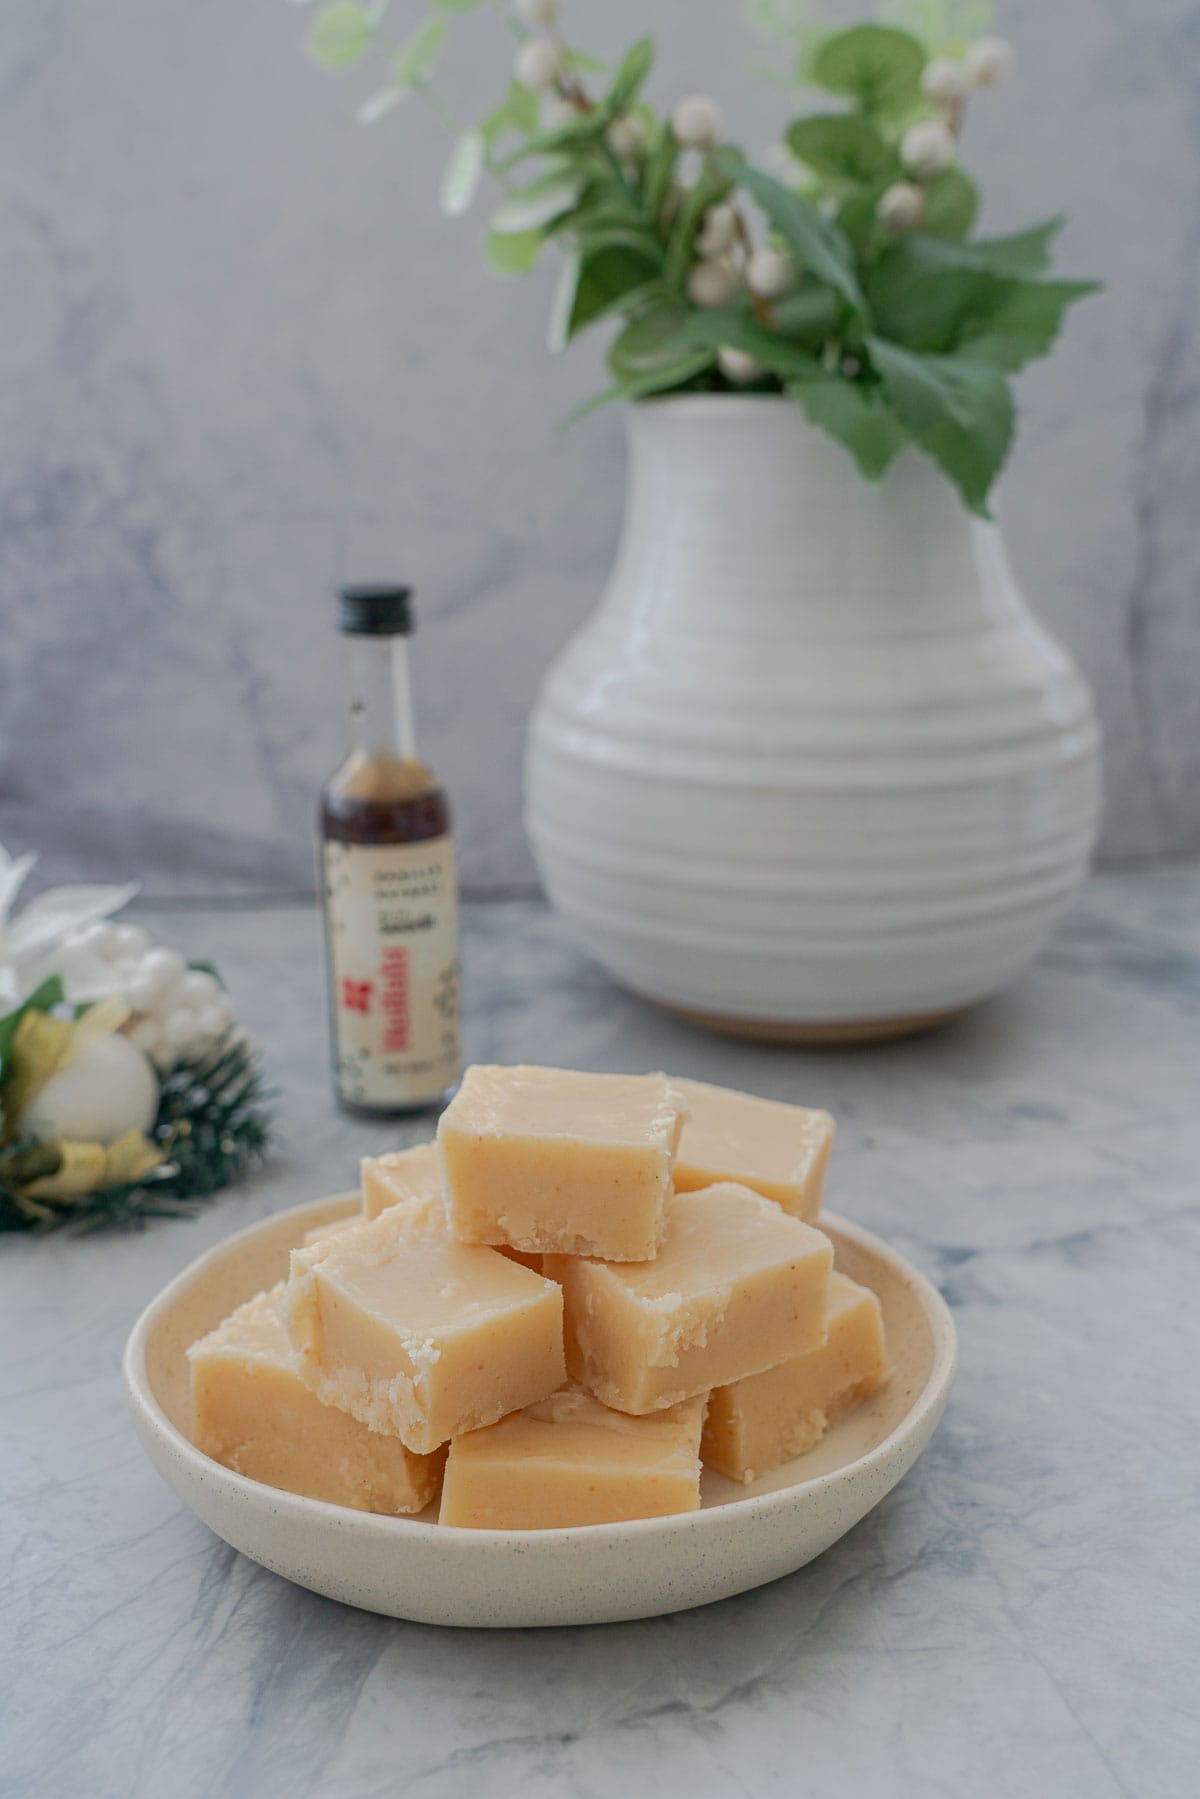
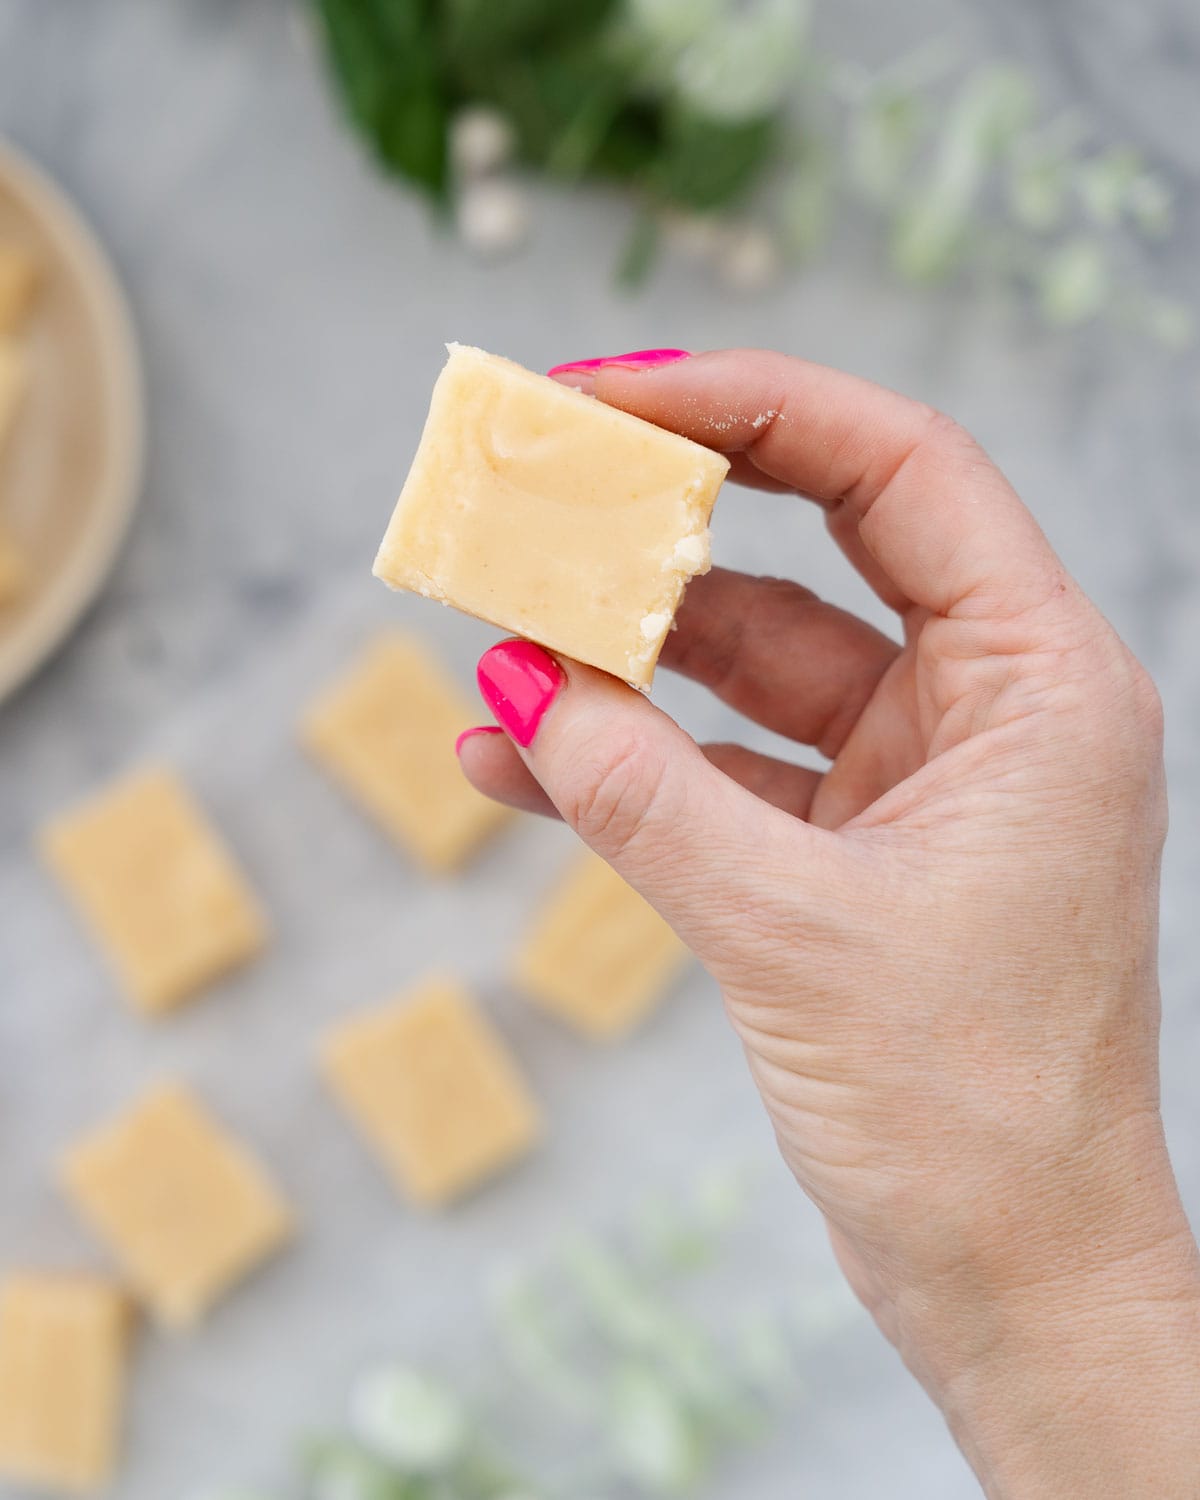
Vanilla Fudge is the most perfect fudge, smooth, creamy, slightly crumbly melt-in-the-mouth fudge texture with a delicate vanilla flavour.
Why This Recipe Works
- Based on an old 'works every time' recipe from my childhood. (Think Russian fudge but vanilla instead of caramel)
- The perfect treat for the holiday season
- A lovely homemade gift you can give to others
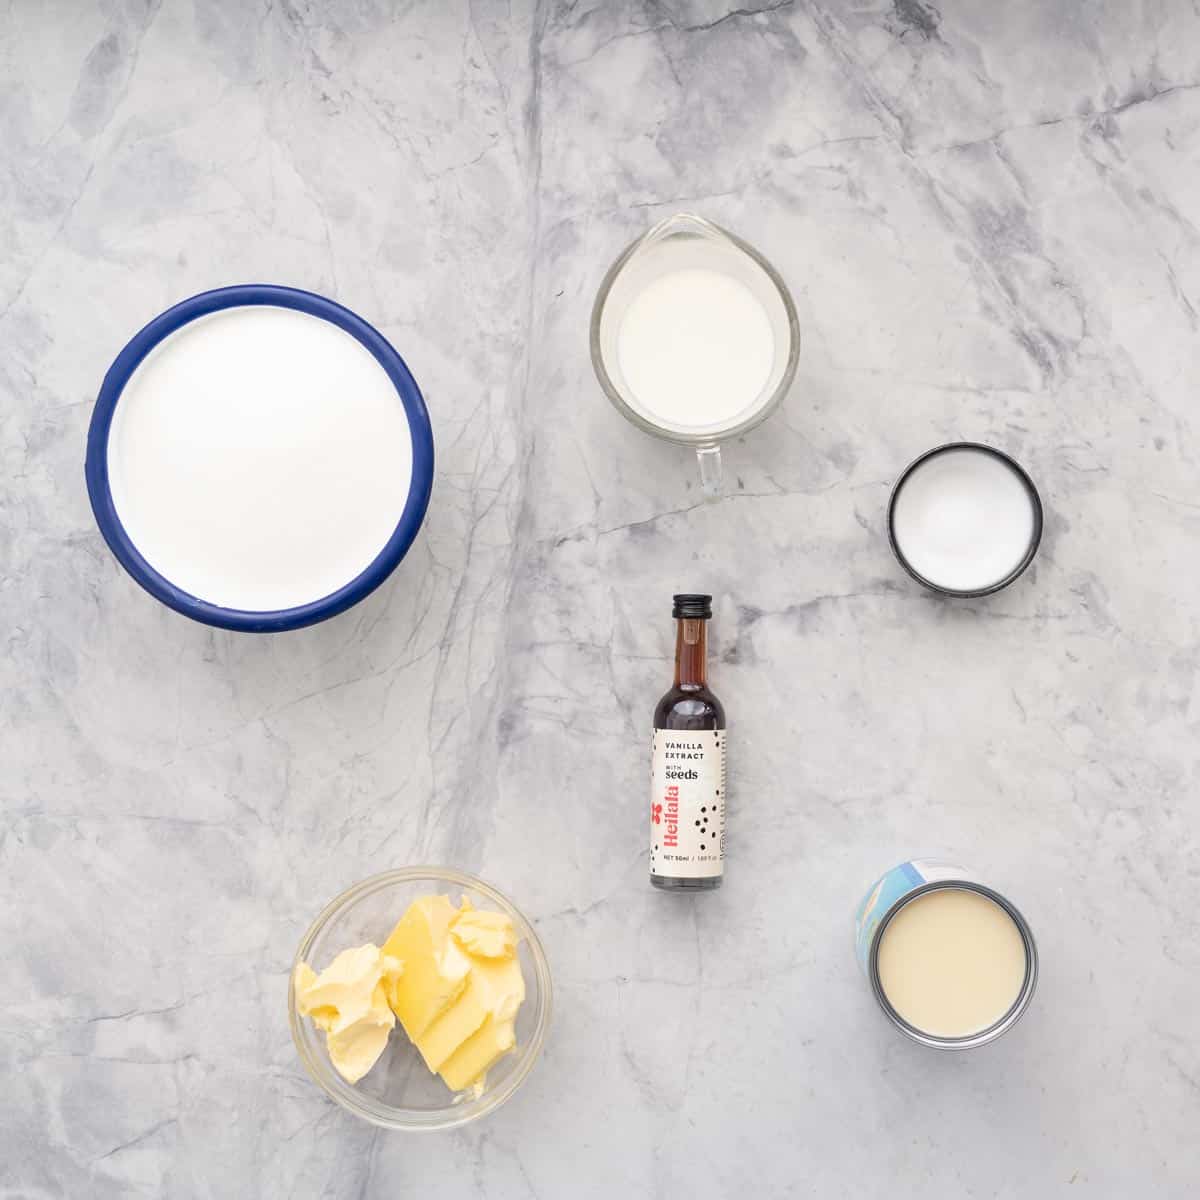
Ingredients you will need
- milk
- sugar
- butter
- condensed milk
- salt
- pure vanilla extract
Ingredient Notes and Substitutes
- salt: A little salt really enhances the flavour.
- vanilla extract: Be sure to use a pure vanilla extract for the best flavour.
Heilala Vanilla recently won the grand prize at the NZ Food Awards, they create the most delicious pure vanilla products partnering with farmers in Tonga. I was gifted a range of Heilala Vanilla products to create Christmas delights for my family.
Step-by-step instructions
Below are illustrated step-by-step instructions to make my Vanilla Fudge recipe, if you prefer just the written instructions then head straight to the printable recipe card below.
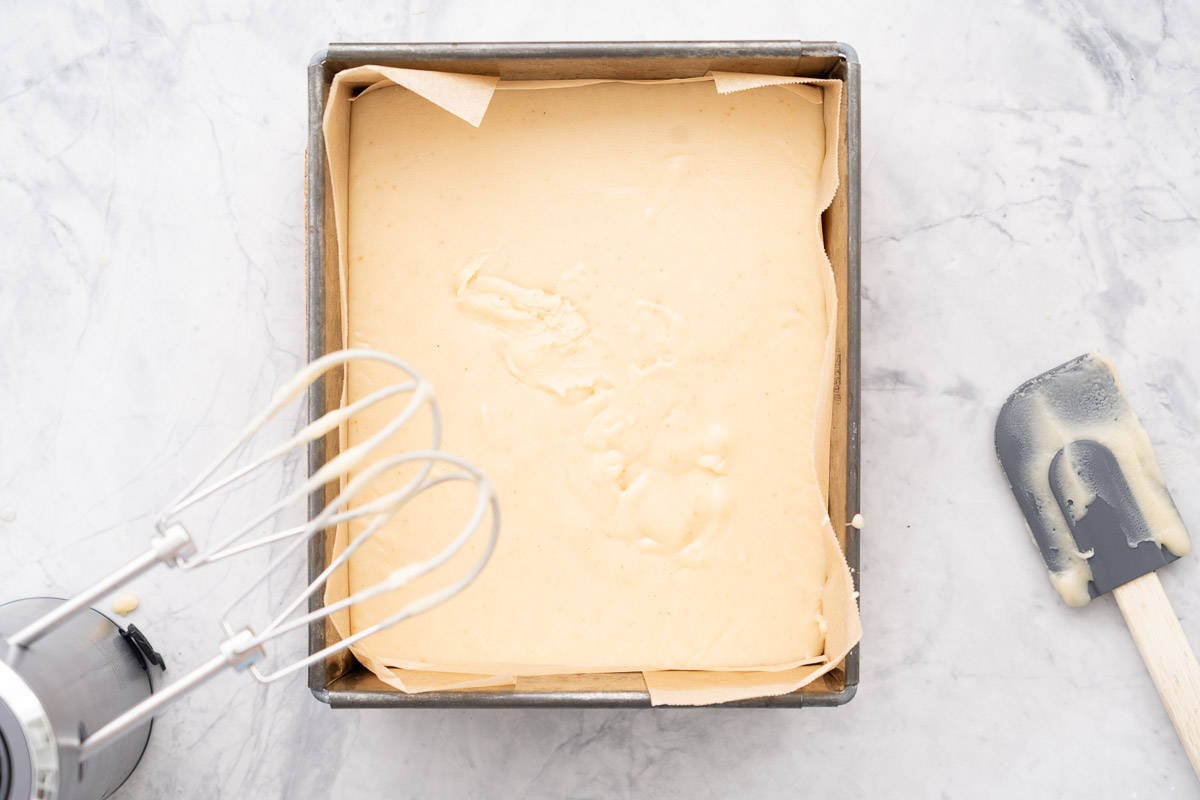
Step one: Prepare a tin for your fudge to set in. I line a 20cm square cake tin with baking paper (parchment paper). The tin does not get baked so you can actually set your fudge in anything. Lining the tin means it is easy to lift out the fudge when it has cooled.
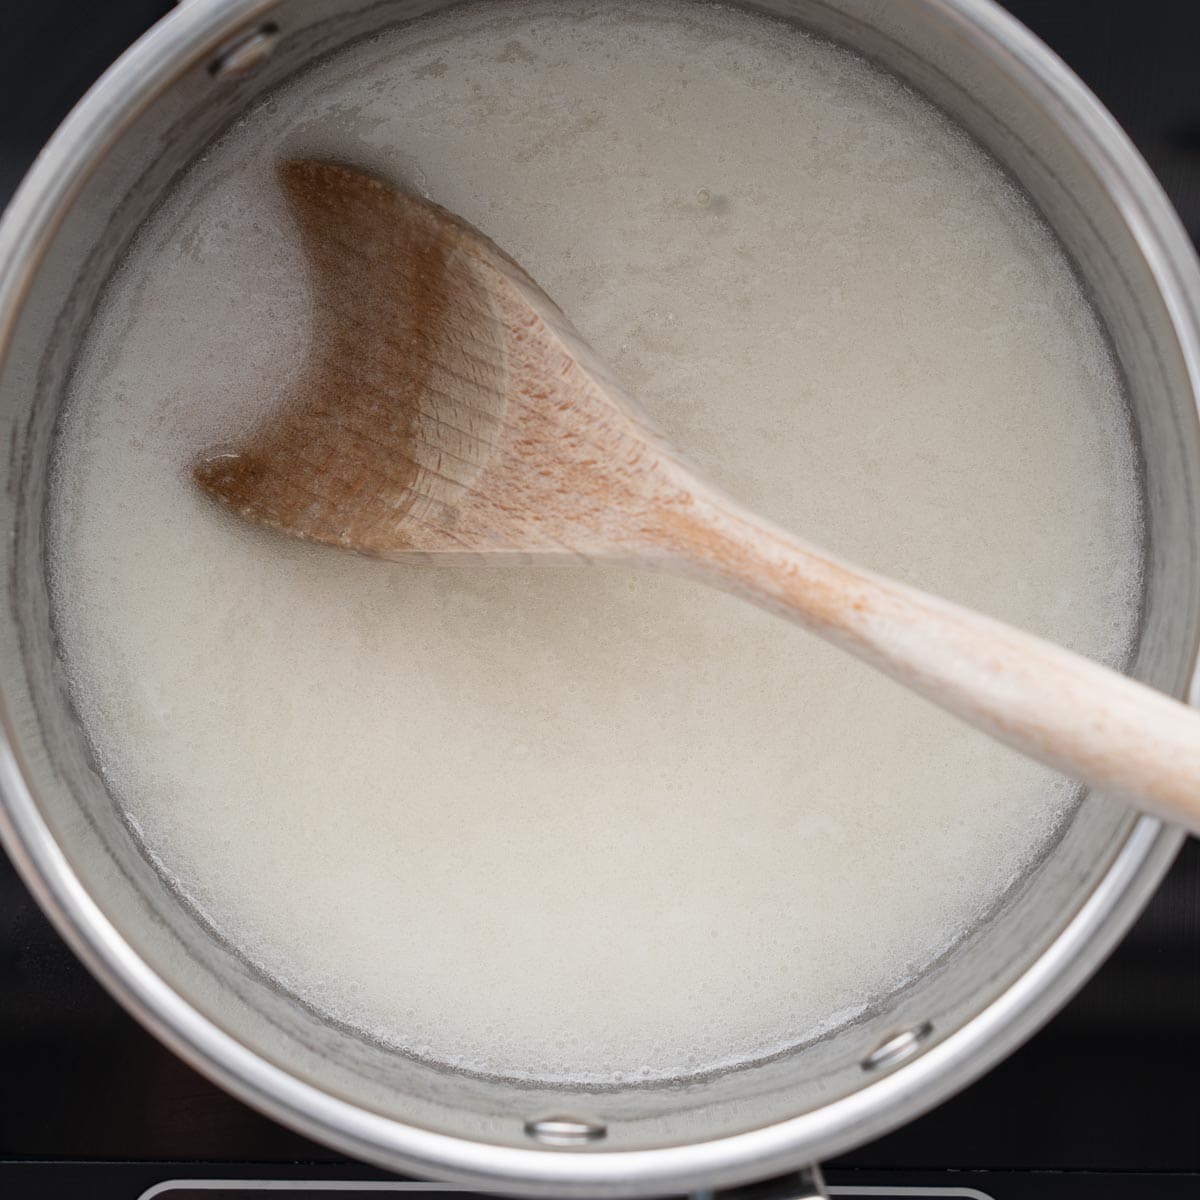
Step two: Heat the milk and sugar in a heavy-based saucepan over medium heat until all the sugar crystals have dissolved.
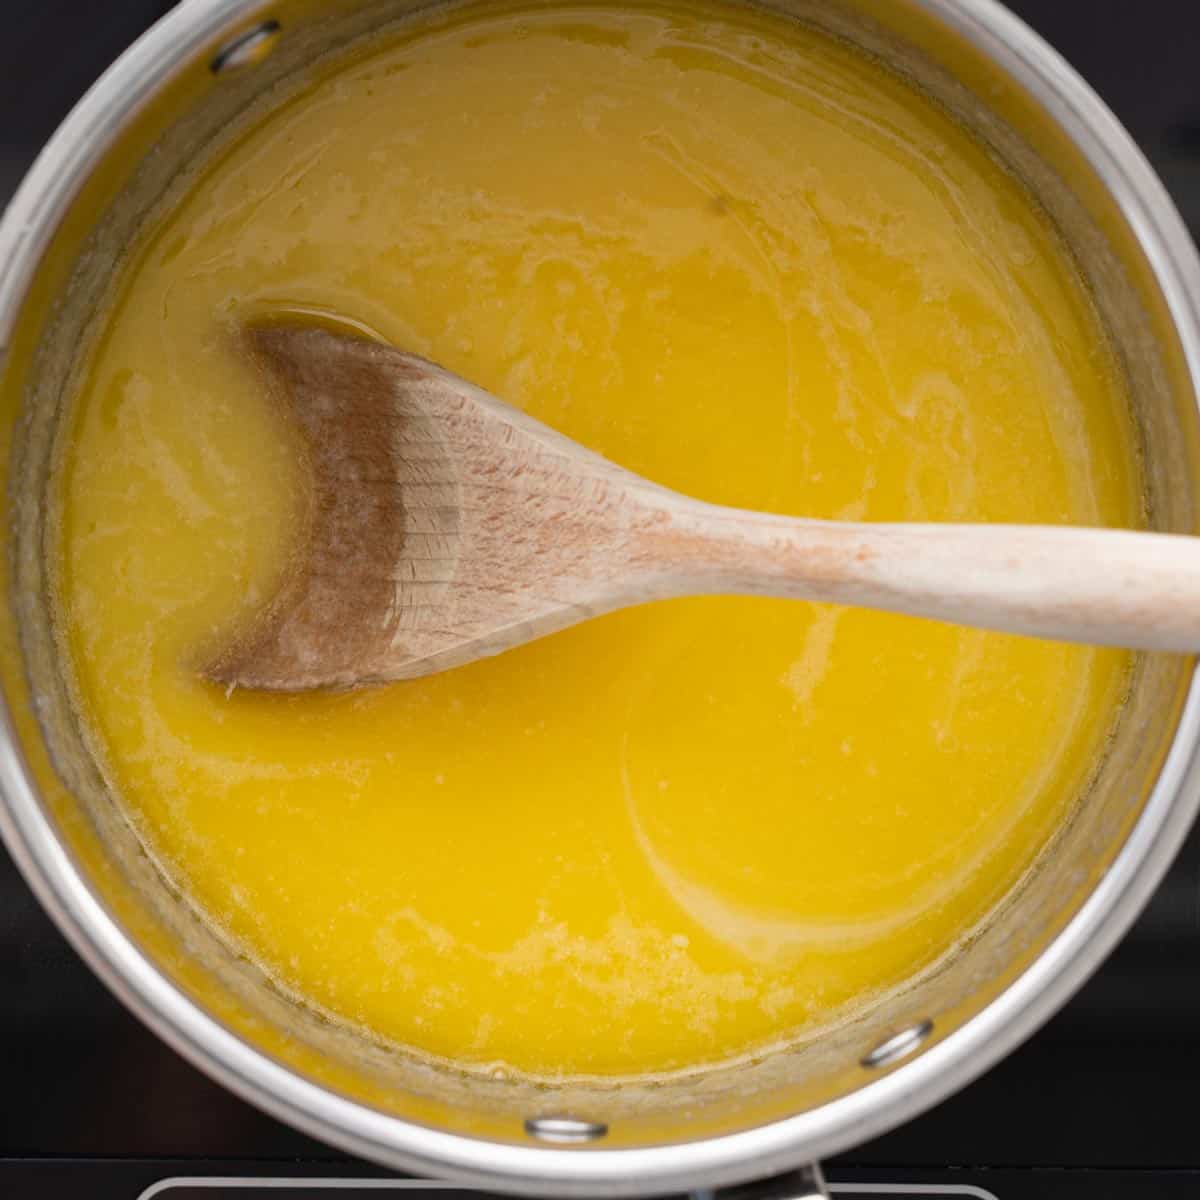
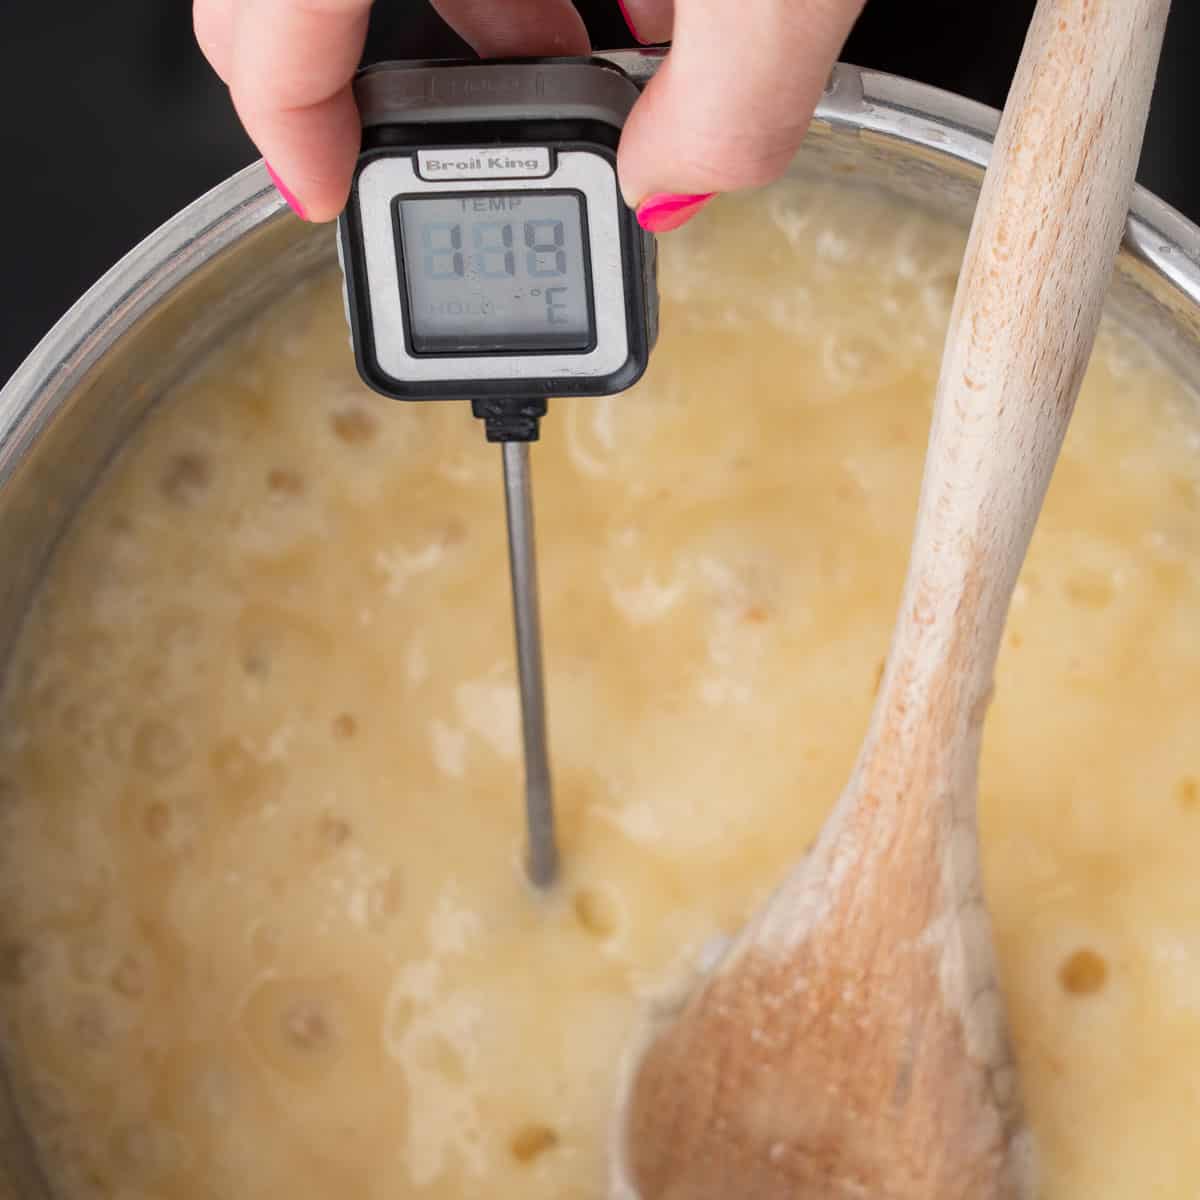
Step three: Add the butter condensed milk and salt and stir until the butter has melted. Bring your fudge mixture to a boil. Boil for 10-15 minutes you are aiming for a soft-ball stage (which is 112-115 degrees Celsius on a candy thermometer)
Step four Remove from the heat, and add the vanilla.
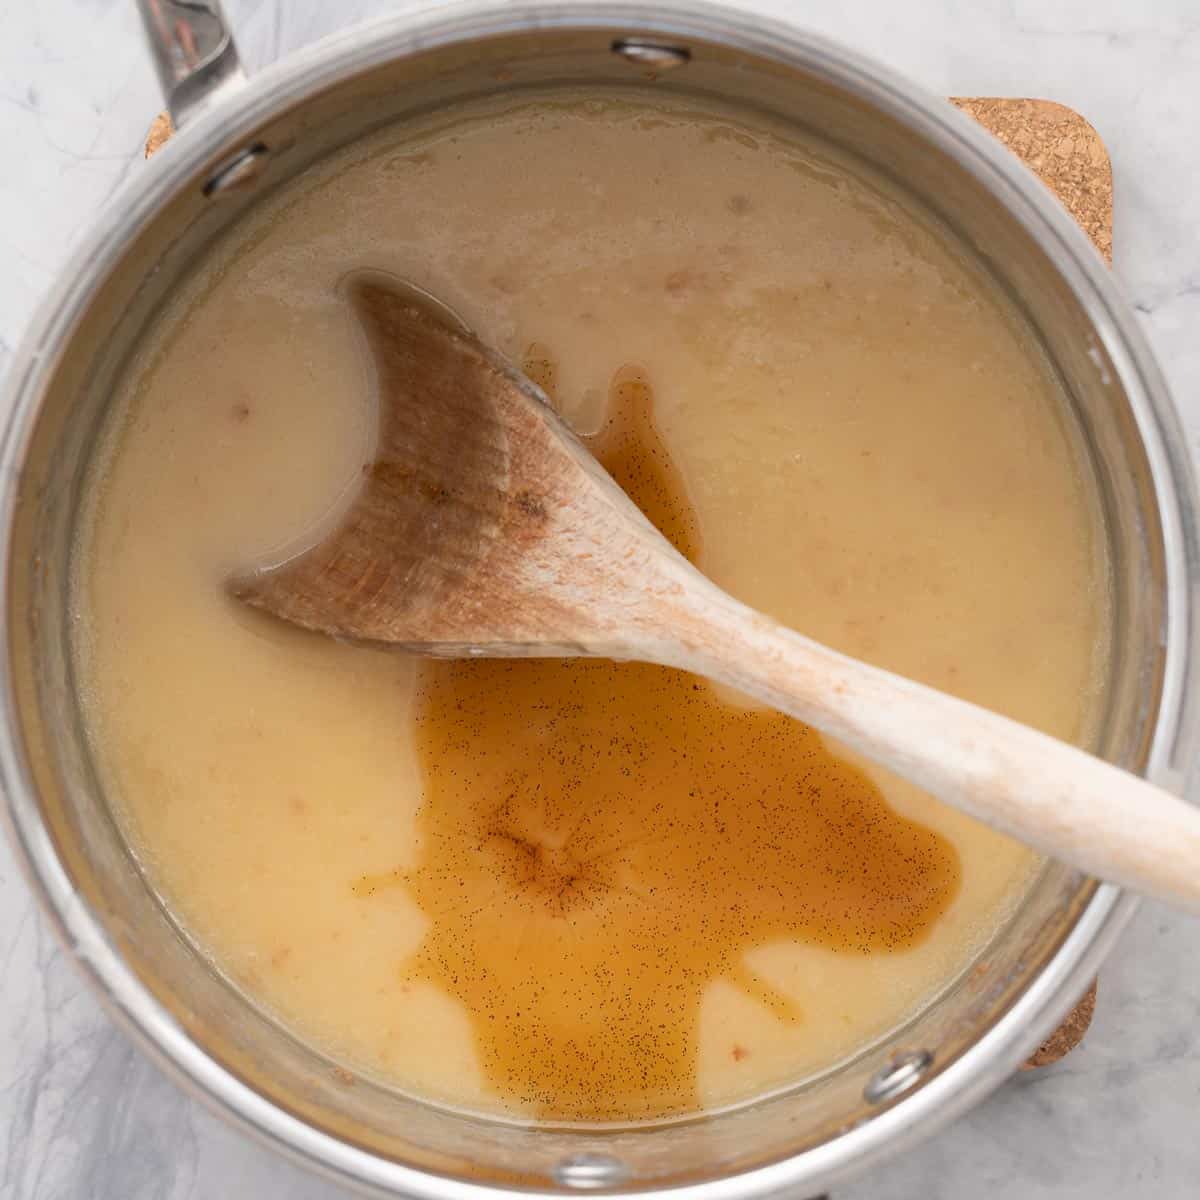
Step five: Now it's time to beat the fudge. I use an electric beater and beat until the fudge is creamy and thick (it will almost be setting) and has lost its glossiness. It should now appear like it has a matt finish.
Step six: Pour into your prepared pan, and pop into the fridge until cool.
Save This Recipe!
Step seven: Slice into squares.
Enjoy!
Top Tips
Here is how you can make this vanilla fudge perfectly every time!
- Once your fudge has hardened in the fridge slice into squares and transfer to an airtight container. Fudge stores best at room temperature, it can dry out in the fridge.
- Getting to the right temperature is crucial when making fudge, a candy thermometer makes it easy to check, but you can also check if the fudge mixture has reached soft ball stage by dropping a small amount of the mixture into a glass of cold water, to see if it is a softball.
- Dissolving the sugar crystals in the milk before adding the other ingredients will ensure your fudge is not chewy
- If your fudge doesn't set, it can be returned to the stove and reheated to the soft ball temperature, or try serving it softened as a decadent ice cream topping.
- Texture: I love a slightly crumbly fudge, (I dislike my fudge to be chewy) to achieve this it is all about the beating while the fudge cools.
FAQs
Store your fudge in an airtight container at room temperature for up to four weeks. Fudge can also be frozen for up to four months.

Vanilla Fudge
RATE THIS RECIPE
Save This Recipe!
Ingredients
- ½ cup milk
- 3 cups sugar
- 125 grams butter
- ½ can sweetened condensed milk 200 grams
- ¼ teaspoon salt
- 2 teaspoons vanilla extract
Instructions
- Prepare a tin for your fudge to set in. I line a 20cm square cake tin with baking paper. The tin does not get baked so you can actually set your fudge in anything. Lining the tin means it is easy to lift out the fudge when it has cooled.
- Heat the milk and sugar in a heavy-based saucepan over medium heat until all the sugar crystals have dissolved.
- Add the butter condensed milk and salt and stir until the butter has melted. Bring your fudge mixture to a boil. Boil for 10-15 minutes you are aiming for a soft-ball stage (which is 120 degrees Celsius)
- Remove from the heat, and add the vanilla.
- Now it's time to beat the fudge. I use an electric beater and beat until the fudge is creamy and thick (it will almost be setting) and has lost its glossiness. It should now appear like it has a matt finish.
- Pour into your prepared tin, and pop into the fridge until cool.
- Slice into squares.
Notes
- Once your fudge has hardened in the fridge slice into squares and transfer to an airtight container. Fudge stores best at room temperature, it can dry out in the fridge. It will last up to four weeks but can also be frozen for up to 4 months,
- Getting to the right temperature is crucial when making fudge, a candy thermometer makes it easy to check, but you can also check if the fudge mixture has reached soft ball stage by dropping a small amount of the mixture into a glass of cold water, to see if it is a softball.
- Dissolving the sugar crystals in the milk before adding the other ingredients will ensure your fudge is not chewy
- Texture: I love a slightly crumbly fudge, (I dislike my fudge to be chewy) to achieve this it is all about the beating while the fudge cools.
- If your fudge doesn't set, it can be returned to the stove and reheated to the soft-ball temperature, or try serving it softened as a decadent ice cream topping.
Quick Start Guide To BLW
Baby led weaning doesn’t need to be complicated, grab my quick start guide to begin your little ones food journey.