Raspberry Thumbprint Cookies
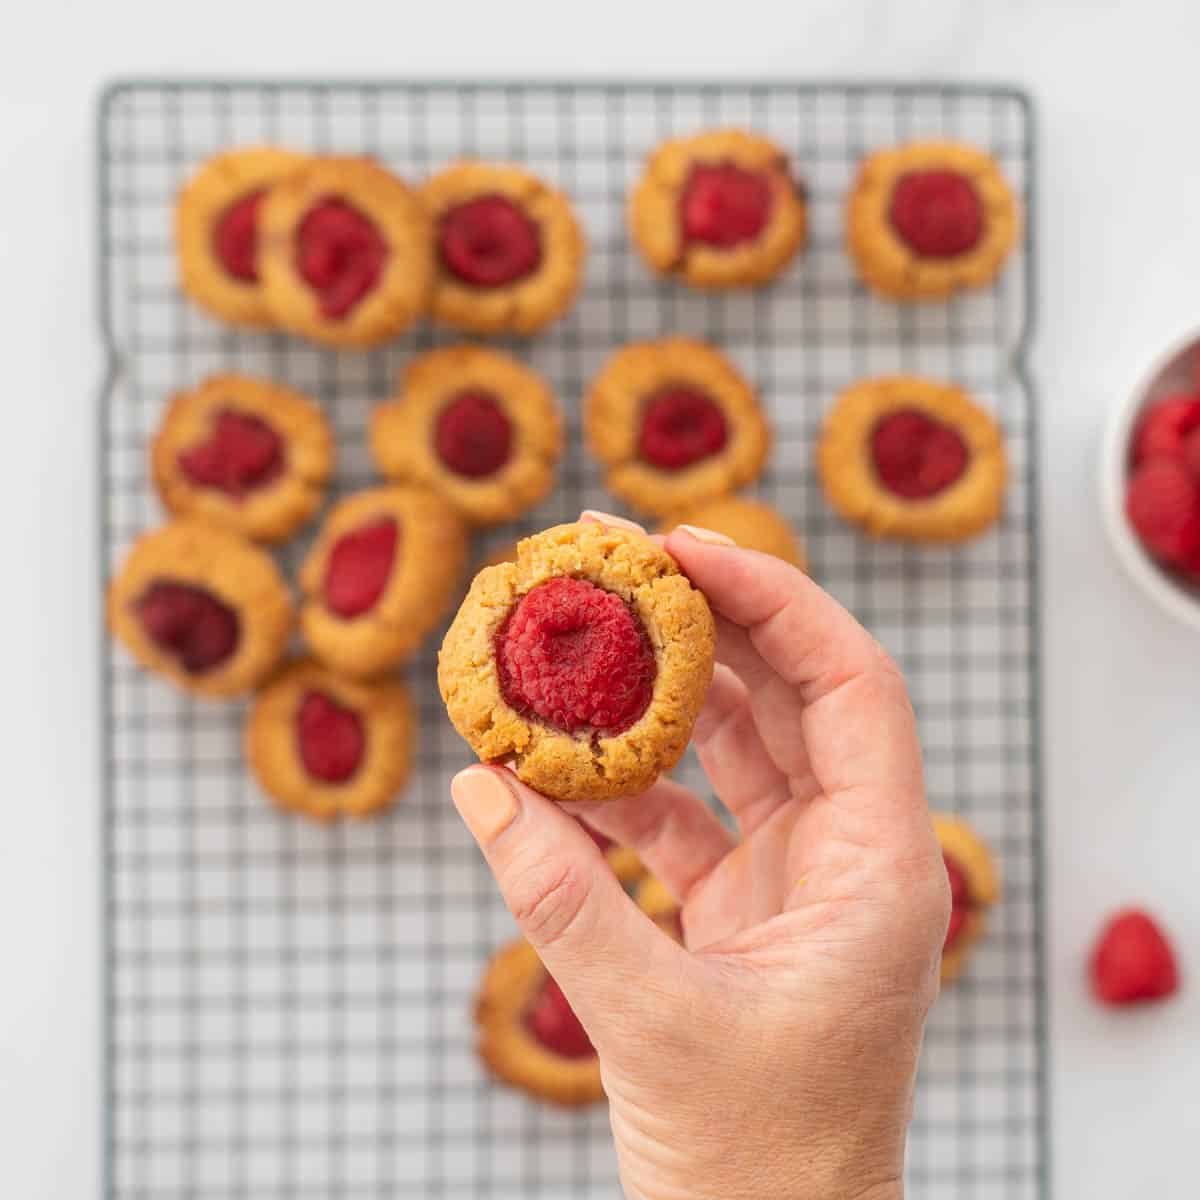
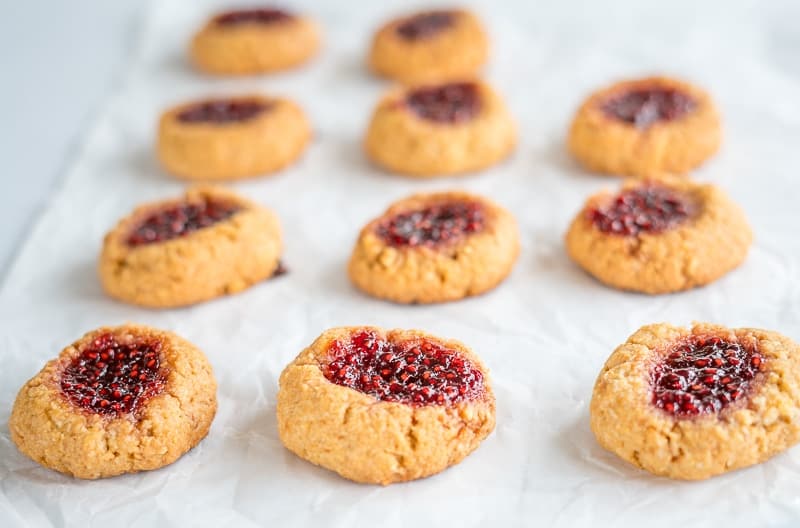
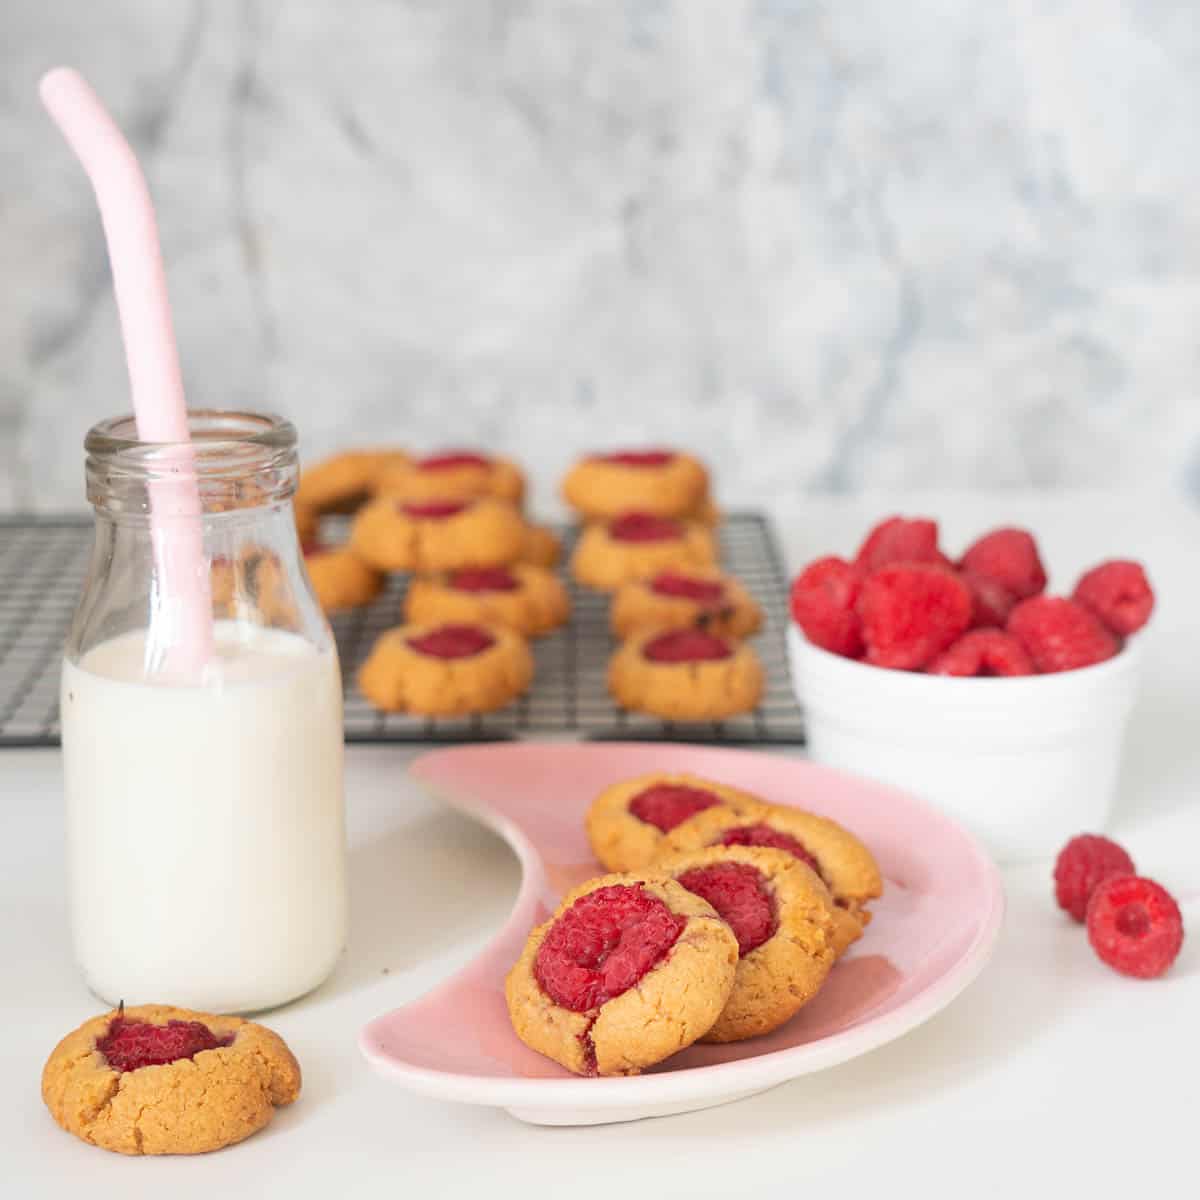
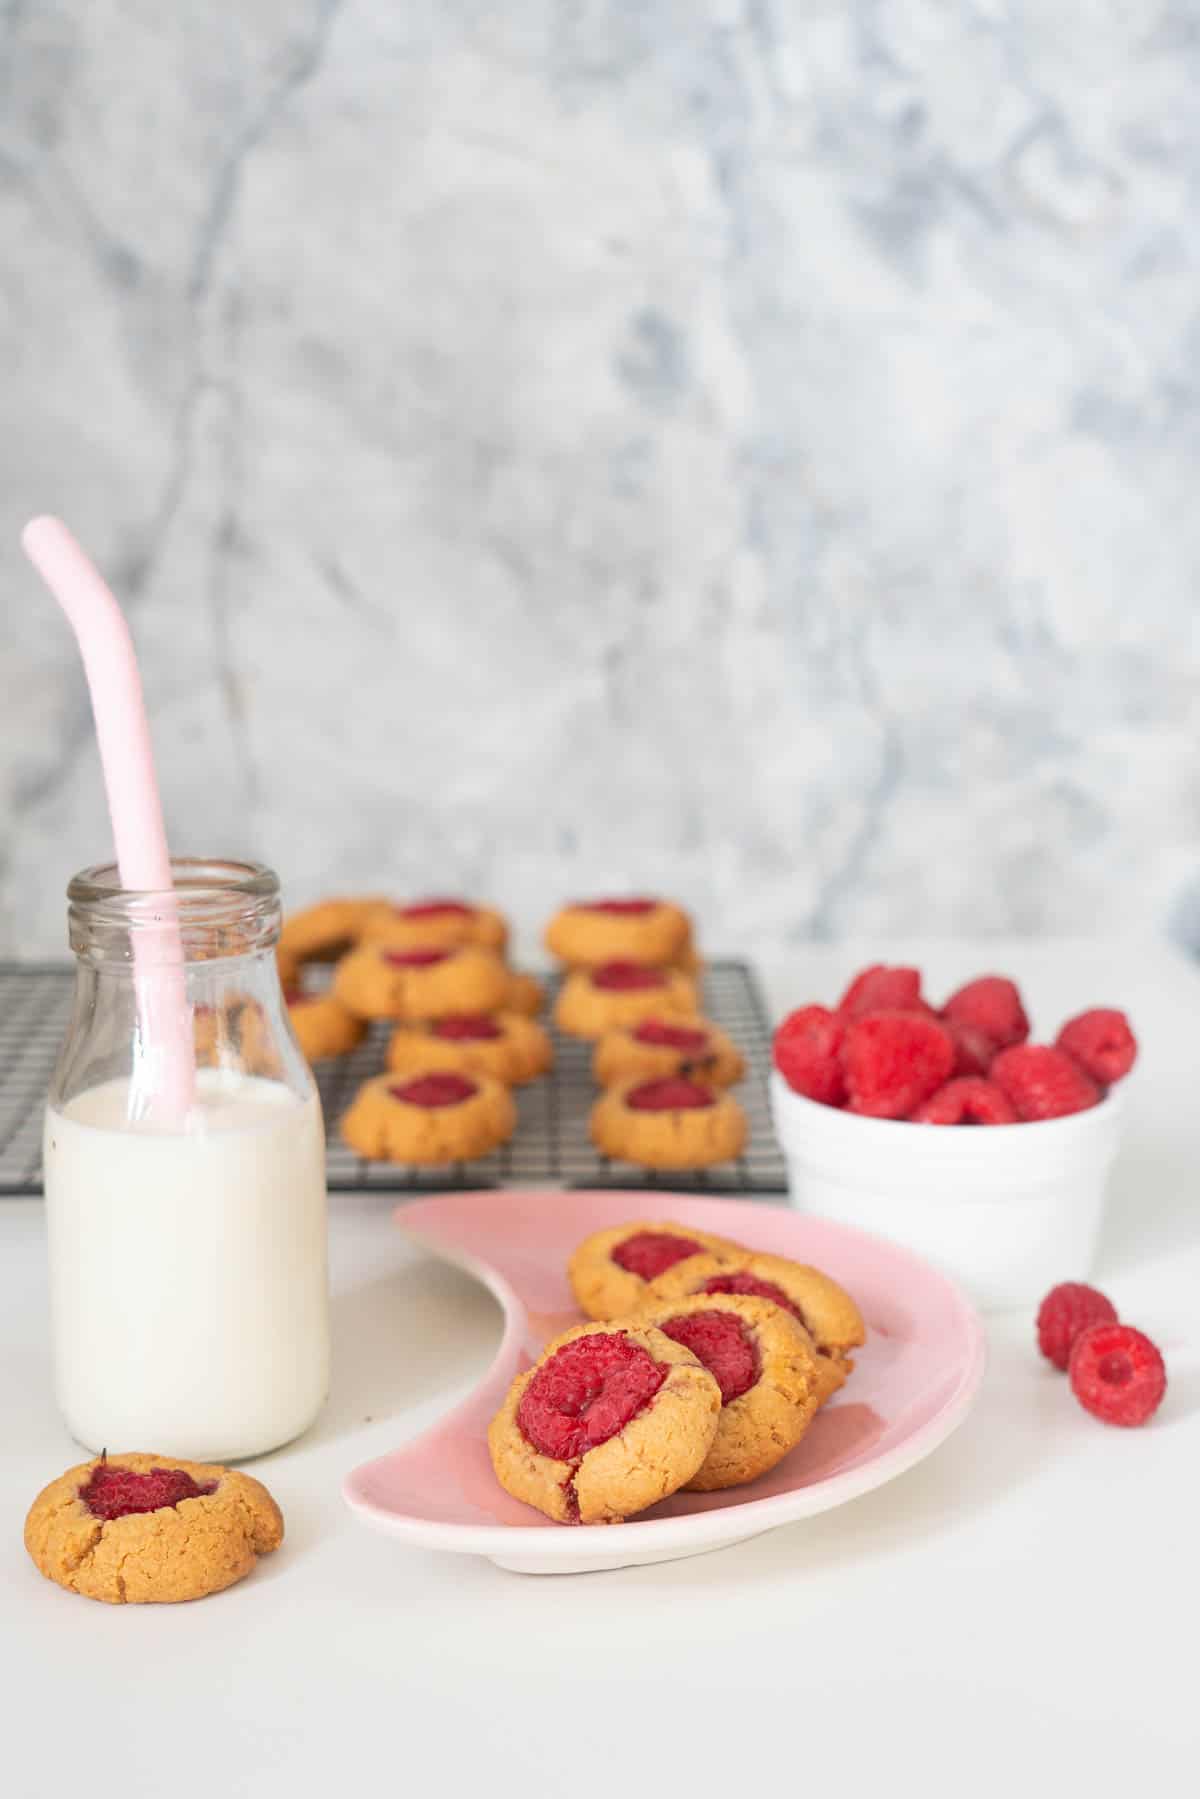
My take on Raspberry Thumbprint cookies. What makes them a little different you may ask? They are gluten-free, and the raspberry part of the thumb-print cookie is literally just raspberries!
Why This Recipe Works
- 5 ingredients
- Ridiculously easy recipe
- Lower in sugar than traditional cookies
- Gluten, dairy and grain free
Ingredients you will need
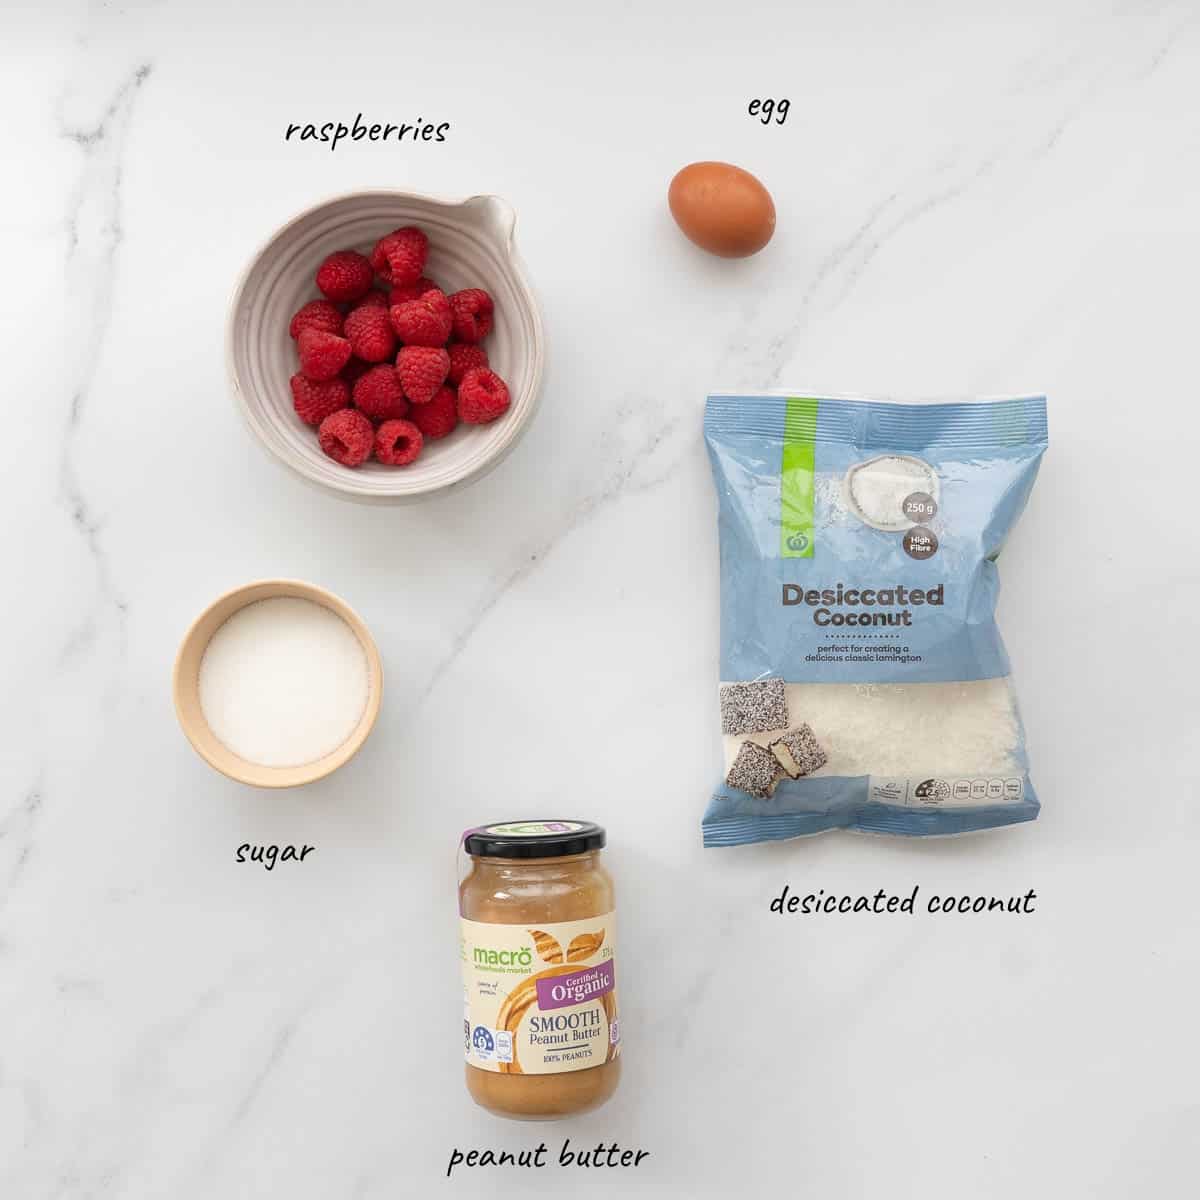
To make my raspberry thumbprint cookies you will need
- Peanut butter
- Egg
- Desiccated coconut
- sugar
- Raspberries
Ingredient Notes and Substitutes
- Peanut butter: You can use either crunchy or smooth peanut butter in this recipe. You can substitute the peanut butter for another nut butter to make a peanut-free version.
- Desiccated coconut: You can substitute the desiccated coconut for ground almond.
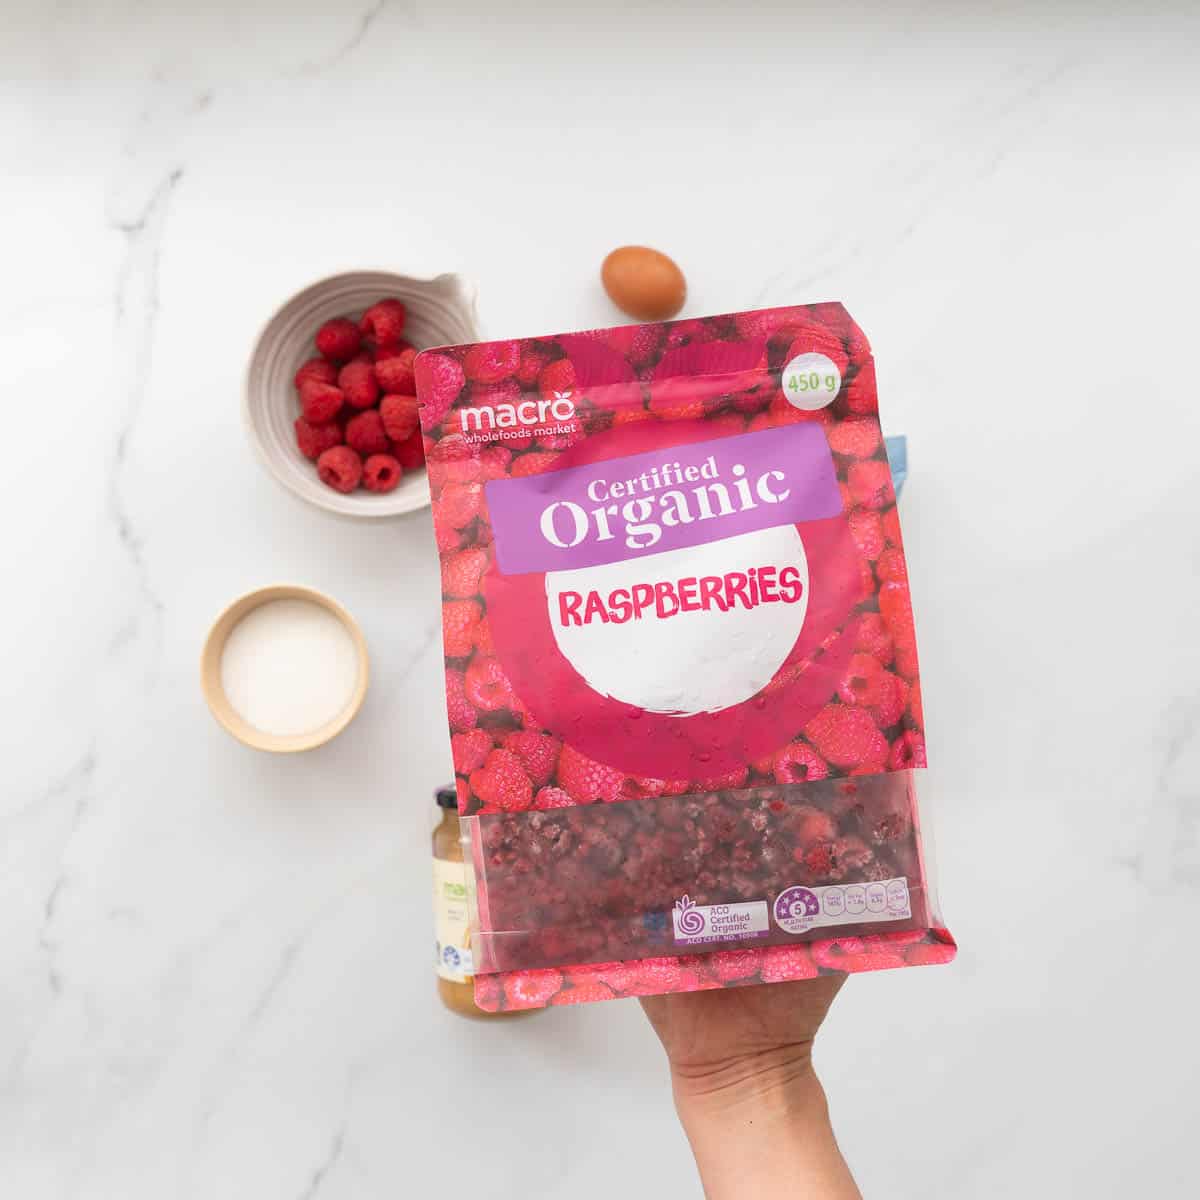
- Raspberries: Fresh or frozen raspberries can be used. You can also substitute the raspberries for a small spoonful of raspberry puree, your favourite jam or a chocolate button.
How to make thumbprint cookies
Below are illustrated step-by-step instructions to make my Raspberry Thumbprint Cookie Recipe, if you prefer just the written instructions then head straight to the printable recipe card below.
Prep: Preheat your oven to 180 degrees Celsius (360 Fahrenheit).
Step one: Place the first 4 ingredients in a bowl and mix, ie. everything but the raspberries.
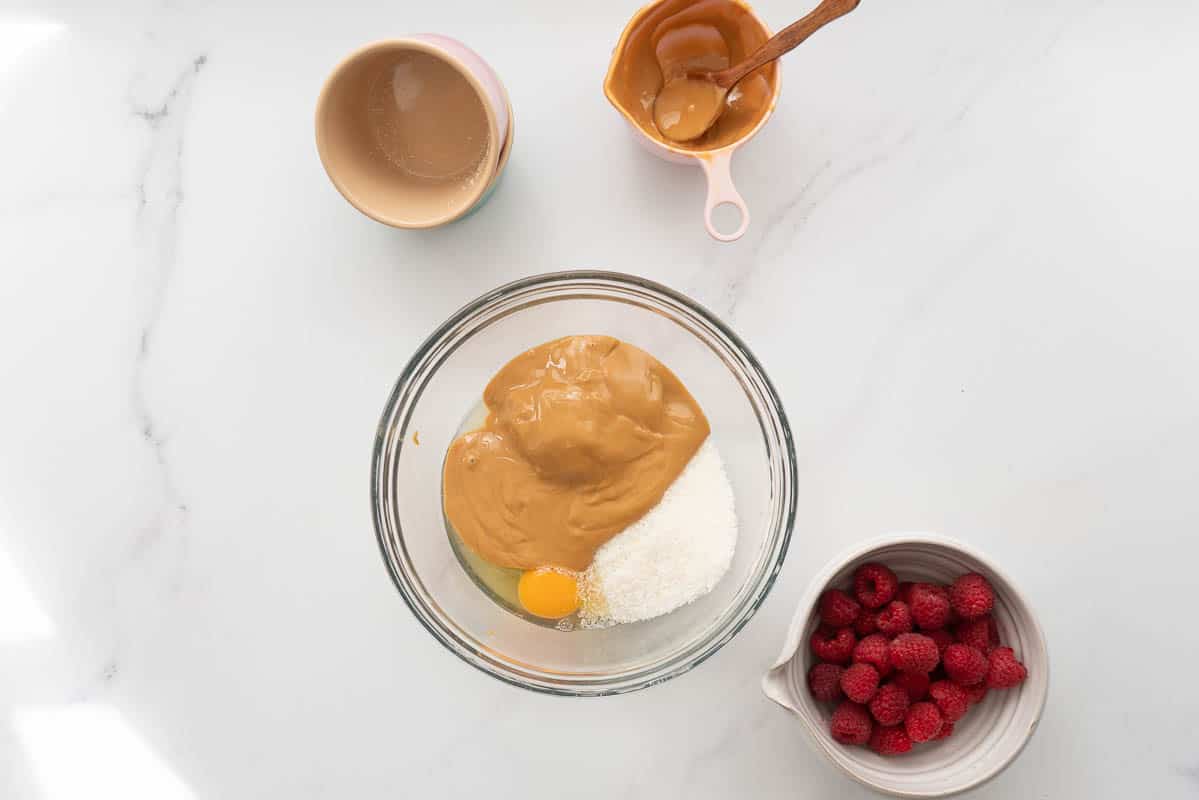
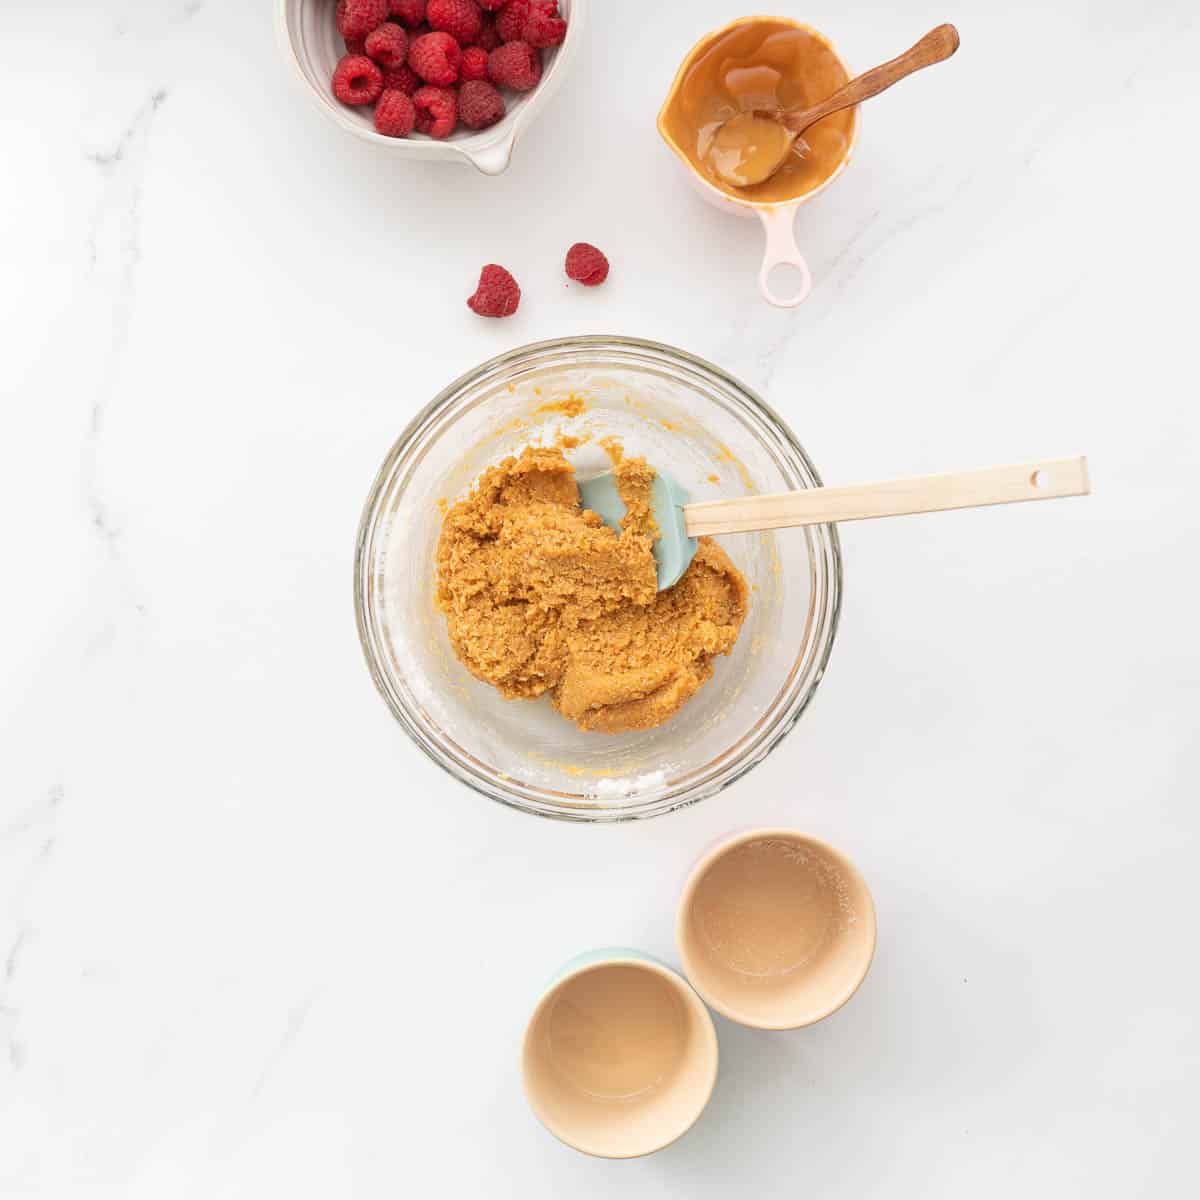
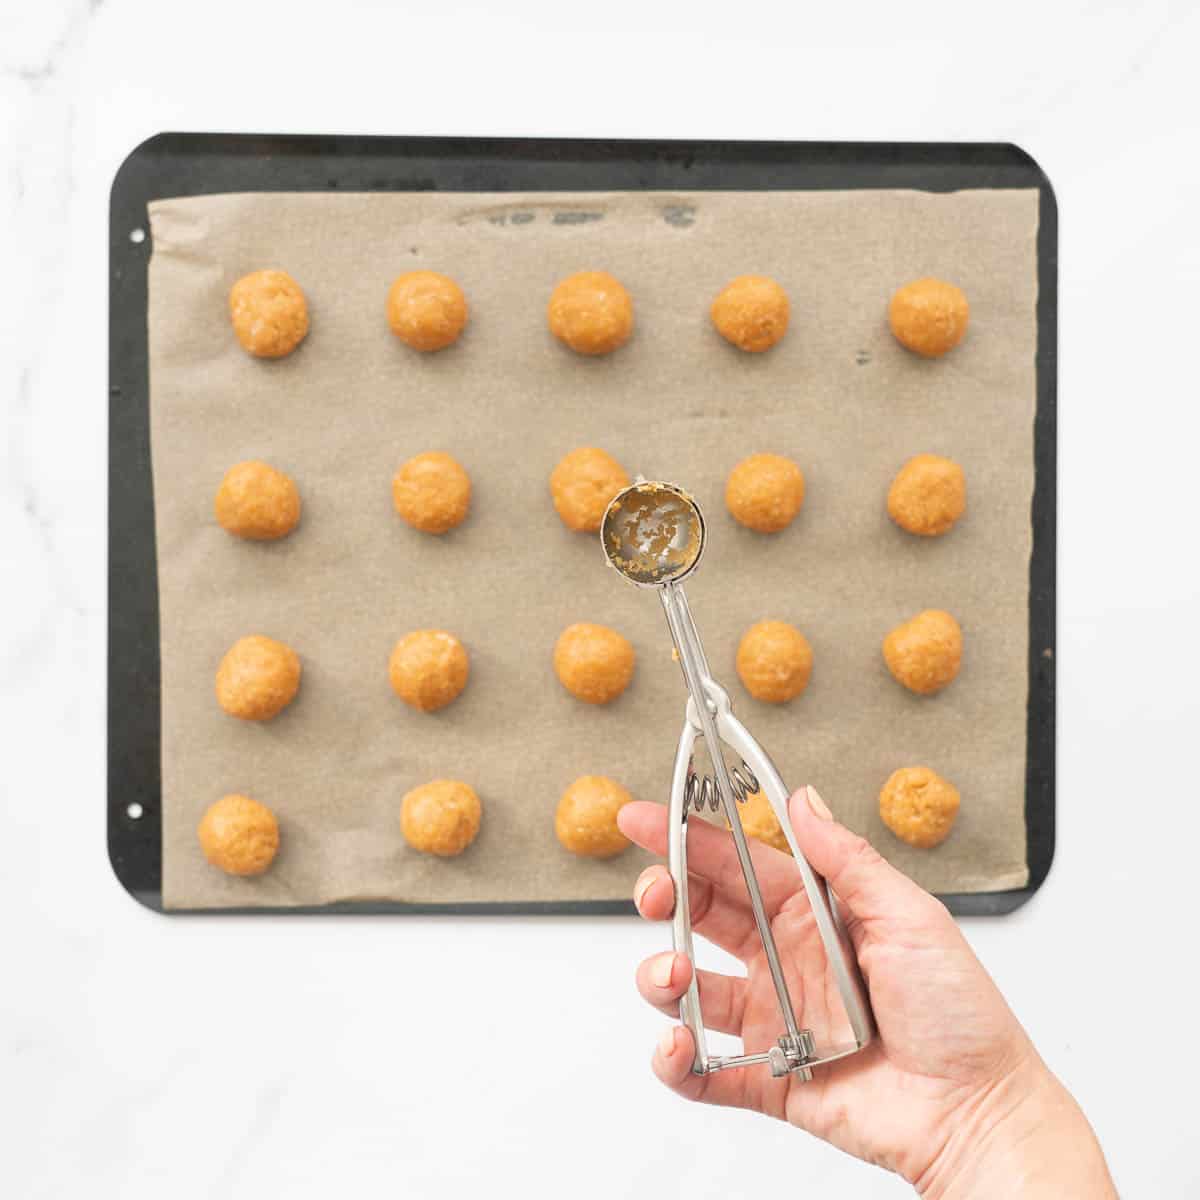
Step two: Use a teaspoon and scoop the mix into balls. It may be a little sticky, but if you wet your hands it will stop it from sticking (you should end up with 20-22 cookies). Pop the balls on a baking paper lined tray,
Step three: Gently press the balls with your (or a child's) thumb to make a small well-like indent
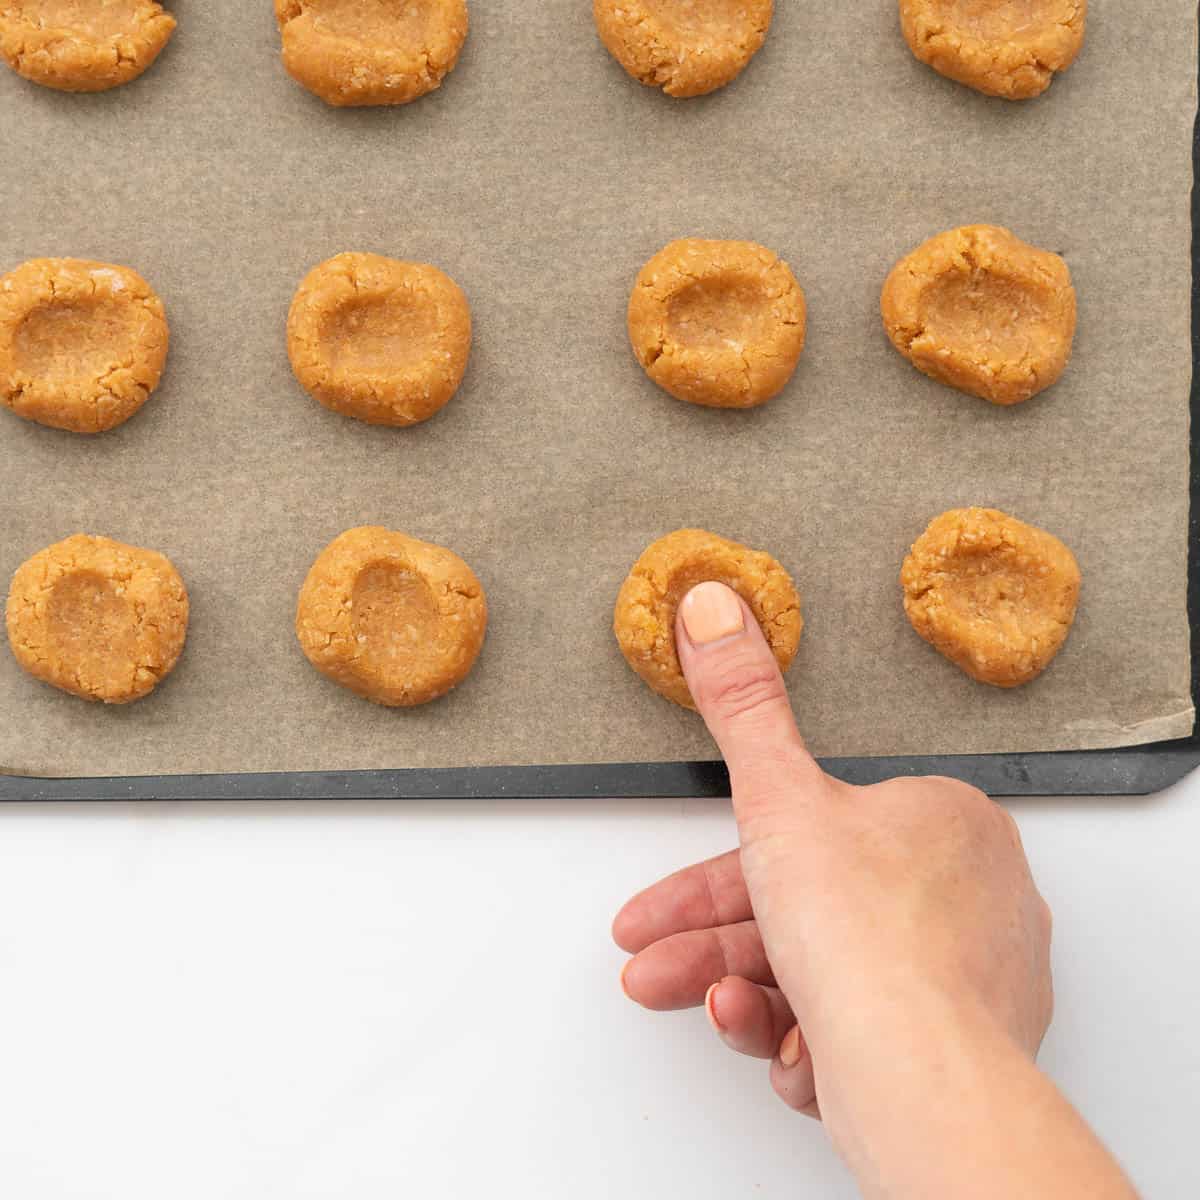
Step four: Gently press a raspberry into the well created by the thumbprint.

Save This Recipe!
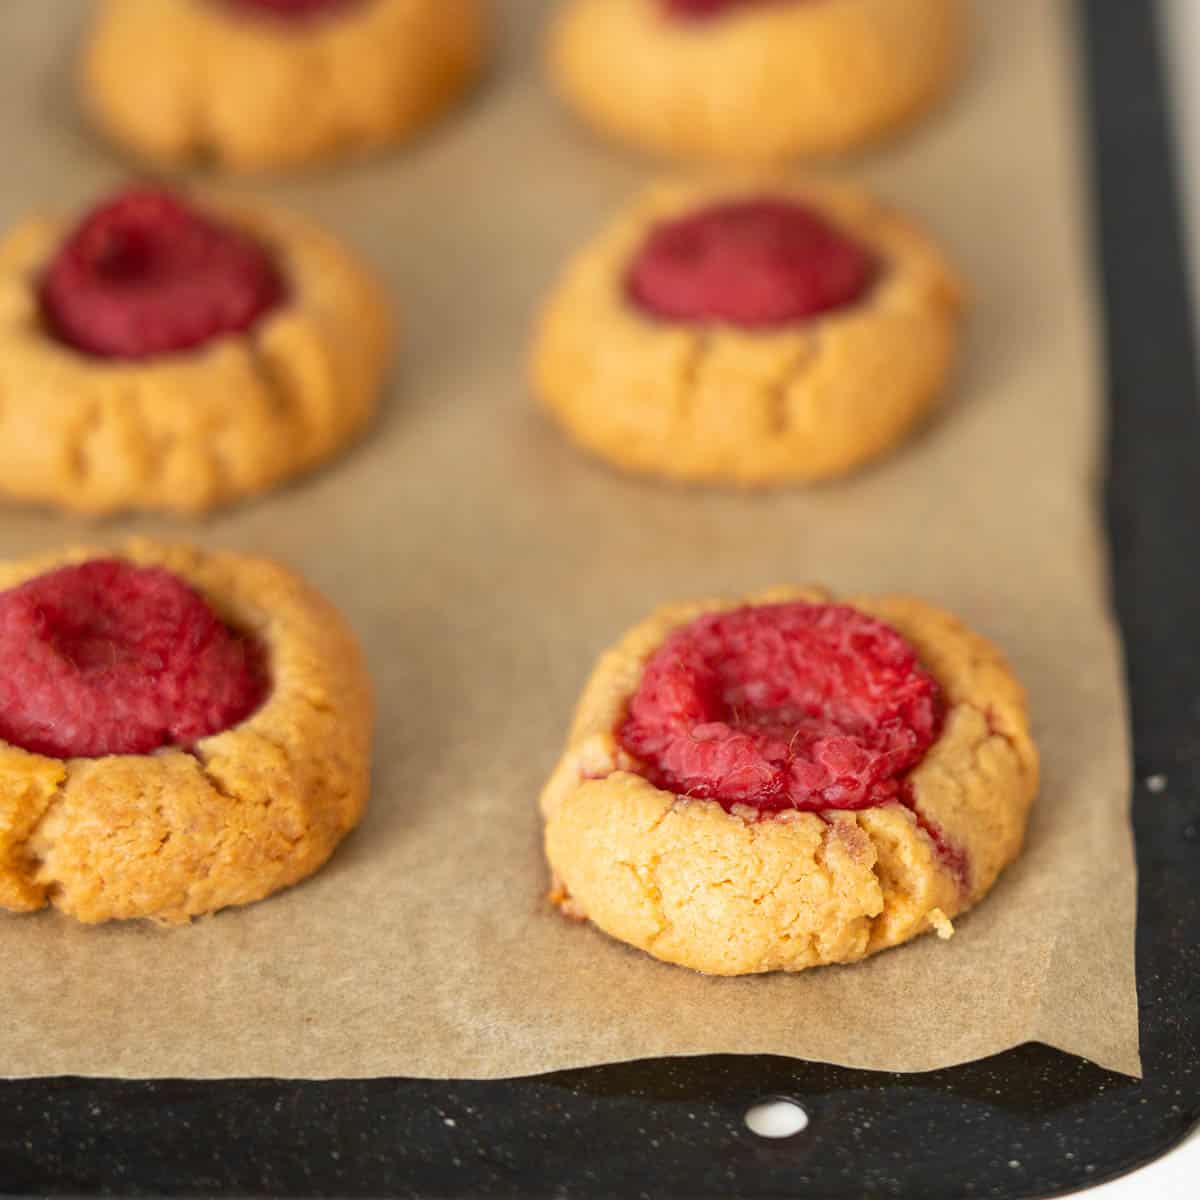
Step five: Bake at 180 degrees Celsius for 12-15 minutes (I would set the timer for 10 minutes though, and then check again at 12 minutes and 15 minutes just to be certain).
Enjoy!
Top Tips
Here is how you can make these raspberry thumbprint cookies perfectly every time!
- Damp spoon and hands! This cookie mixture is quite sticky, but damp hands and a wet spoon will stop the cookie dough from sticking to you.
- If you don't want to use fresh raspberries in the thumbprint you can certainly use jam, either store-bought or a homemade chia jam.
- In this recipe, I use desiccated coconut to keep the sugar content lower than traditional cookies. When you are baking with sugar it provides two things; sweetness and texture. Desiccated coconut provides the same texture as granulated sugar.
FAQs
These cookies store in an airtight container for 3 days, or they can be frozen for up to 4 months.
Related recipes section
Cookies are such a favourite with kids and always a hit in a lunchbox, here are some other cookies you may like to try
- Peanut butter cookies: an easy gluten-free recipe with only four ingredients
- Avocado cookies: Cholate fudge cookies with the goodness of avocado
- Apple cookies: A delicious oatmeal cookie with pops of fresh apple
- Banana oatmeal cookies: Yummy soft oat cookies that are egg free.

Raspberry Thumbprint Cookies
RATE THIS RECIPE
Save This Recipe!
Ingredients
- 270 grams peanut butter 1 cup
- 75 grams sugar one third cup
- 60 grams desiccated coconut two third cup
- 1 egg
- 20 Raspberries
Instructions
- Preheat your oven to 180 degrees Celsius (360 Fahrenheit)
- Place the first 4 ingredients in a bowl and mix.
- Use a teaspoon and scoop the mix into balls. It may be a little sticky, but if you wet your hands it will stop it sticking (you should end up with 20-22 cookies)
- Pop the balls on a baking paper lined tray,
- Gently press the balls with your (or a childs) thumb to make a small well like indent
- Gently press a a raspberry into the well created by the thumbprint.
- Bake at 180 degrees Celsius for 12-15 minutes (I would set the timer for 10 minutes though, and then check again at 12 minutes and 15 minutes just to be certain)
Notes
- Damp spoon and hands! This cookie mixture is quite sticky, but damp hands and a wet spoon will stop the cookie dough from sticking to you.
- In this recipe, I use desiccated coconut to keep the sugar content lower than traditional cookies. When you are baking with sugar it provides two things; sweetness and texture. Desiccated coconut provides the same texture as granulated sugar.
- These cookies store in an airtight container for 3 days, or they can be frozen for up to 4 months.
- Peanut butter: You can use either crunchy or smooth peanut butter in this recipe. You can substitute the peanut butter for another nut butter to make a peanut-free version.
- Desiccated coconut: You can substitute the desiccated coconut for ground almond.
- Raspberries: Fresh or frozen raspberries can be used. You can also substitute the raspberries for a small spoonful of your favourite jam or a chocolate button.
Nutrition

Quick Start Guide To BLW
Baby led weaning doesn’t need to be complicated, grab my quick start guide to begin your little ones food journey.

I just made these and had a couple for afternoon tea.
I quite liked these. Very simple and only 5 ingredients which I loved!
They were a little dry, maybe I cooked them for a little too long though?
I might try these with a dark choc drop in the centre next time... Yum!
Oh my gosh! I love PB and J...this post has had my mouth watering (and you brought back so much nostalgia about having this as a sandwich combo...I used to loooove them!
My kids would love these! We tried your quick 4 ingredient pb cookies the other day and they were a hit??
I loved how easy these were! We did our first taste test when they were warm - I loved them and my son didn't. Second taste test when they were cold. My son loved them this time too. Awesome!
I subbed the sugar for 1/8 cup molasses and 1/8 cup honey, which worked well. Making batch two tonight 😀
easy! includes fruit, look cute, and very quickly all gone!